Bosch HBL8651UC Installation Instructions - Page 7
Installation - manual
 |
View all Bosch HBL8651UC manuals
Add to My Manuals
Save this manual to your list of manuals |
Page 7 highlights
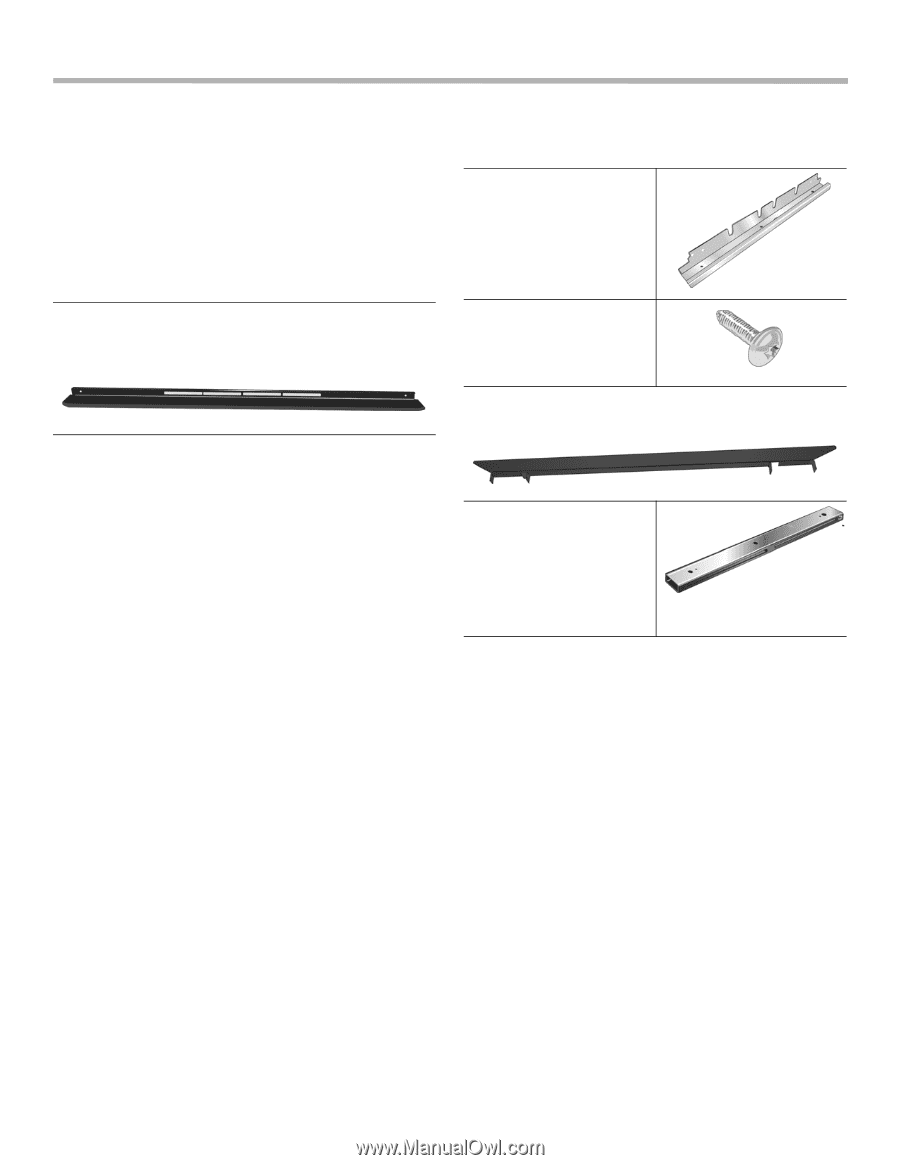
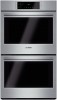
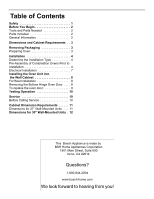
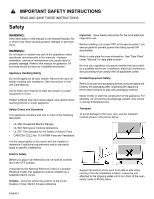
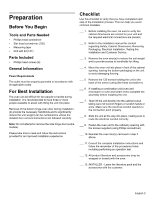
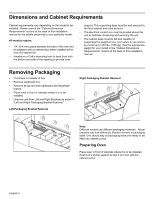
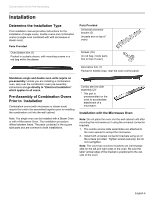
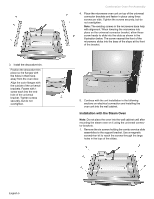
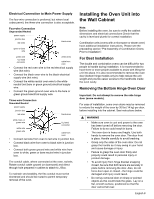
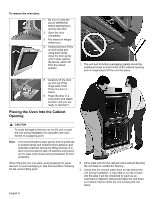
Combination Oven Pre-Assembly Installation Determine the Installation Type This installation manual provides instructions for the installation of single ovens, double ovens and combination ovens (a single oven combined with with microwave or steam oven). Parts Provided Oven Bottom trim (1) Packed in a plastic sleeve, with mounting screws in a red bag within the sleeve Parts Provided Universal connector bracket (2) (in parts box on top of oven) Screws (16) (in red bag, inside parts box on top of oven) Decorative trim (1) Packed in bubble wrap, near the oven control panel. Standalone single and double oven units require no pre-assembly. Unless you are installing a combination oven, skip over the combination oven pre-assembly instructions and go directly to "Electrical Installation" which applies to all ovens. Pre-Assembly of Combination Ovens Prior to Installation Combination ovens (with microwave or steam oven) require the units to be assembled together prior to installing the combination unit into the wall cabinet. Note: The single oven can be installed with a Steam Oven or with a Microwave Oven. The installation procedure differs between these. The parts contained in the square tube parts box are common to both installations. Combo service slide assembly (2)* * This part is preassembled on the oven to accomodate attachment of a microwave. Installation with the Microwave Oven Note: Do not place the oven into the wall cabinet until after mounting the microwave on it using the universal connector brackets. 1. The combo service slide assemblies are attached to the oven spaced to accept the microwave. 2. Install both universal connector brackets using six of the screws provided. Tighten screws securely, but do not overtighten. Note: The universal connector brackets are interchangeable for the left and right sides of the oven. Be sure the taller vertical edge of the bracket is positioned to the outside of the oven. English 4
-
 1
1 -
 2
2 -
 3
3 -
 4
4 -
 5
5 -
 6
6 -
 7
7 -
 8
8 -
 9
9 -
 10
10 -
 11
11 -
 12
12 -
13
-
14
-
15
-
16
-
17
-
18
-
19
-
20
-
21
-
22
-
23
-
24
-
25
-
26
-
27
-
28
-
29
-
30
-
31
-
32
-
33
-
34
-
35
-
36
-
37
-
38
-
39
-
40
-
41
-
42
-
43
-
44
-
45
-
46
-
47
-
48
-
49
-
50
-
51
-
52
-
53
-
54
-
55
-
56
 |
 |