Brother International CT-1500 Owners Manual - English - Page 14
How To Replace The Exhaust Filter, How To Replace The Belt, How To Replace The Main Filter
 |
View all Brother International CT-1500 manuals
Add to My Manuals
Save this manual to your list of manuals |
Page 14 highlights
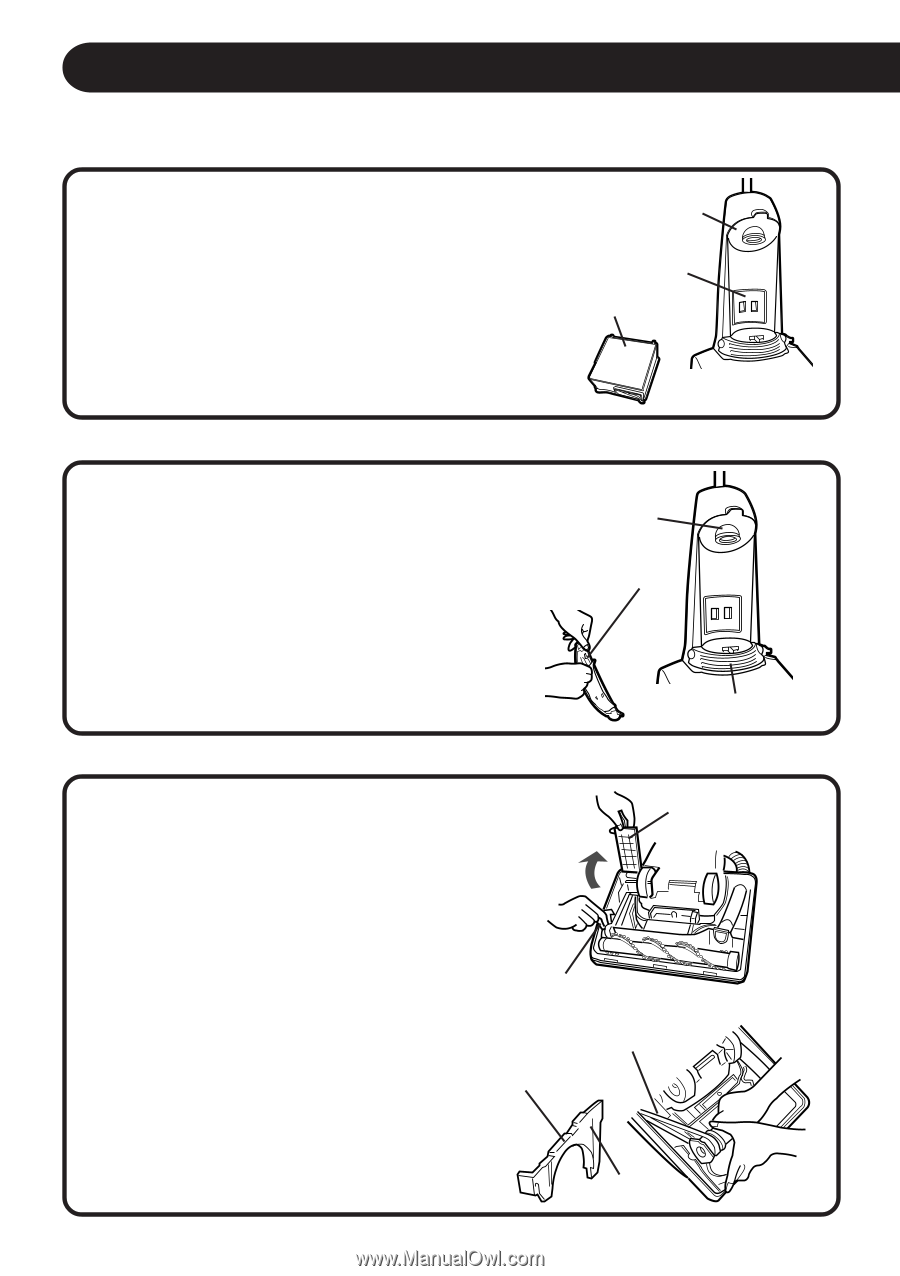
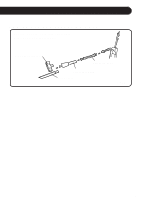
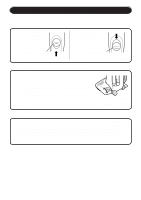
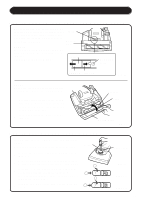
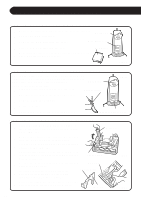
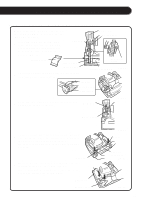
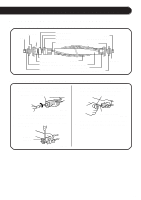
REPLACEMENT INSTRUCTIONS HOW TO REPLACE THE MAIN FILTER 1 Release the dirt compartment from the vacuum cleaner. 2 Pull out the main filter case. Dust Body 3 Remove the main filter from the case. Main Filter case 4 Place a new main filter into the case. Main Filter 5 Reposition the filter case in the dust body and then set the dirt compartment into dust body. Fig.34 HOW TO REPLACE THE EXHAUST FILTER The exhaust filter consists of an electrostatic Hepa Type filter. The filter should be replaced at least every 10 months to maintain efficient filtration. Dust Body Fig.35 * How to remove/set the filter. 1 Slide the cover forward (away from the unit). Exhaust filter 2 The filter is attached to the back of the cover. 3 Remove it from the hold pins. 4 Set the new filter. 5 Replace the cover on the front of the vacuum. Exhaust Filter Cover HOW TO REPLACE THE BELT (CT1200 type) 1 After removing the bottom plate (see page 13), lift up the belt cover and remove the shelter plate. (Fig. 36) Belt cover 2 Pull out the agitator and remove the flat belt from the motor shaft and agitator pulley. 3 Loop the new belt around the motor shaft and agitator pulley. (Fig. 37) 4 Re-insert the agitator assembly, making sure that both ends of the agitator assembly fit in the groove of the unit. Shelter plate Fig.36 5 Be sure the belt is not twisted and all rotating parts move smoothly. New belt 6 Install the shelter plate completely in the groove with the marking of R side toward Shelter plate the belt cover.("R" means "Rear".) R 7 After re-installing the shelter plate, close the belt cover, then replace the bottom plate. "R"mark Fig.37 14
-
 1
1 -
2
-
3
-
4
-
5
-
6
-
7
-
8
-
 9
9 -
 10
10 -
 11
11 -
 12
12 -
 13
13 -
 14
14 -
 15
15 -
 16
16 -
 17
17 -
 18
18 -
 19
19 -
20
-
21
-
22
-
23
-
24
 |
 |