Brother International andtrade; QL-1060N Quick Setup Guide - English and Spani - Page 16
Installing the Label Tray, Using Interface Cable
 |
View all Brother International andtrade; QL-1060N manuals
Add to My Manuals
Save this manual to your list of manuals |
Page 16 highlights
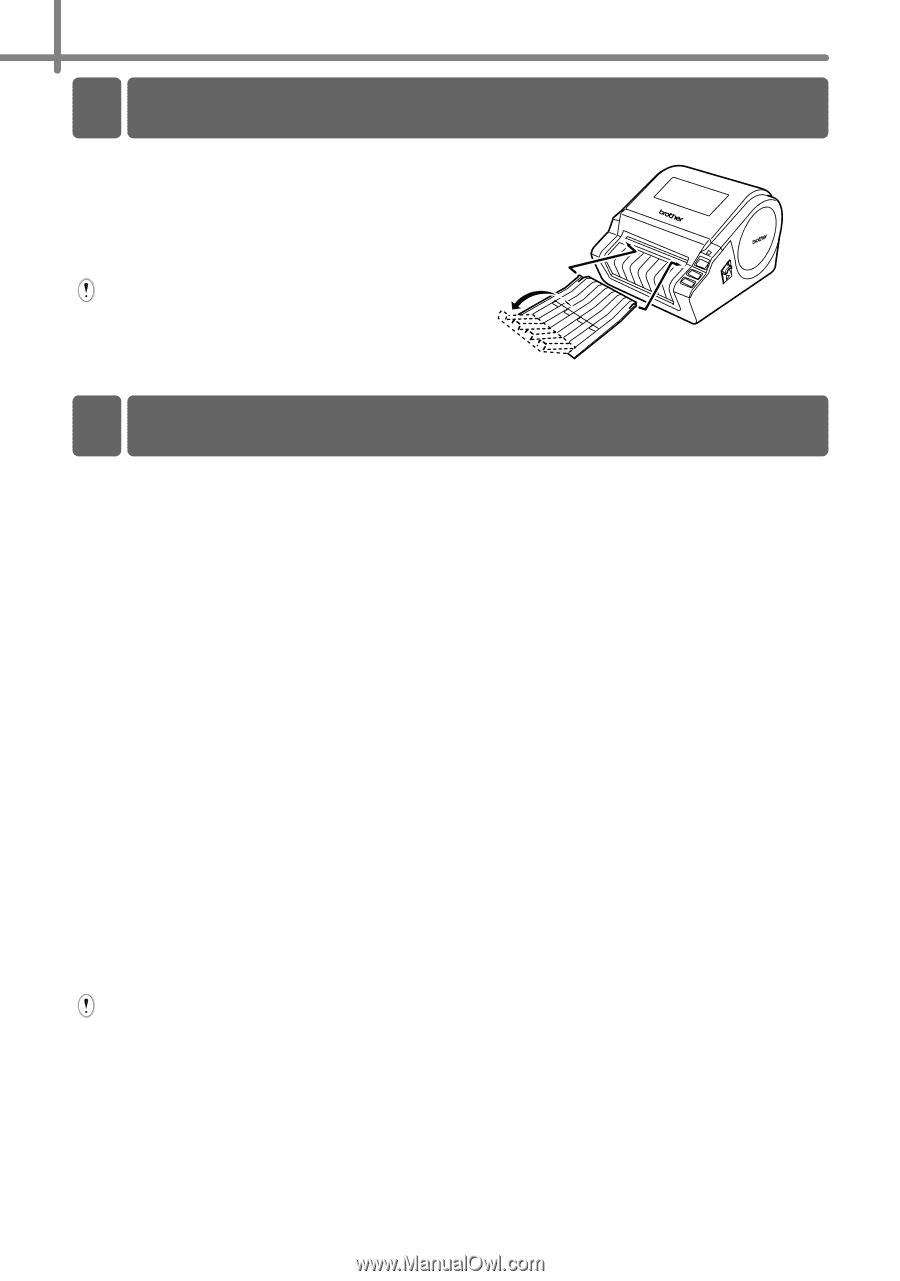
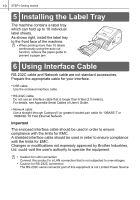
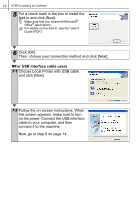
10 STEP1 Getting started 5 Installing the Label Tray The machine contains a label tray which can hold up to 10 individual label sheets. As shown right, install the label tray to the front face of the machine. • When printing more than 10 labels continuously using the auto cut function, remove the paper guide to prevent a paper jam. 6 Using Interface Cable RS-232C cable and Network cable are not standard accessories. Prepare the appropriate cable for your interface. • USB cable Use the enclosed interface cable. • RS-232C cable Do not use an interface cable that is longer than 6 feet (2.0 meters). For details, see Appendix-Serial Cables of User's Guide. • Network cable Use a straight-through Category5 (or greater) twisted-pair cable for 10BASE-T or 100BASE-TX Fast Ethernet Network. Important The enclosed interface cable should be used in order to ensure compliance with the limits for EMC. A shielded interface cable should be used in order to ensure compliance with the limits for EMC. Changes or modifications not expressly approved by Brother Industries, Ltd. could void the user's authority to operate the equipment. • Caution for LAN connection Connect this product to a LAN connection that is not subjected to overvoltages. • Caution for RS-232C connection The RS-232C serial connector part of this equipment is not Limited Power Source.
-
 1
1 -
2
-
3
-
4
-
5
-
6
-
7
-
8
-
9
-
10
-
 11
11 -
 12
12 -
 13
13 -
 14
14 -
 15
15 -
 16
16 -
 17
17 -
 18
18 -
 19
19 -
 20
20 -
 21
21 -
22
-
23
-
24
-
25
-
26
-
27
-
28
-
29
-
30
-
31
-
32
-
33
-
34
-
35
-
36
-
37
-
38
-
39
-
40
-
41
-
42
-
43
-
44
-
45
-
46
-
47
-
48
-
49
-
50
-
51
-
52
-
53
-
54
-
55
-
56
-
57
-
58
-
59
-
60
-
61
-
62
-
63
-
64
-
65
-
66
-
67
-
68
-
69
 |
 |