Bushnell 11 8200 User Manual - Page 10
located in C:/My Documents/My Pictures. - imageview drivers
 |
View all Bushnell 11 8200 manuals
Add to My Manuals
Save this manual to your list of manuals |
Page 10 highlights
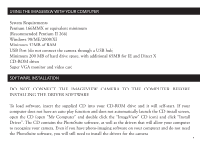
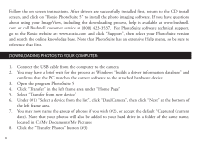
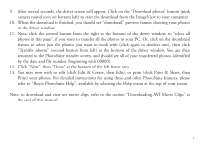
Follow the on screen instructions. After drivers are successfully installed first, return to the CD install screen, and click on "Roxio PhotoSuite 5" to install the photo imaging software. If you have questions about using your ImageView, including the downloading process, help is available at www.bushnell. com or call Bushnell customer service at (800) 423-3537. For PhotoSuite software technical support, go to the Roxio website at: www.roxio.com and click "Support", then select your PhotoSuite version and search the online knowledge base. Note that PhotoSuite has an extensive Help menu, so be sure to reference that first. DOWNLOADING PHOTOS TO YOUR COMPUTER: 1. Connect the USB cable from the computer to the camera. 2. You may have a brief wait for the process as Windows "builds a driver information database" and confirms that the PC matches the correct software to the attached hardware device. 3. Open the program PhotoSuite 5 4. Click "Transfer" in the left frame area under "Home Page" 5. Select "Transfer from new device" 6. Under (#1) "Select a device from the list", click "DaulCamera", then click "Next" at the bottom of the left frame area. 7. You may now name the group of photos if you wish (#2), or accept the default "Captured (current date). Note that your photos will also be added to your hard drive in a folder of the same name, located in C:/My Documents/My Pictures. 8. Click the "Transfer Photos" button (#3). 6
-
 1
1 -
2
-
3
-
4
-
 5
5 -
 6
6 -
 7
7 -
 8
8 -
 9
9 -
 10
10 -
 11
11 -
 12
12 -
 13
13 -
 14
14 -
 15
15 -
16
-
17
 |
 |