Bushnell 11 8200 User Manual - Page 3
Quick Guide: Bushnell Imageview 11-8200 - imageview binocular
 |
View all Bushnell 11 8200 manuals
Add to My Manuals
Save this manual to your list of manuals |
Page 3 highlights
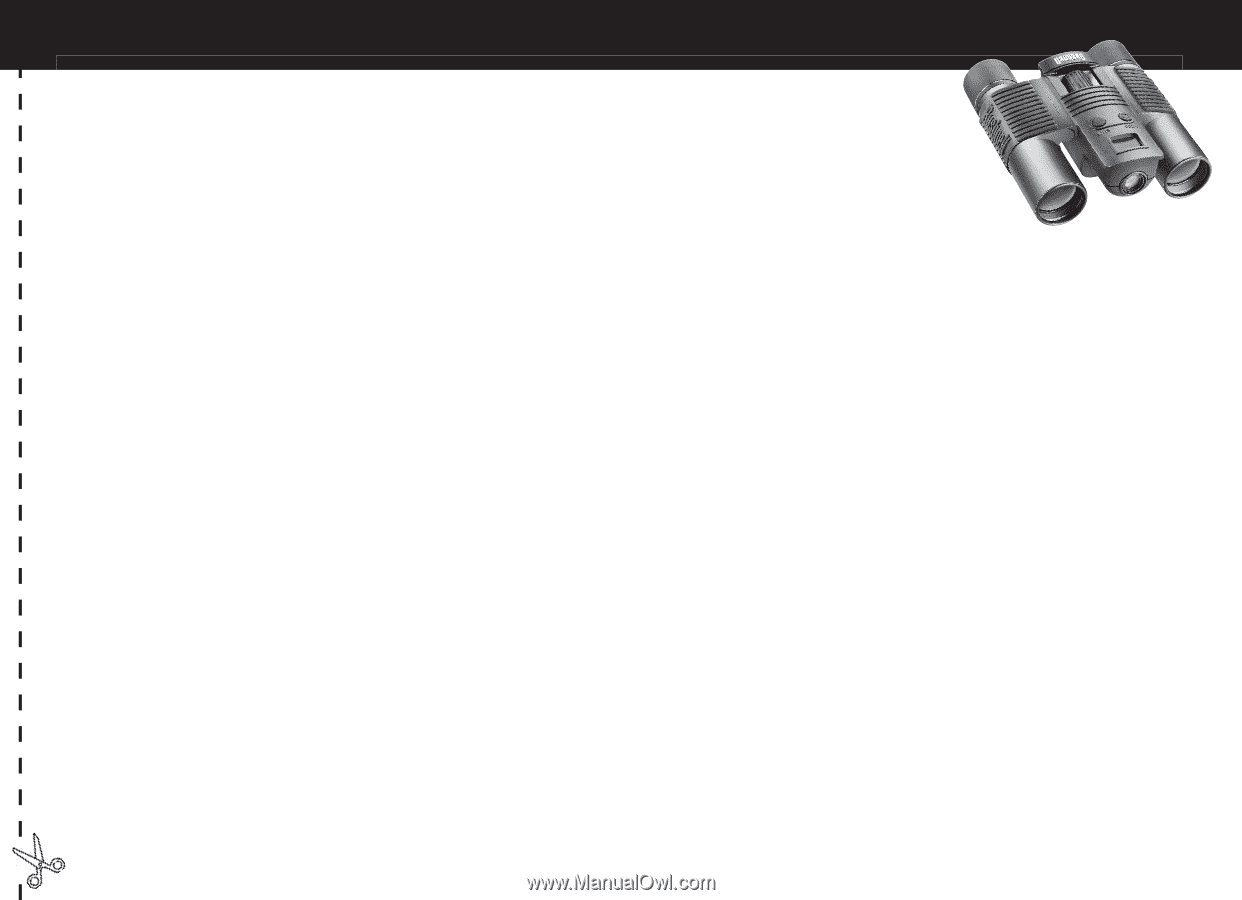
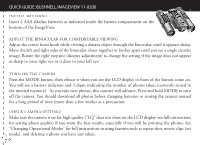
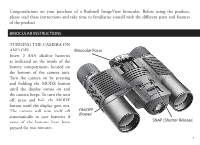
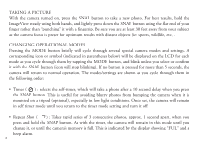
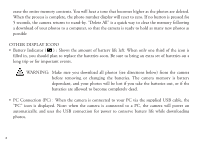
QUICK GUIDE: BUSHNELL IMAGEVIEW 11-8200 INSTALL BATTERIES Insert 2 AAA alkaline batteries as indicated inside the battery compartment on the bottom of the ImageView. ADJUST THE BINOCULAR FOR COMFORTABLE VIEWING Adjust the center focus knob while viewing a distant object through the binocular, until it appears sharp. Move the left and right sides of the binocular closer together or farther apart until you see a single circular image. Rotate the right eyepiece (diopter adjustment) to change the setting if the image does not appear as sharp to your right eye as it does to your left eye. TURN ON THE CAMERA Press the MODE button, then release it when you see the LCD display in front of the button come on. You will see a battery indicator and 3 digits indicating the number of photos taken (currently stored in the internal memory). As you take new photos, this counter will advance. Press and hold MODE to turn off the camera. You should download all photos before changing batteries or storing the camera unused for a long period of time (more than a few weeks) as a precaution. CHECK CAMERA SETTINGS Make sure the camera is set for high quality ("LQ" does not show on the LCD display-see full instructions for setting photo quality) if you want the best results, especially if you will be printing the photos. See "Changing Operational Modes" for full instructions in using features such as repeat shot, movie clips (avi mode), and deleting a photo you have just taken.
-
 1
1 -
 2
2 -
 3
3 -
 4
4 -
 5
5 -
 6
6 -
 7
7 -
 8
8 -
 9
9 -
10
-
11
-
12
-
13
-
14
-
15
-
16
-
17
 |
 |