Canon 2080B001 XL H1S / XL H1A Instruction Manual - Page 117
Date Search, Data Code, Selecting the Data Code, Six-Second Auto Date
 |
UPC - 013803079685
View all Canon 2080B001 manuals
Add to My Manuals
Save this manual to your list of manuals |
Page 117 highlights
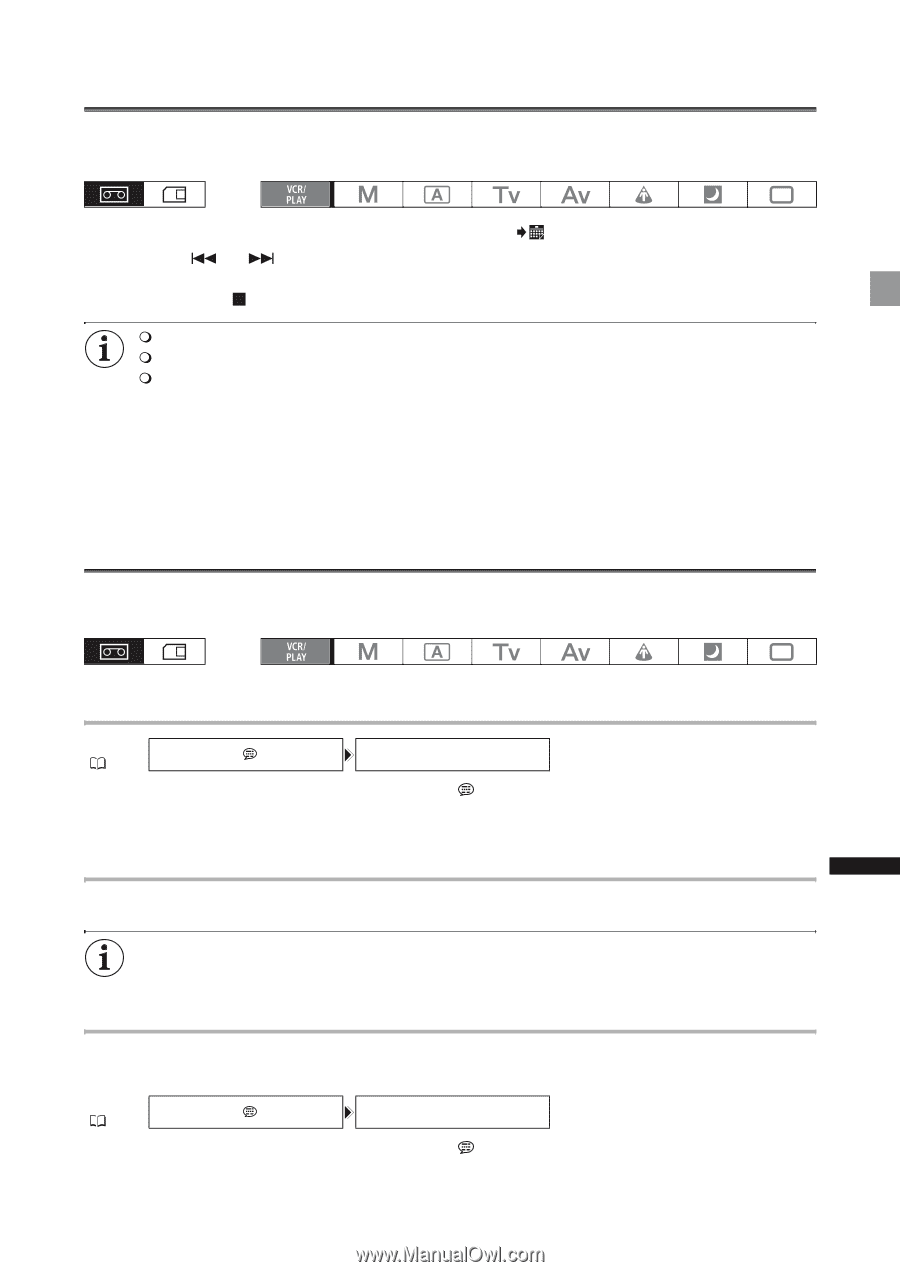
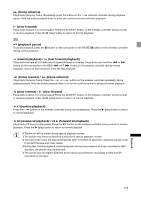
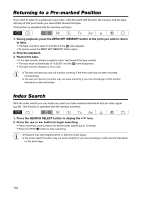
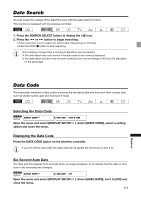
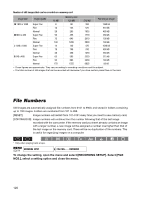
Date Search You can locate the change of the date/time zone with the date search function. This function is operated with the wireless controller. 1. Press the SEARCH SELECT button to display the icon. 2. Press the or button to begin searching. • Press more than once to search for further date changes (up to 10 times). • Press the STOP button to stop searching. A recording of longer than a minute per date/time zone is required. The date search may not function if the data code is not correctly displayed. The date search function may not work correctly if you mix recordings in HDV and DV standards on the same tape. Data Code The camcorder maintains a data code containing the recording date and time and other camera data such as shutter speed, gain and exposure (f-stop). Selecting the Data Code MENU DISPLAY SETUP/ ( 33) DATA CODE••••DATE & TIME Open the menu and select [DISPLAY SETUP/ ]. Select [DATA CODE], select a setting option and close the menu. Displaying the Data Code Press the DATA CODE button on the wireless controller. If you turn off the camcorder, the data code will not appear the next time you turn it on. Six-Second Auto Date The date and time appear for 6 seconds when you begin playback, or to indicate that the date or time zone in the recording has changed. MENU ( 33) DISPLAY SETUP/ 6SEC.DATE••••OFF Open the menu and select [DISPLAY SETUP/ close the menu. ]. Select [6SEC.DATE], set it to [ON] and 117 Playback
-
 1
1 -
2
-
3
-
4
-
5
-
6
-
7
-
8
-
9
-
10
-
11
-
12
-
13
-
14
-
15
-
16
-
17
-
18
-
19
-
20
-
21
-
22
-
23
-
24
-
25
-
26
-
27
-
28
-
29
-
30
-
31
-
32
-
33
-
34
-
35
-
36
-
37
-
38
-
39
-
40
-
41
-
42
-
43
-
44
-
45
-
46
-
47
-
48
-
49
-
50
-
51
-
52
-
53
-
54
-
55
-
56
-
57
-
58
-
59
-
60
-
61
-
62
-
63
-
64
-
65
-
66
-
67
-
68
-
69
-
70
-
71
-
72
-
73
-
74
-
75
-
76
-
77
-
78
-
79
-
80
-
81
-
82
-
83
-
84
-
85
-
86
-
87
-
88
-
89
-
90
-
91
-
92
-
93
-
94
-
95
-
96
-
97
-
98
-
99
-
100
-
101
-
102
-
103
-
104
-
105
-
106
-
107
-
108
-
109
-
110
-
111
-
 112
112 -
 113
113 -
 114
114 -
 115
115 -
 116
116 -
 117
117 -
 118
118 -
 119
119 -
 120
120 -
 121
121 -
 122
122 -
123
-
124
-
125
-
126
-
127
-
128
-
129
-
130
-
131
-
132
-
133
-
134
-
135
-
136
-
137
-
138
-
139
-
140
-
141
-
142
-
143
-
144
-
145
-
146
-
147
-
148
-
149
-
150
-
151
-
152
-
153
-
154
-
155
-
156
-
157
-
158
-
159
-
160
-
161
-
162
-
163
 |
 |