Canon Color imageCLASS MF8050Cn imageCLASS MF8050Cn Starter Guide - Page 22
Checking the Installation Results, For Windows
 |
View all Canon Color imageCLASS MF8050Cn manuals
Add to My Manuals
Save this manual to your list of manuals |
Page 22 highlights
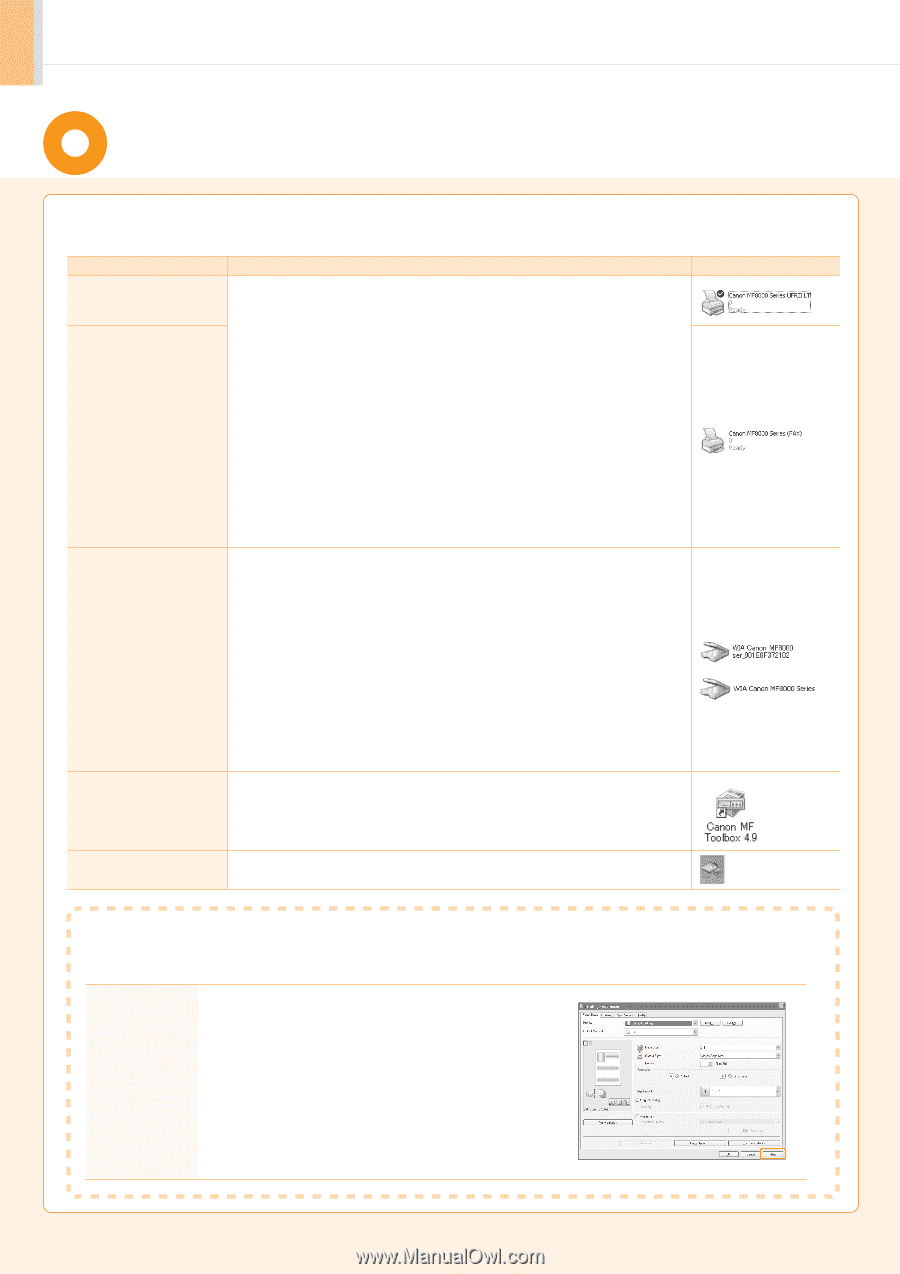
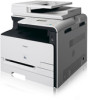
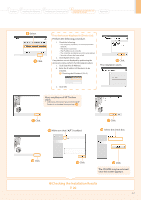
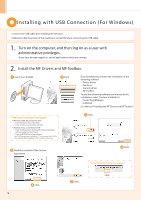
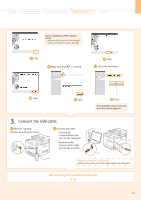
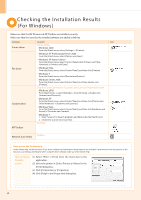
Checking the Installation Results (For Windows) Make sure that the MF Drivers and MF Toolbox are installed correctly. Make sure that the icons for the installed software are added as follows. Software Printer driver Fax driver Scanner driver Location Icon Printer folder • Windows 2000 From the [Start] menu, select [Settings] → [Printers]. • Windows XP Professional/Server 2003 From the [Start] menu, select [Printers and Faxes]. • Windows XP Home Edition From the [Start] menu, select [Control Panel], click [Printers and Other Hardware] → [Printers and Faxes]. • Windows Vista From the [Start] menu, select [Control Panel], and then click [Printers]. • Windows 7 From the [Start] menu, select [Devices and Printers]. • Windows Server 2008 From the [Start] menu, select [Control Panel], and then double-click [Printers]. [Scanners and Cameras] or [Scanners and Cameras Properties] folder • Windows 2000 From [Start] menu → select [Settings] → [Control Panel] → double-click [Scanners and Cameras]. • Windows XP From the [Start] menu, select [Control Panel], and then click [Printers and Other Hardware] → [Scanners and Cameras]. • Windows Vista From the [Start] menu, select [Control Panel], and then click [Hardware and Sound] → [Scanners and Cameras]. • Windows 7 1. Enter "scanner" in [Search programs and files] under the [Start] menu. 2. Click [View scanners and cameras]. Desktop MF Toolbox Network Scan Utility Taskbar How to Use the Online Help In the Online Help, all the functions of the driver software and information about options are included. If you want to view descriptions of the functions and settings immediately when using the driver software, make use of the Online Help. How to display the Help screen (1) Select [File] → [Print] from the menu bar in the application. (2) Select the printer in [Select Printer] or [Name] in the [Print] dialog box. (3) Click [Preferences] or [Properties]. (4) Click [Help] in the [Properties] dialog box. 20
-
 1
1 -
2
-
3
-
4
-
5
-
6
-
7
-
8
-
9
-
10
-
11
-
12
-
13
-
14
-
15
-
16
-
 17
17 -
 18
18 -
 19
19 -
 20
20 -
 21
21 -
 22
22 -
 23
23 -
 24
24 -
 25
25 -
 26
26 -
 27
27 -
28
-
29
-
30
-
31
-
32
 |
 |