Canon imageCLASS 2300N Set-up Sheet for imageCLASS 2300N - Page 4
Install the toner cartridge
 |
View all Canon imageCLASS 2300N manuals
Add to My Manuals
Save this manual to your list of manuals |
Page 4 highlights
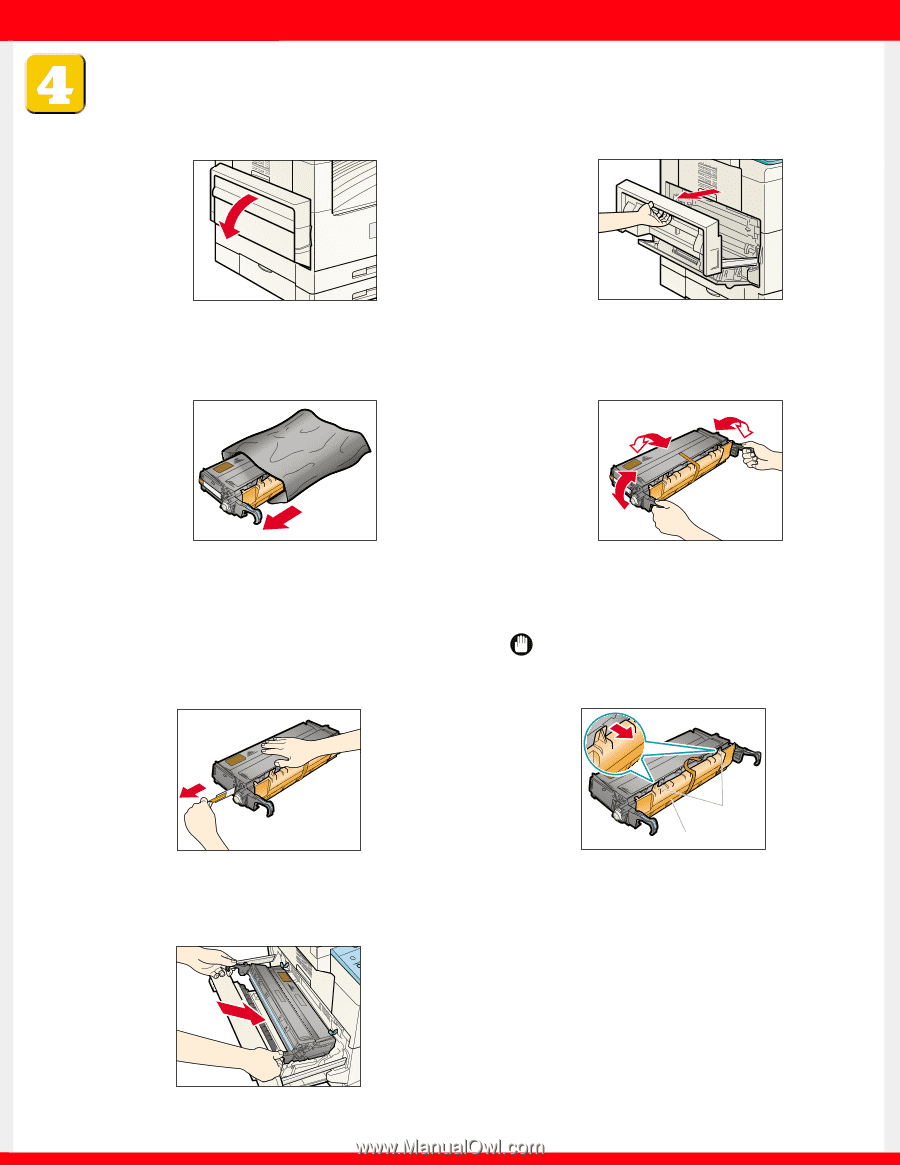
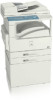
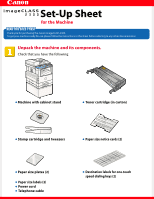
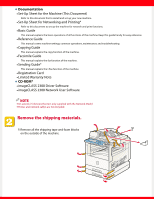
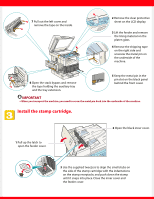
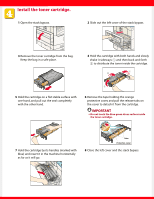
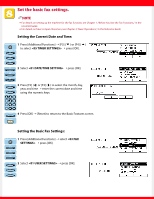
Install the toner cartridge. 1 Open the stack bypass. 2 Slide out the left cover of the stack bypass. 3 Remove the toner cartridge from the bag. Keep the bag in a safe place. 4 Hold the cartridge with both hands and slowly shake it sideways 1 and then back and forth 2 to distribute the toner inside the cartridge. 1 2 1 5 Hold the cartridge on a flat stable surface with one hand, and pull out the seal completely with the other hand. 6 Remove the tape holding the orange protective cover, and pull the release tabs on the cover to detach it from the cartridge. IMPORTANT G Do not touch the blue-green drum surface inside the toner cartridge. 7 Hold the cartridge by its handles (marked with blue) and insert it in the machine horizontally as far as it will go. 1 Tabs Protective cover 8 Close the left cover and the stack bypass.
-
 1
1 -
 2
2 -
 3
3 -
 4
4 -
 5
5 -
 6
6 -
 7
7 -
 8
8
 |
 |