Cisco 5505 Installation Guide - Page 4
Installing the Chassis, Connecting to Network Interfaces - rack mnt
 |
UPC - 882658082252
View all Cisco 5505 manuals
Add to My Manuals
Save this manual to your list of manuals |
Page 4 highlights
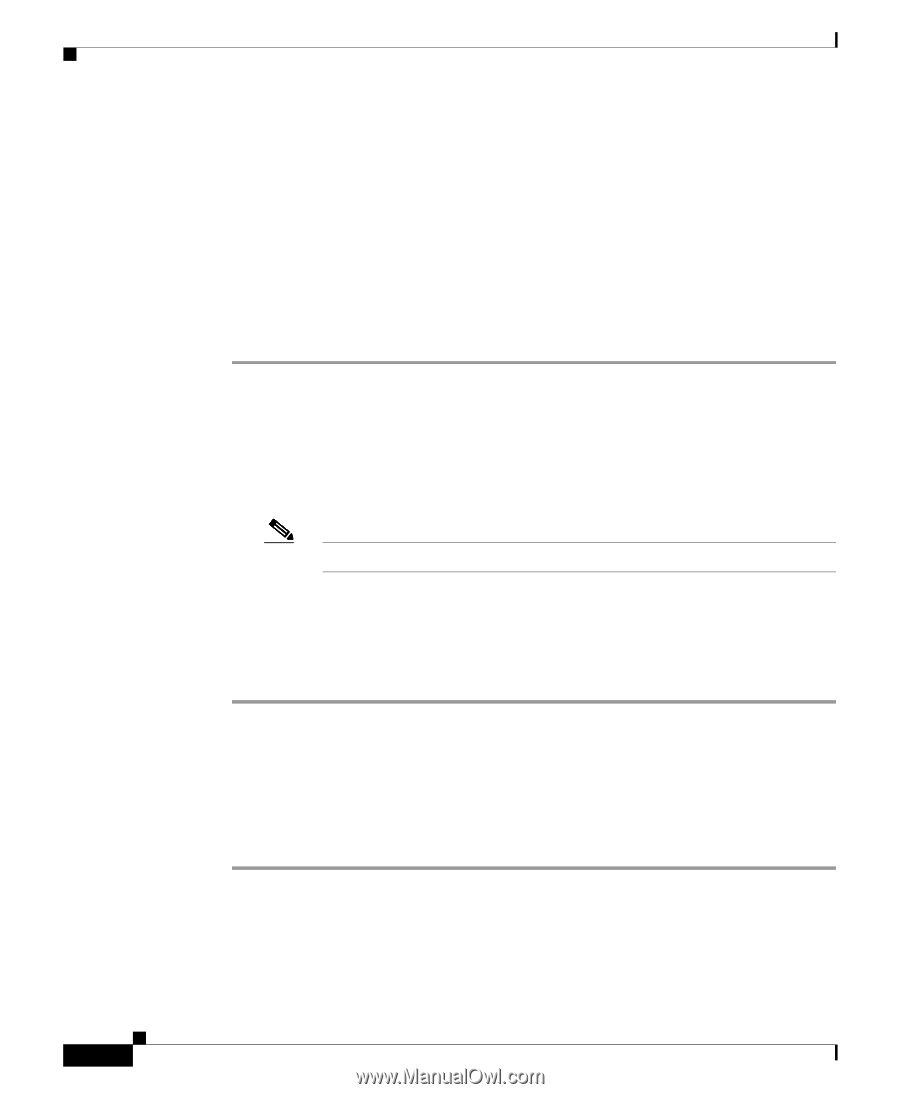
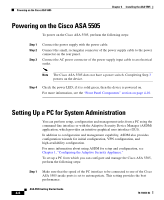
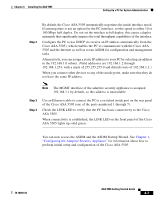
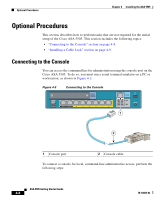
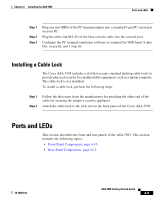
Installing the Chassis Chapter 4 Installing the ASA 5505 Installing the Chassis You can wall-mount or rack-mount the Cisco ASA 5505. The part number for ordering a wall-mount kit for the Cisco ASA 5505 is ASA-5505-WALL-MNT= , the part number for ordering a rack-mount kit for the Cisco ASA 5505 is ASA5505-RACK-MNT=. For information on wall-mounting or rack-mounting the Cisco ASA 5505, see "Mounting the ASA 5505 Chassis" section in the Cisco ASA 5500 Series Hardware Installation Guide. To install the Cisco ASA 5505, perform the following steps: Step 1 Step 2 Place the chassis on a flat, stable surface. Connect Port 0 to the public network (that is, the Internet): a. Use a yellow Ethernet cable to connect the device to a switch or hub. b. Use one of the yellow Ethernet cables to connect the device to a cable/DSL/ISDN modem. Note By default, switch port 0 is the outside port. Step 3 Connect your network devices with an Ethernet cable to one of the remaining seven switched ports (numbered 1 through 7). If you are connecting any Power over Ethernet (PoE) devices, connect them to one of the switch ports that support PoE (ports numbered 6 and 7). Connecting to Network Interfaces To connect to a network interface, perform the following steps: Step 1 Step 2 Locate an RJ-45 to RJ-45 Ethernet cable. Connect one end of the Ethernet cable to an Ethernet port (ports 0 through 7), as shown in Figure 4-2. (Typically Ethernet port 0 is used to connect to an Internet router.) ASA 5505 Getting Started Guide 4-4 78-18003-02
-
 1
1 -
 2
2 -
 3
3 -
 4
4 -
 5
5 -
 6
6 -
 7
7 -
 8
8 -
 9
9 -
 10
10 -
11
-
12
-
13
-
14
 |
 |