Craftsman 32724611 Owners Manual - Page 5
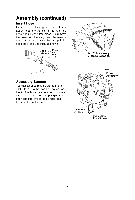
Assembly, continued
 |
View all Craftsman 32724611 manuals
Add to My Manuals
Save this manual to your list of manuals |
Page 5 highlights
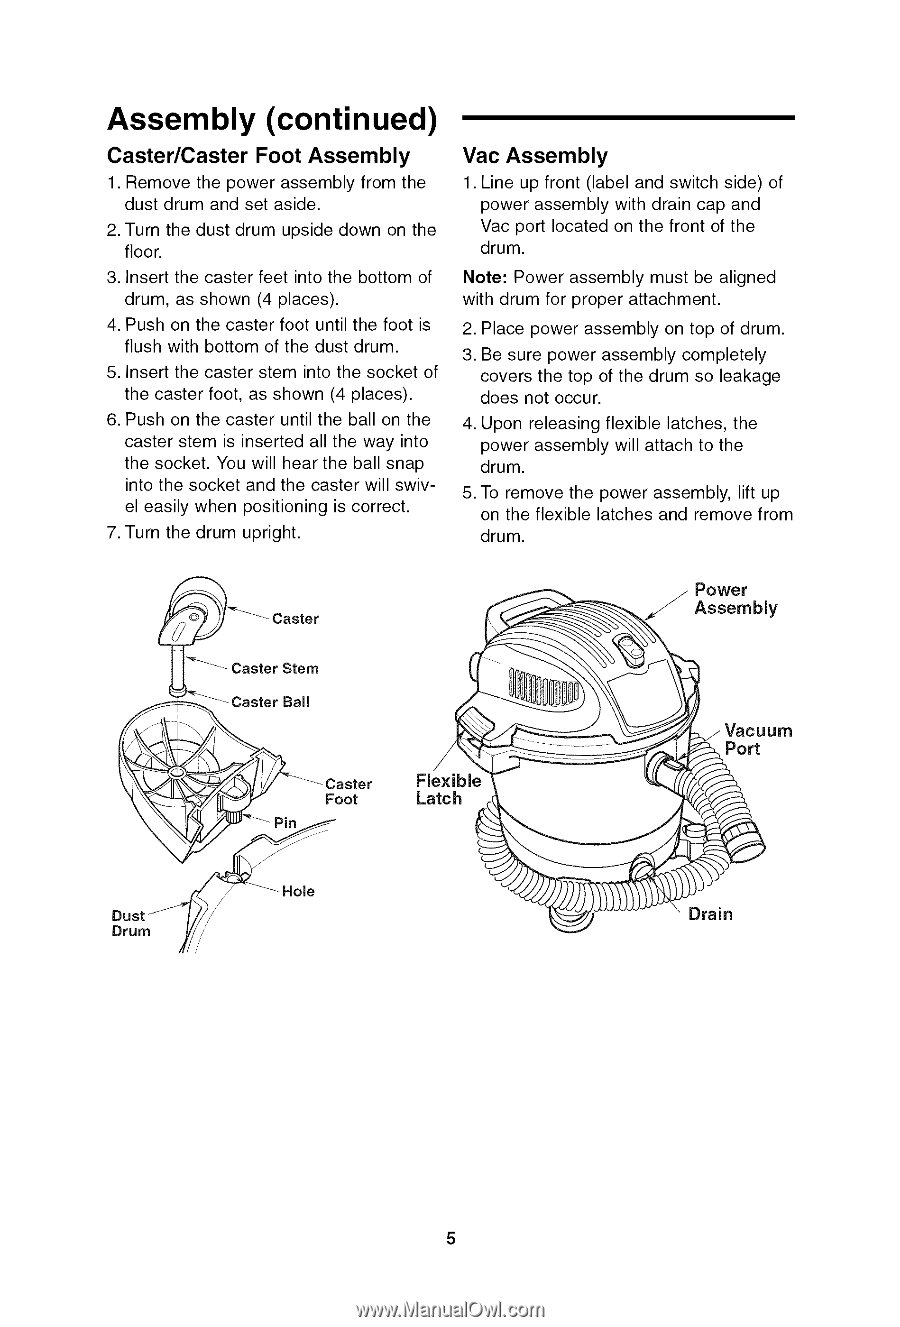
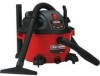
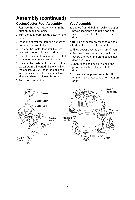
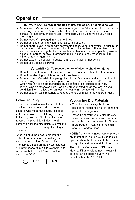
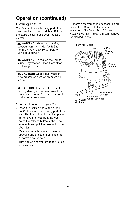
Assembly (continued) Caster/Caster Foot Assembly 1. Remove the power assembly from the dust drum and set aside. 2. Turn the dust drum upside down on the floor. 3. Insert the caster feet into the bottom of drum, as shown (4 places). 4. Push on the caster foot until the foot is flush with bottom of the dust drum. 5. Insert the caster stem into the socket of the caster foot, as shown (4 places). 6. Push on the caster until the ball on the caster stem is inserted all the way into the socket. You will hear the ball snap into the socket and the caster will swivel easily when positioning is correct. 7. Turn the drum upright. Vac Assembly 1. Line up front (label and switch side) of power assembly with drain cap and Vac port located on the front of the drum. Note: Power assembly must be aligned with drum for proper attachment. 2. Place power assembly on top of drum. 3. Be sure power assembly completely covers the top of the drum so leakage does not occur. 4. Upon releasing flexible latches, the power assembly will attach to the drum. 5. To remove the power assembly, lift up on the flexible latches and remove from drum. __ _Caster Caster Stem Power _/Assembly Flexible _" Foot Latch ,_ Vacuum Port Drum _Hole / / Drain
-
 1
1 -
 2
2 -
 3
3 -
 4
4 -
 5
5 -
 6
6 -
 7
7 -
 8
8 -
 9
9 -
 10
10 -
 11
11 -
12
-
13
-
14
-
15
-
16
-
17
-
18
-
19
-
20
-
21
-
22
-
23
-
24
-
25
-
26
-
27
-
28
 |
 |