DELPHI TNR800 Installation Guide - Page 14
There is
 |
View all DELPHI TNR800 manuals
Add to My Manuals
Save this manual to your list of manuals |
Page 14 highlights
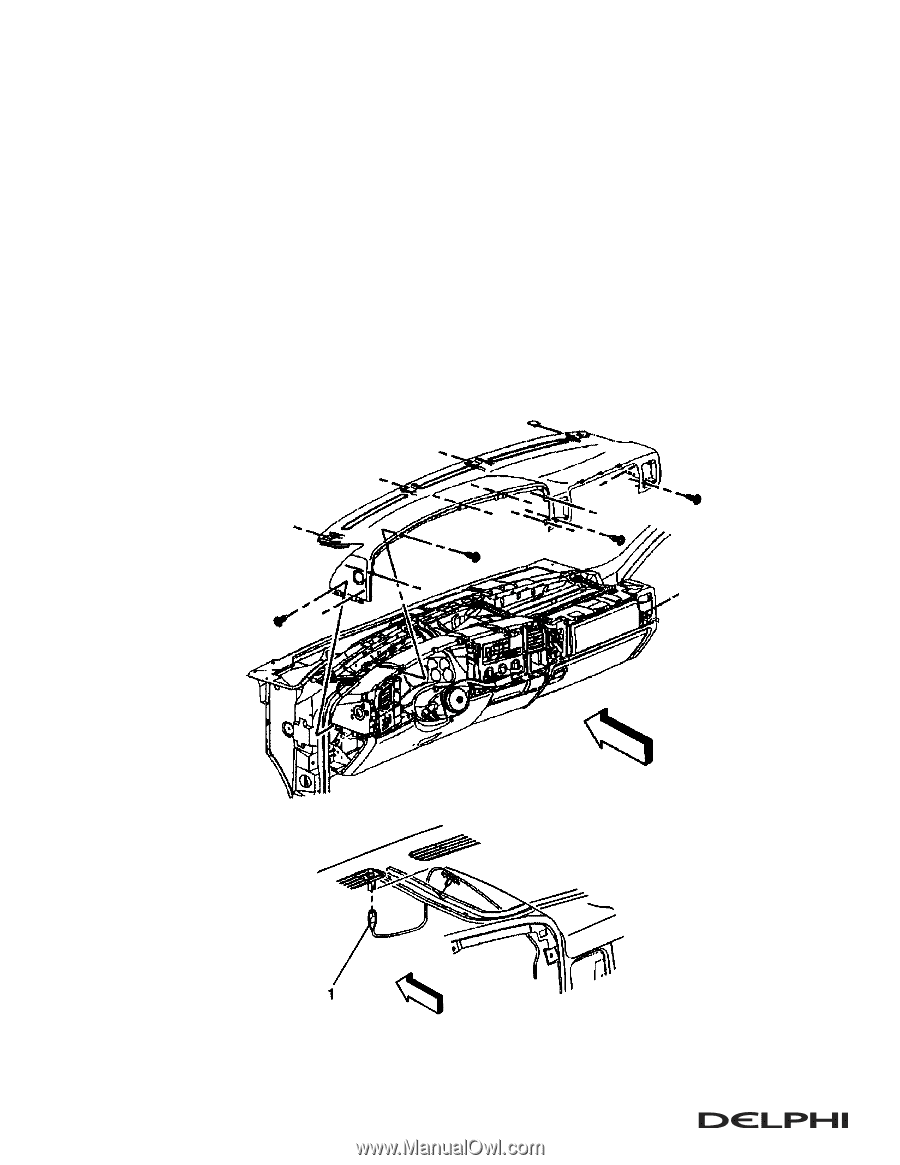
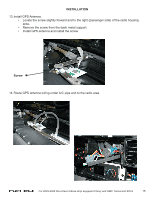
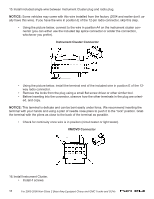
12. Remove the Top Dash Trim. • Remove two screws from each side of the dash. • Remove two screws from the passenger A/C vent location. • Remove remaining screws from the front of the dash trim. • Release the clips from each side of the dash by pulling out slightly. • Pull out on the dash trim above the passenger's airbag (there are three clips in this location that must be released before the trim can be removed). • Lift up the dash trim to disconnect the ambient light sensor. NOTICE: When lifting up on the dash trim, be careful of the ambient light sensor wiring. There is not much slack in the wiring and it could be torn from the sensor very easily. • Twist the ambient light housing (1/4 twist) to release the sensor from the dash pad. This must be done before bringing the pad forward to remove. 14 For 2003-2006 Non-Class 2 Bose Amp Equipped Chevy and GMC Trucks and SUVs
-
 1
1 -
2
-
3
-
4
-
5
-
6
-
7
-
8
-
 9
9 -
 10
10 -
 11
11 -
 12
12 -
 13
13 -
 14
14 -
 15
15 -
 16
16 -
 17
17 -
 18
18 -
 19
19
 |
 |