DELPHI TNR800 Installation Guide - Page 18
Make sure the parking brake is set.
 |
View all DELPHI TNR800 manuals
Add to My Manuals
Save this manual to your list of manuals |
Page 18 highlights
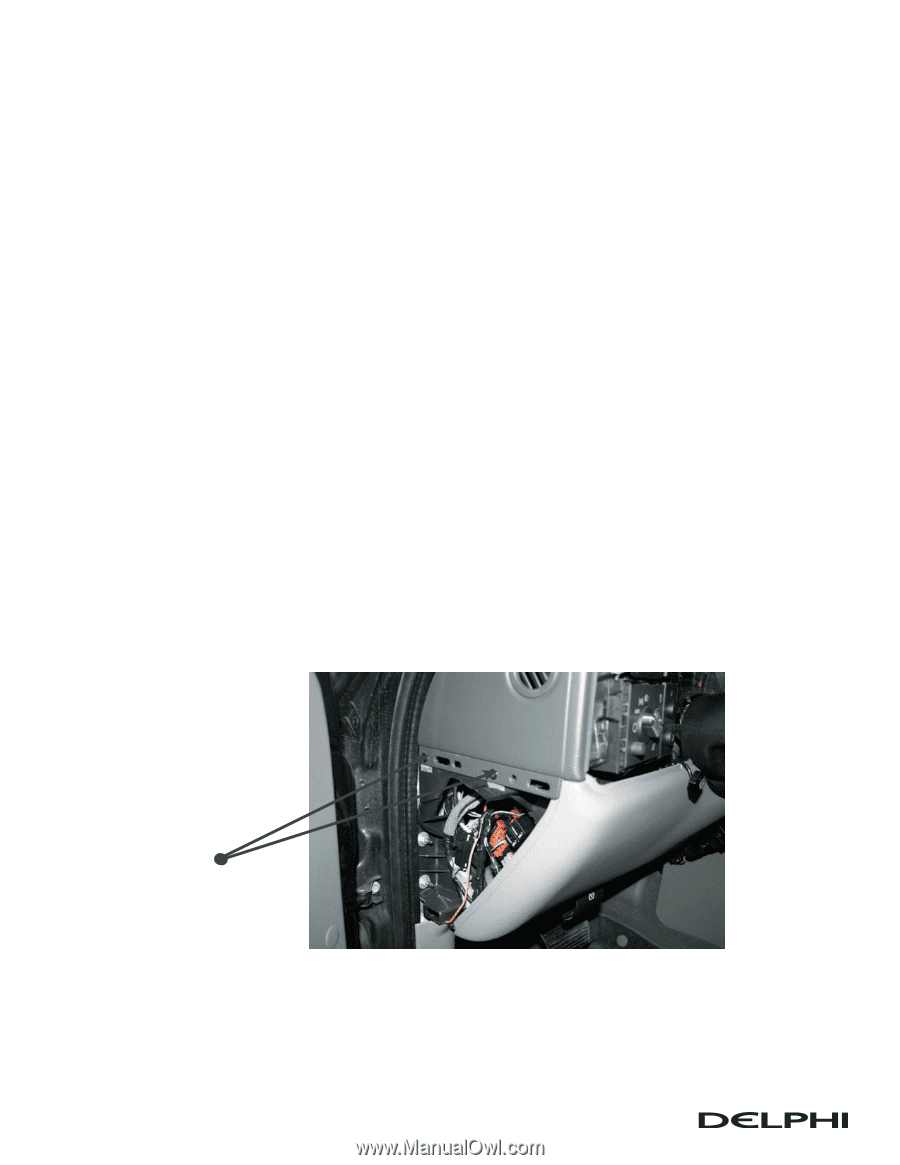
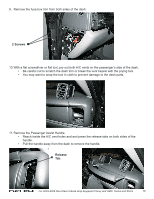
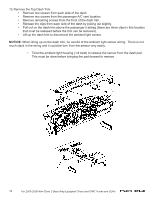
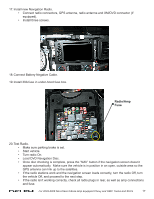
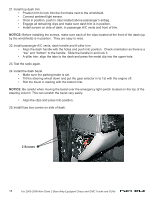
21. Install top dash trim. • Position trim to lock into the front tabs next to the windshield. • Connect ambient light sensor. • Once in position, push in clips located above passenger's airbag. • Engage all remaining clips and make sure dash trim is in position. • Install screws on side of dash, in passenger A/C vents and front of trim. NOTICE: Before installing the screws, make sure each of the clips located at the front of the dash (up by the windshield) is in position. They are easy to miss. 22. Install passenger A/C vents, dash handle and A-pillar trim. • Align the dash handle with the holes and push into position. Check orientation as there is a "top" and "bottom" to the handle. Slide the handle in and lock it. • A-pillar trim: align the tabs to the dash and press the metal clip into the upper hole. 23. Test the radio again. 24. Install the dash bezel. • Make sure the parking brake is set. • Tilt the steering wheel down and put the gear selector in to 1st with the engine off. • Roll the bezel in starting with the bottom first. NOTICE: Be careful when moving the bezel over the emergency light switch located on the top of the steering column. This can scratch the bezel very easily. • Align the clips and press into position. 25. Install fuse box covers on side of dash. 2 Screws 18 For 2003-2006 Non-Class 2 Bose Amp Equipped Chevy and GMC Trucks and SUVs
-
 1
1 -
2
-
3
-
4
-
5
-
6
-
7
-
8
-
9
-
10
-
11
-
12
-
 13
13 -
 14
14 -
 15
15 -
 16
16 -
 17
17 -
 18
18 -
 19
19
 |
 |