DELPHI TNR800 Installation Guide - Page 17
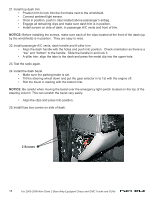
Load DVD Navigation Disc.
 |
View all DELPHI TNR800 manuals
Add to My Manuals
Save this manual to your list of manuals |
Page 17 highlights
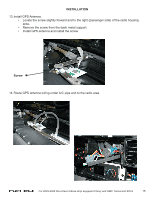
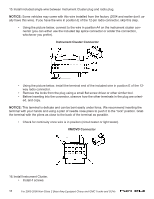
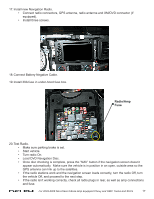
17. Install new Navigation Radio. • Connect radio connectors, GPS antenna, radio antenna and XM/DVD connector (if equipped). • Install three screws. 18. Connect Battery Negative Cable. 19. Install 30A fuse in under-hood fuse box. Radio/Amp Fuse 20. Test Radio. • Make sure parking brake is set. • Start vehicle. • Turn radio On. • Load DVD Navigation Disc. • Once disc checking is complete, press the "NAV" button if the navigation screen doesn't appear automatically. Make sure the vehicle is in position in an open, outside area so the GPS antenna can link up to the satellites. • If the radio stations work and the navigation screen loads correctly, turn the radio Off, turn the vehicle Off, and proceed to the next step. • If the radio isn't working correctly, check all radio plugs in rear, as well as amp connections and fuse. For 2003-2006 Non-Class 2 Bose Amp Equipped Chevy and GMC Trucks and SUVs 17
-
 1
1 -
2
-
3
-
4
-
5
-
6
-
7
-
8
-
9
-
10
-
11
-
 12
12 -
 13
13 -
 14
14 -
 15
15 -
 16
16 -
 17
17 -
 18
18 -
 19
19
 |
 |
