Dell Inspiron 6000 Service Manual - Page 26
Mini PCI Card - user manual
 |
View all Dell Inspiron 6000 manuals
Add to My Manuals
Save this manual to your list of manuals |
Page 26 highlights
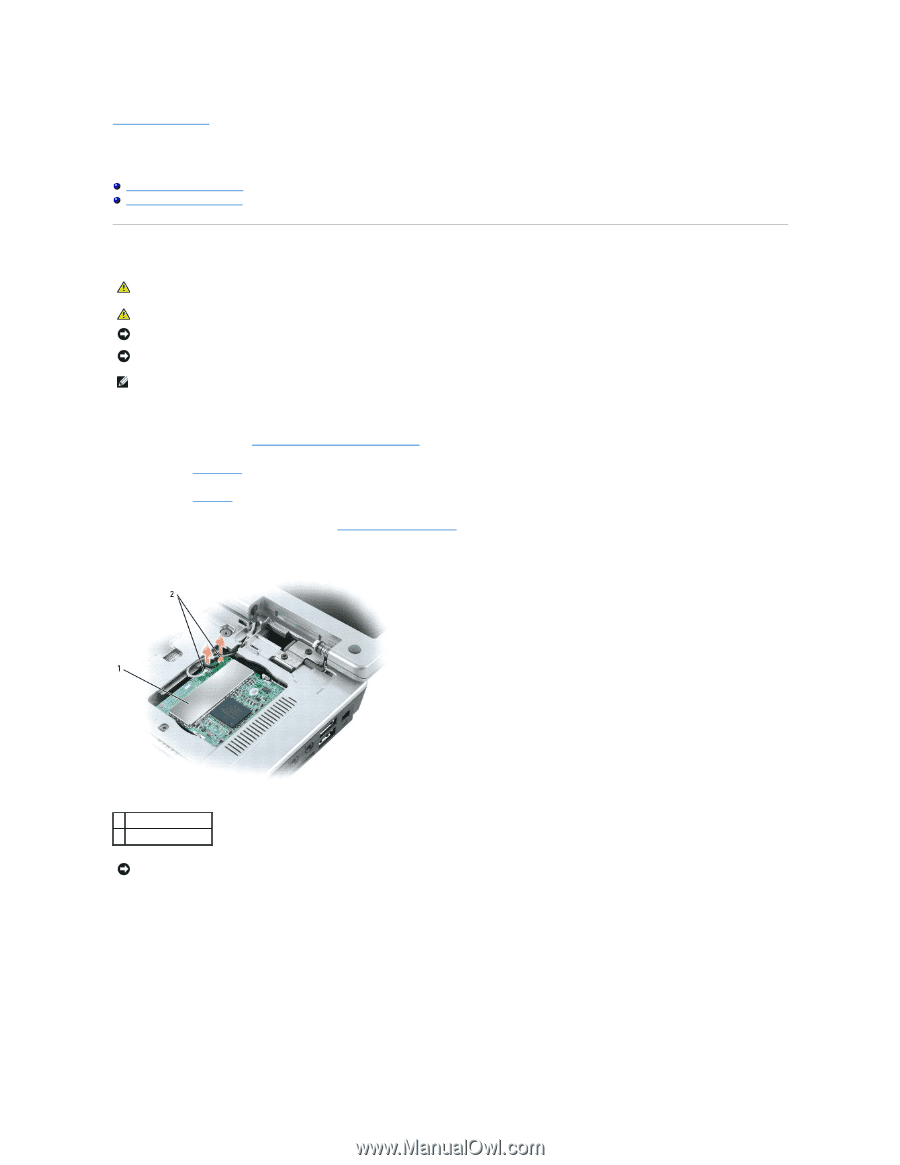
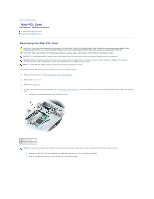
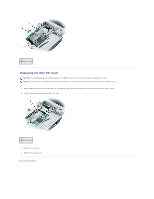
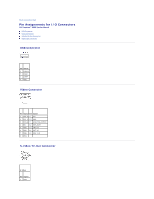
Back to Contents Page Mini PCI Card Dell Inspiron™ 6000 Service Manual Removing the Mini PCI Card Replacing the Mini PCI Card Removing the Mini PCI Card CAUTION: If you are removing and/or installing a 2.4-GHz (802.11b, 802.11b/g) Mini PCI card, follow the instructions noted below. Only products approved for use in your portable computer may be installed. Approved Mini PCI cards may be purchased only from Dell. CAUTION: Before you perform the following procedures, see the safety instructions in the Product Information Guide. NOTICE: To avoid damaging the system board, you must remove the main battery before you begin working inside the computer. NOTICE: Handle components and cards with care. Do not touch the components or contacts on a card. Hold a card by its edges or by its metal mounting bracket. Hold a component such as a microprocessor by its edges, not by its pins. NOTE: 2.4-GHz Wireless LAN PC Cards may be removed and installed by the user. If you ordered a Mini PCI card with your computer, the card is already installed. 1. Follow the instructions in "Preparing to Work Inside the Computer." 2. Remove the hinge cover. 3. Remove the keyboard. 4. If a Mini PCI card is not already installed, see "Replacing the Mini PCI Card." If you are replacing an already installed Mini PCI card, remove the existing card: a. Disconnect the antenna cables from the Mini PCI card. 1 Mini PCI card 2 antenna cables (2) NOTICE: To prevent damage to the Mini PCI card connector, use your fingers (not a tool) to spread the clips that secure the card. b. Release the Mini PCI card by spreading the metal securing clips until the card pops up slightly. c. Remove the Mini PCI card from the connector at a 45-degree angle.
-
 1
1 -
2
-
3
-
4
-
5
-
6
-
7
-
8
-
9
-
10
-
11
-
12
-
13
-
14
-
15
-
16
-
17
-
18
-
19
-
20
-
 21
21 -
 22
22 -
 23
23 -
 24
24 -
 25
25 -
 26
26 -
 27
27 -
 28
28 -
 29
29 -
 30
30 -
 31
31 -
32
-
33
-
34
-
35
-
36
-
37
-
38
-
39
-
40
-
41
-
42
-
43
-
44
-
45
 |
 |