Dell Latitude E6400 XFR Setup and Features Information Tech Sheet - Page 7
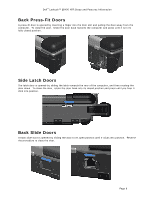
Hard Drive Installation, Operation of the PrimoSeal™ Doors, Docking Device Connector Door
 |
View all Dell Latitude E6400 XFR manuals
Add to My Manuals
Save this manual to your list of manuals |
Page 7 highlights
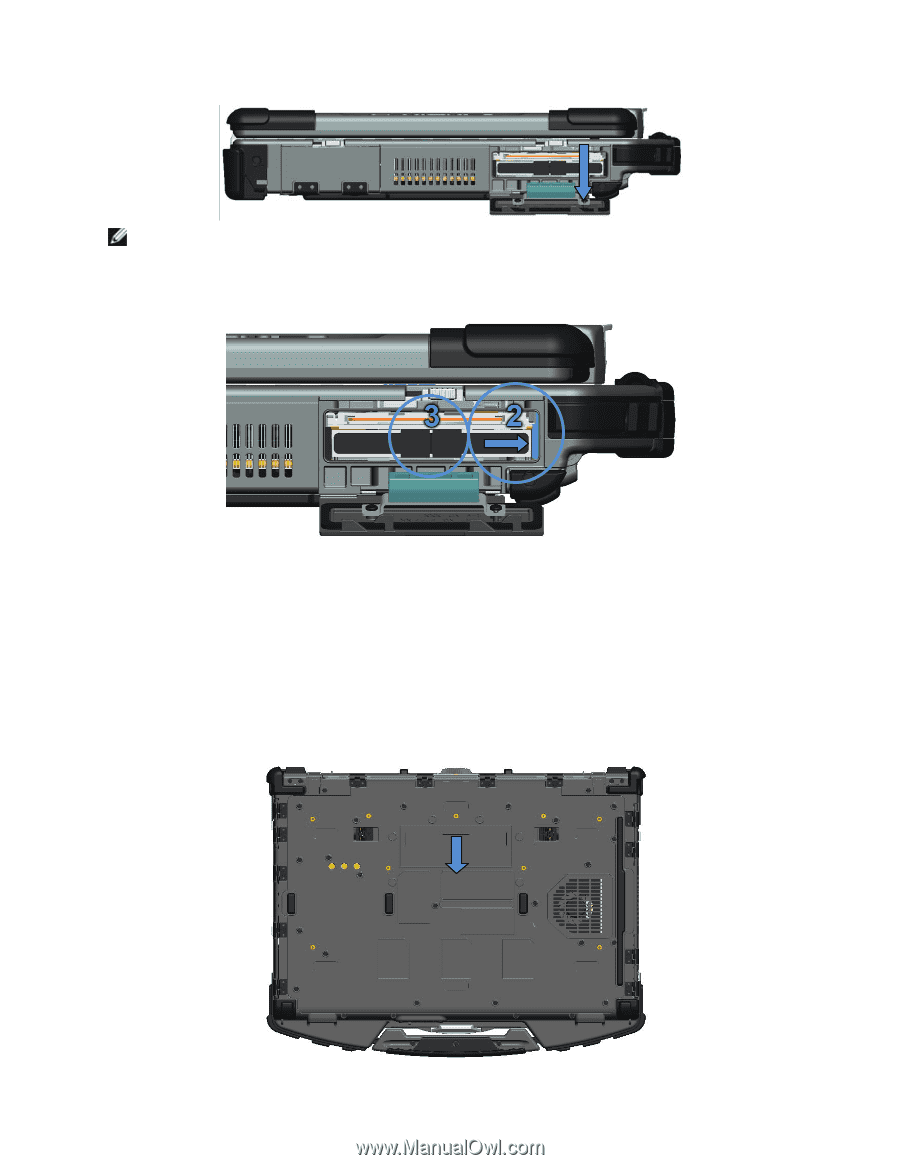
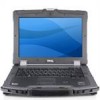
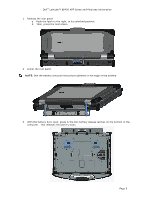
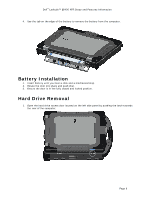
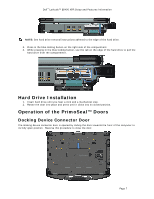
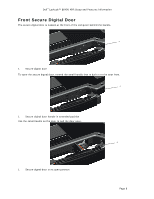
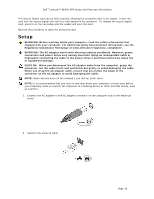
Dell™ Latitude™ E6400 XFR Setup and Features Information NOTE: See hard drive removal instructions adhered to the edge of the hard drive. 2. Press in the blue locking button on the right side of the compartment. 3. While pressing in the blue locking button, use the tab on the edge of the hard drive to pull the hard drive from the compartment. Hard Drive Installation 1. Insert hard drive until you hear a click and a mechanical stop. 2. Rotate the door into place and press until it clicks into its closed position. Operation of the PrimoSeal™ Doors Docking Device Connector Door The docking device connector door is opened by sliding the door towards the front of the computer to its fully open position. Reverse this procedure to close the door. Page 7
-
 1
1 -
 2
2 -
 3
3 -
 4
4 -
 5
5 -
 6
6 -
 7
7 -
 8
8 -
 9
9 -
 10
10 -
 11
11 -
 12
12 -
13
-
14
-
15
-
16
-
17
-
18
-
19
-
20
-
21
 |
 |