Dell PowerConnect 2616 User's Guide - Page 12
Technical Information, Brackets for Wall Installation, Table 1-2., Specifications - power supply
 |
View all Dell PowerConnect 2616 manuals
Add to My Manuals
Save this manual to your list of manuals |
Page 12 highlights
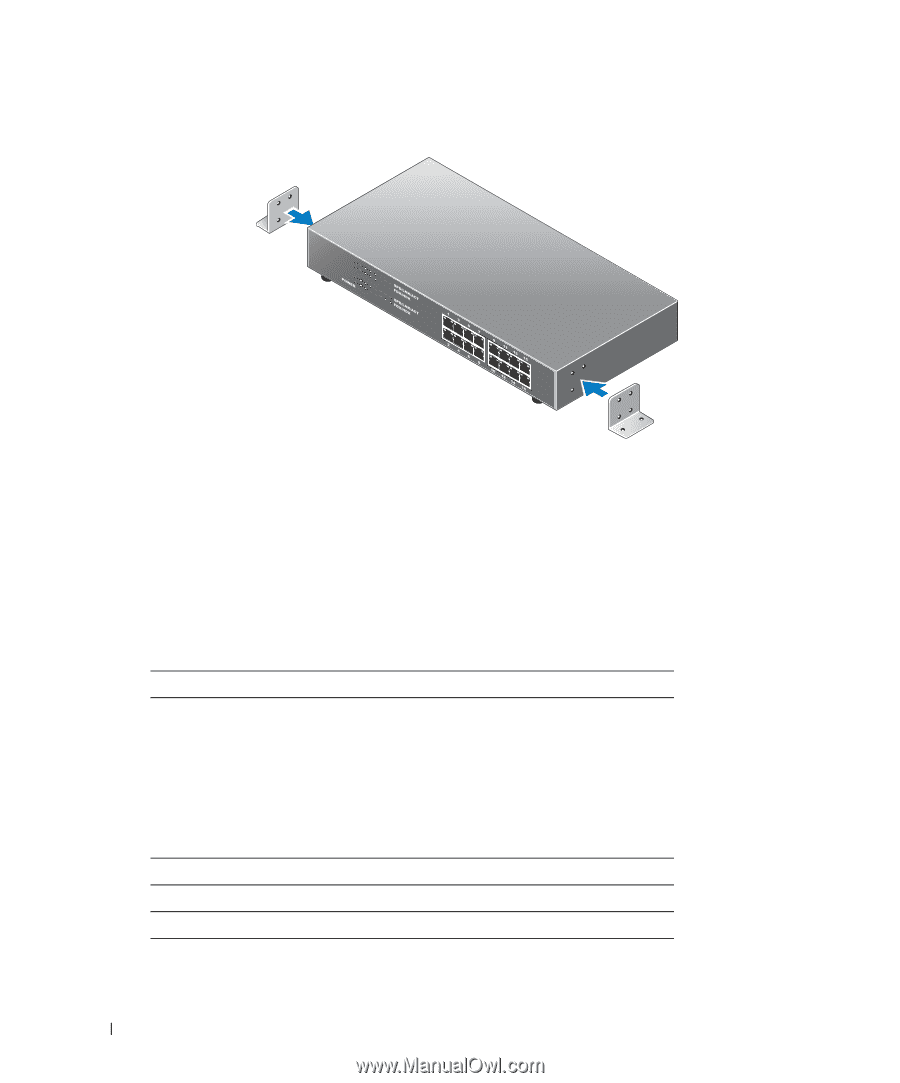
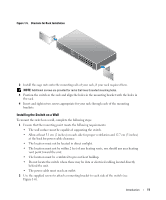
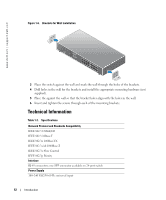
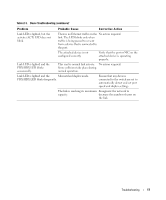
www.dell.com | support.dell.com Figure 1-6. Brackets for Wall Installation 3 Place the switch against the wall and mark the wall through the holes of the brackets. 4 Drill holes in the wall for the brackets and install the appropriate mounting hardware (not supplied). 5 Place the against the wall so that the bracket holes align with the holes in the wall. 6 Insert and tighten the screws through each of the mounting brackets. Technical Information Table 1-2. Specifications Network Protocol and Standards Compatibility IEEE 802.3 CSMA/CD IEEE 802.3 10Base-T IEEE 802.3u 100Base-TX IEEE 802.3z/ab 1000Base-T IEEE 802.3x Flow Control IEEE 802.3p Priority Interface RJ-45 connectors; one SFP connector available on 24-port switch Power Supply 100-240 VAC/5060 Hz universal input 12 Introduction
-
 1
1 -
2
-
3
-
4
-
5
-
6
-
 7
7 -
 8
8 -
 9
9 -
 10
10 -
 11
11 -
 12
12 -
 13
13 -
 14
14 -
 15
15 -
 16
16 -
 17
17 -
18
-
19
-
20
-
21
-
22
-
23
-
24
-
25
-
26
-
27
-
28
-
29
-
30
-
31
-
32
-
33
-
34
-
35
-
36
-
37
-
38
 |
 |