Electrolux EFME617STT Installation Instructions English Spanish French - Page 3
Installation Requirements - dryer
 |
View all Electrolux EFME617STT manuals
Add to My Manuals
Save this manual to your list of manuals |
Page 3 highlights
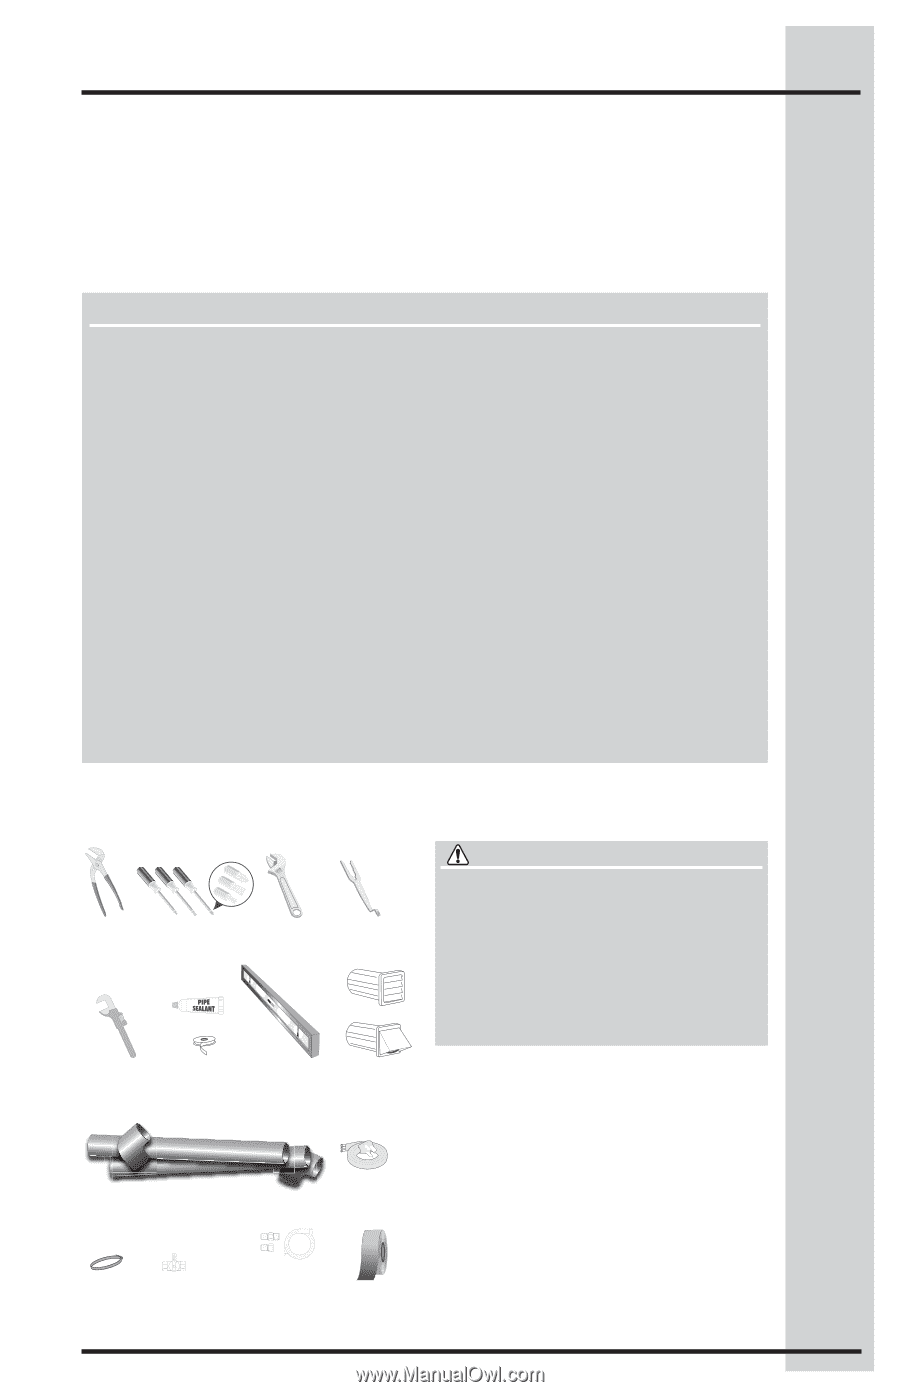
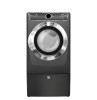
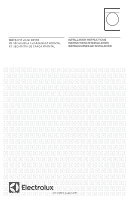
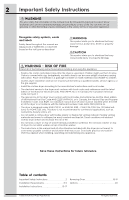
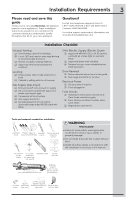
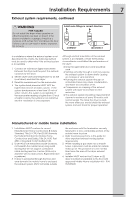
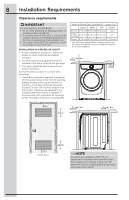
Installation Requirements 3 Please read and save this guide Thank you for choosing Electrolux, the premium brand in home appliances. These Installation Instructions are part of our commitment to customer satisfaction and product quality throughout the life of your new appliance. Questions? For toll-free telephone support in the U.S.: 1-877-4ELECTROLUX (1-877-435-3287) and in Canada: 1-800-265-8352. For online support and product information visit www.electroluxappliances.com. Installation Checklist Exhaust Venting Free-flowing, clear of lint buildup 4 inch (102 mm) rigid or semi-rigid ducting of minimal length and turns NO foil or plastic venting material Approved vent hood exhausted to outdoors Leveling Dryer is level, side-to-side and front-toback Cabinet is setting solid on all corners Gas Supply (Gas Dryer) Manual shutoff valve present in supply All connections sealed with approved sealer and wrench tight Conversion kit for LP system Gas supply turned on No leaks present at all connections - check with soapy water, NEVER check with flame 240v Electric Supply (Electric Dryer) Approved NEMA 10-30 or 14-30 service cord with all screws tight on terminal block Approved strain relief installed Terminal access cover installed before initial operation Door Reversal Follow detailed instructions in this guide Test hinge and latch for function Electrical Power House power turned on Dryer plugged in Final Checks Installation Instructions and Use and Care Guide read thoroughly Door latches and drum tumbles when cycle starts Registration card sent in Tools and materials needed for installation: Adjustable Phillips, straight, & Adjustable Optional universal pliers square bit screwdrivers wrench accessory wrench or or WARNING FIRE HAZARD ● Failure to follow safety warnings exactly could result in serious injury, death, or property damage. ● Do not install a booster fan in dryer exhaust duct. ● Install all clothes dryers in accordance with the installation instructions in this manual. Pipe wrench for gas supply LP-resistant thread tape (for natural gas or LP supply) Carpenter's level External vent hood 4 inch, rigid metal or semi-rigid metal exhaust duct work 3-wire or 4-wire 240 volt cord kit (electric dryer) 4 in. (10.2 cm) clamp gas line shutoff valve (gas dryer) ½" NPT union flare adapters (x2) and flexible gas supply line (gas dryer) Metal foil tape (not duct tape)
-
 1
1 -
 2
2 -
 3
3 -
 4
4 -
 5
5 -
 6
6 -
 7
7 -
 8
8 -
 9
9 -
10
-
11
-
12
-
13
-
14
-
15
-
16
-
17
-
18
-
19
-
20
-
21
-
22
-
23
-
24
-
25
-
26
-
27
-
28
-
29
-
30
-
31
-
32
-
33
-
34
-
35
-
36
-
37
-
38
-
39
-
40
-
41
-
42
-
43
-
44
-
45
-
46
-
47
-
48
-
49
-
50
-
51
-
52
-
53
-
54
-
55
-
56
-
57
-
58
-
59
-
60
-
61
-
62
-
63
-
64
 |
 |