Epson C80N Product Information Guide - Page 8
Printing on Special Media, Paper Loading Guidelines - c80 ink cartridges
 |
UPC - 010343840935
View all Epson C80N manuals
Add to My Manuals
Save this manual to your list of manuals |
Page 8 highlights
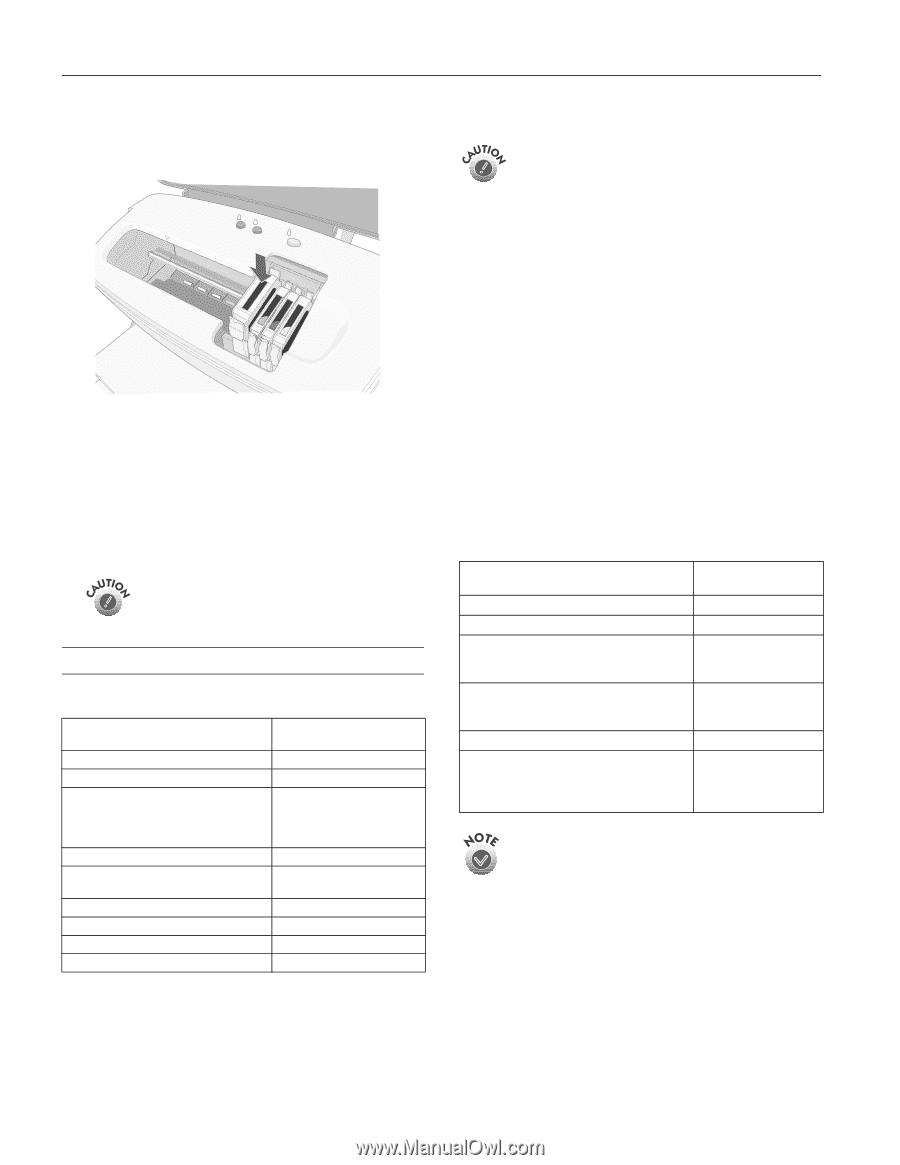
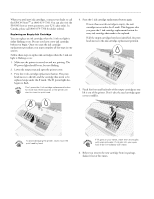
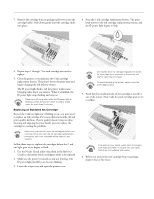
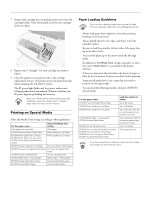
EPSON Stylus C80 7. Remove the cartridge from its package and lower it into the cartridge holder. Push down gently until the new cartridge clicks into place. 8. Repeat steps 5 through 7 for each cartridge you want to replace. 9. Close the printer cover and press the H ink cartridge replacement button. The printer moves the print head and begins charging the ink delivery system. The P power light flashes and the printer makes noise. Charging takes about one minute. When it's finished, the P power light stops flashing and stays on. Never turn off the printer while the P power light is flashing, unless the printer hasn't moved or made noise for more than 5 minutes. Printing on Special Media Select the Media Type setting according to these guidelines: For this paper name... Select this Media Type setting Plain paper and envelopes Plain paper EPSON Premium Bright White Paper Bright White Ink Jet Paper EPSON Photo Quality Ink Jet Paper EPSON Photo Quality Ink Jet Cards EPSON Photo Quality Self Adhesive Sheets Photo Quality Ink Jet Paper EPSON Premium Glossy Photo Paper Premium Glossy Photo Paper EPSON Premium Semigloss Photo Paper Premium Semigloss Photo Paper EPSON Ink Jet Transparencies Ink Jet Transparencies EPSON Matte Paper - Heavyweight Matte Paper - Heavyweight EPSON Double-Sided Matte Paper Double-Sided Matte paper EPSON Archival Matte Paper Archival Matte Paper Paper Loading Guidelines Don't use the cleaning sheets that may be included with your special media; they may damage the printer. ❏ Always load paper short edge first, even when printing landscape-oriented pictures. ❏ Always handle sheets by the edges, and don't touch the printable surface. ❏ Be sure to load the printable (whiter) side of the paper face up in the sheet feeder. ❏ You can load paper up to the arrow inside the left edge guide. ❏ In addition to the Media Type setting, remember to select the correct Paper Size for your media in the printer software. ❏ If there are protective sheets between the sheets of paper or film, be sure to remove the protective sheets before printing. ❏ Some special media have a cut corner that you need to position on the upper right. ❏ You can load the following number of sheets of EPSON special media: For this paper name... EPSON Premium Bright White Paper EPSON Photo Quality Ink Jet Paper EPSON Photo Quality Ink Jet Cards EPSON Matte Paper - Heavyweight EPSON Archival Matte Paper EPSON Ink Jet Transparencies EPSON Photo Quality Self Adhesive Sheets EPSON Premium Glossy Photo Paper EPSON Premium Semigloss Photo Paper EPSON Double-Sided Matte Paper Load this number of sheets Up to 30 sheets Up to 30 sheets Up to 30 cards with the included support sheet beneath the stack Up to 20 sheets with the included support sheet beneath the stack Up to 10 sheets One sheet at a time If you have any problem loading multiple sheets of paper, try loading just one sheet at a time. 8 - EPSON Stylus C80 1/02
-
 1
1 -
2
-
 3
3 -
 4
4 -
 5
5 -
 6
6 -
 7
7 -
 8
8 -
 9
9 -
 10
10 -
 11
11
 |
 |