Epson CX9400Fax Start Here Book (with wireless print server) - Page 15
Configuring the Print Server and Installing Software for Ad Hoc Mode
 |
UPC - 010343865815
View all Epson CX9400Fax manuals
Add to My Manuals
Save this manual to your list of manuals |
Page 15 highlights
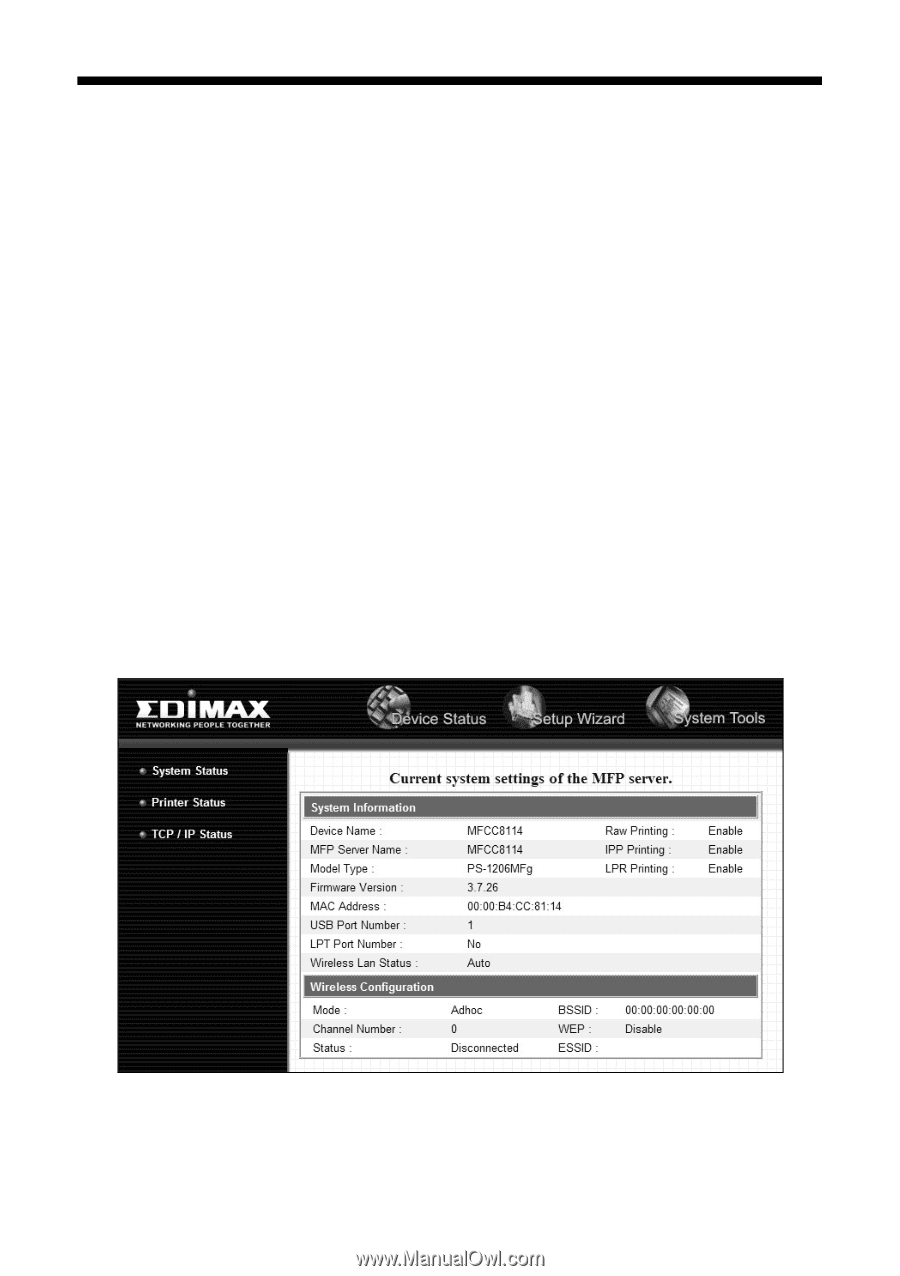
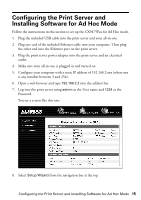
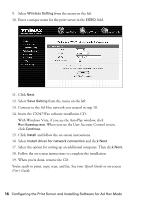
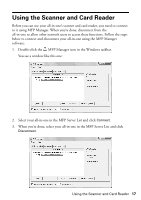
Configuring the Print Server and Installing Software for Ad Hoc Mode Follow the instructions in this section to set up the CX9475Fax for Ad Hoc mode. 1. Plug the included USB cable into the print server and your all-in-one. 2. Plug one end of the included Ethernet cable into your computer. Then plug the other end into the Ethernet port on the print server. 3. Plug the print server power adapter into the print server and an electrical outlet. 4. Make sure your all-in-one is plugged in and turned on. 5. Configure your computer with a static IP address of 192.168.2.xxx (where xxx is any number between 3 and 254). 6. Open a web browser and type 192.168.2.2 into the address bar. 7. Log into the print server using admin as the User name and 1234 as the Password. You see a screen like this one: 8. Select Setup Wizard from the navigation bar at the top. Configuring the Print Server and Installing Software for Ad Hoc Mode 15
-
 1
1 -
2
-
3
-
4
-
5
-
6
-
7
-
8
-
9
-
 10
10 -
 11
11 -
 12
12 -
 13
13 -
 14
14 -
 15
15 -
 16
16 -
 17
17 -
 18
18 -
 19
19 -
 20
20 -
21
-
22
-
23
-
24
 |
 |