Epson P5000 Product Information Guide - Page 12
Copying Files To and From Your Computer, Backing Up Files to Your Computer - manual
 |
UPC - 010343860483
View all Epson P5000 manuals
Add to My Manuals
Save this manual to your list of manuals |
Page 12 highlights
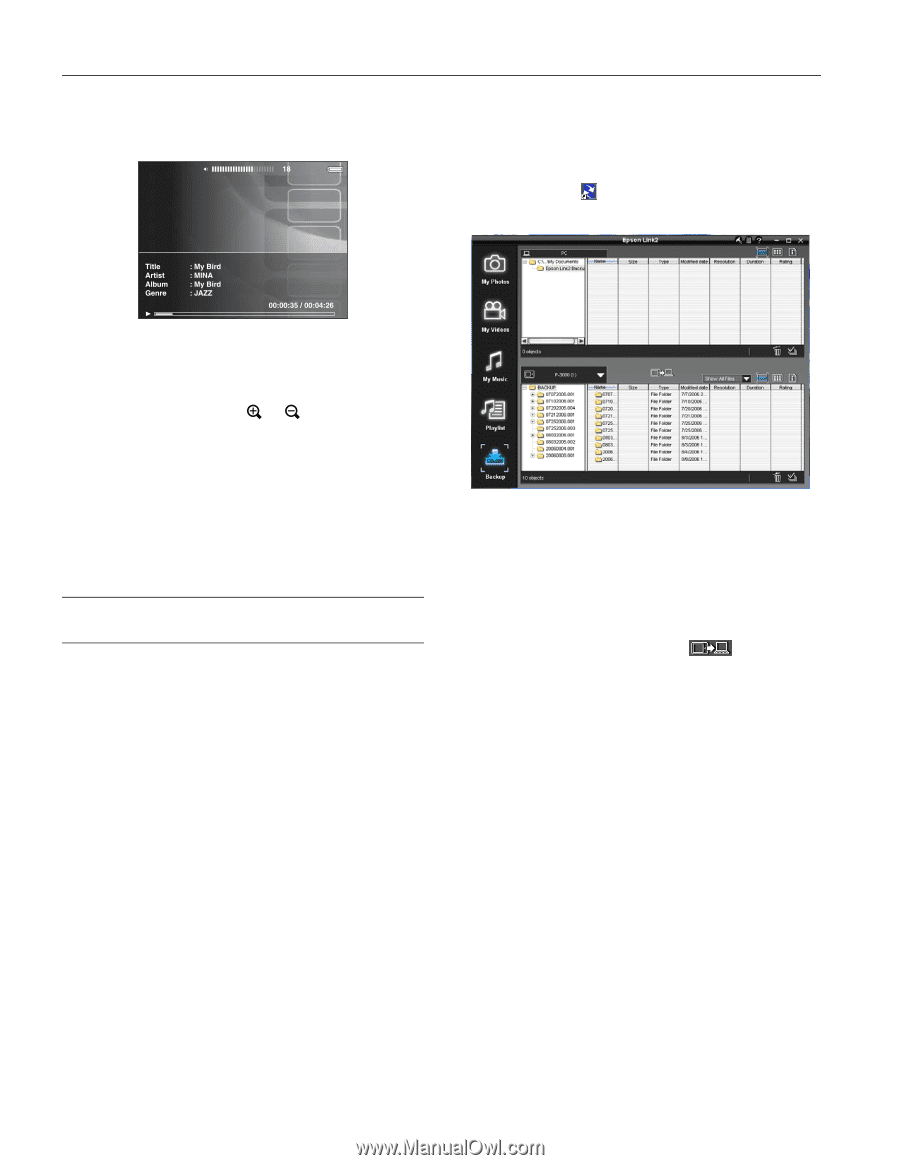
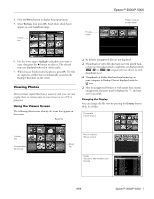
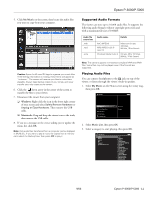
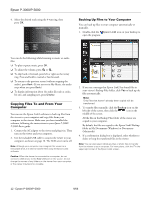
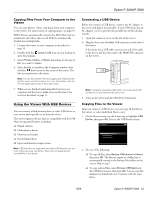
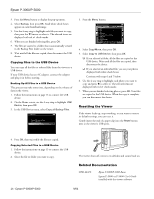
Epson P-3000/P-5000 4. Select the desired track using the 4-way ring, then press OK. 00001/00568 Backing Up Files to Your Computer You can back up files to your computer automatically or manually. 1. Double-click the Epson Link2 icon on your desktop to open the program. You can do the following while listening to music or audio files. ❏ To play or pause music, press OK. ❏ To adjust the volume, press or . ❏ To skip back or forward, press left or right on the 4-way ring. Press and hold to rewind or fast-forward. ❏ To return to the previous screen (without stopping the audio), press Back. (If you are not in My Music, the audio stops when you press Back.) ❏ To display information about the audio file such as codec, bit rate, and sampling rate, press Display. Copying Files To and From Your Computer You can use the Epson Link2 software to back up files from the viewer to your computer and copy files from your computer to the viewer. Make sure you have installed the software, following the instructions in your Epson P-3000/ P-5000 Basics guide. 1. Connect the AC adapter to the viewer and plug it in. Then turn on the viewer and your computer. 2. Use the included USB cable to connect the viewer to your computer, as shown on page 10. The LCD screen turns off. Note: Although your computer may recognize the viewer as a removable drive, it is best to transfer files using the Epson Link2 software. Caution: When the viewer is connected to a computer, do not connect a USB device to the Host USB port on the viewer. Do not change the names of any folders on the viewer from your computer, or the viewer may become unusable. 2. If you see a message that Epson Link2 has found files in your viewer's Backup Files folder, click Yes to back up the files automatically. Note: Only files that haven't already been copied will be transferred. 3. To transfer files manually, click the Backup icon on the left side of the screen, then click the icon in the middle of the screen. All the files in the Backup Files folder of the viewer are copied to your computer. By default, the files are copied to the Epson Link2 Backup folder in My Documents (Windows) or Documents (Macintosh). 4. If a confirmation dialog box is displayed, select whether to delete or keep the transferred files in the viewer. Note: You can also select individual video or photo files to transfer from the viewer to your computer. For instructions, click the ? in the upper right corner of the Epson Link2 screen. 12 - Epson P-3000/P-5000 9/06
-
 1
1 -
2
-
3
-
4
-
5
-
6
-
 7
7 -
 8
8 -
 9
9 -
 10
10 -
 11
11 -
 12
12 -
 13
13 -
 14
14
 |
 |