Epson Perfection 3200 Photo Start Here Card - Page 1
Epson Perfection 3200 Photo Manual
 |
View all Epson Perfection 3200 Photo manuals
Add to My Manuals
Save this manual to your list of manuals |
Page 1 highlights
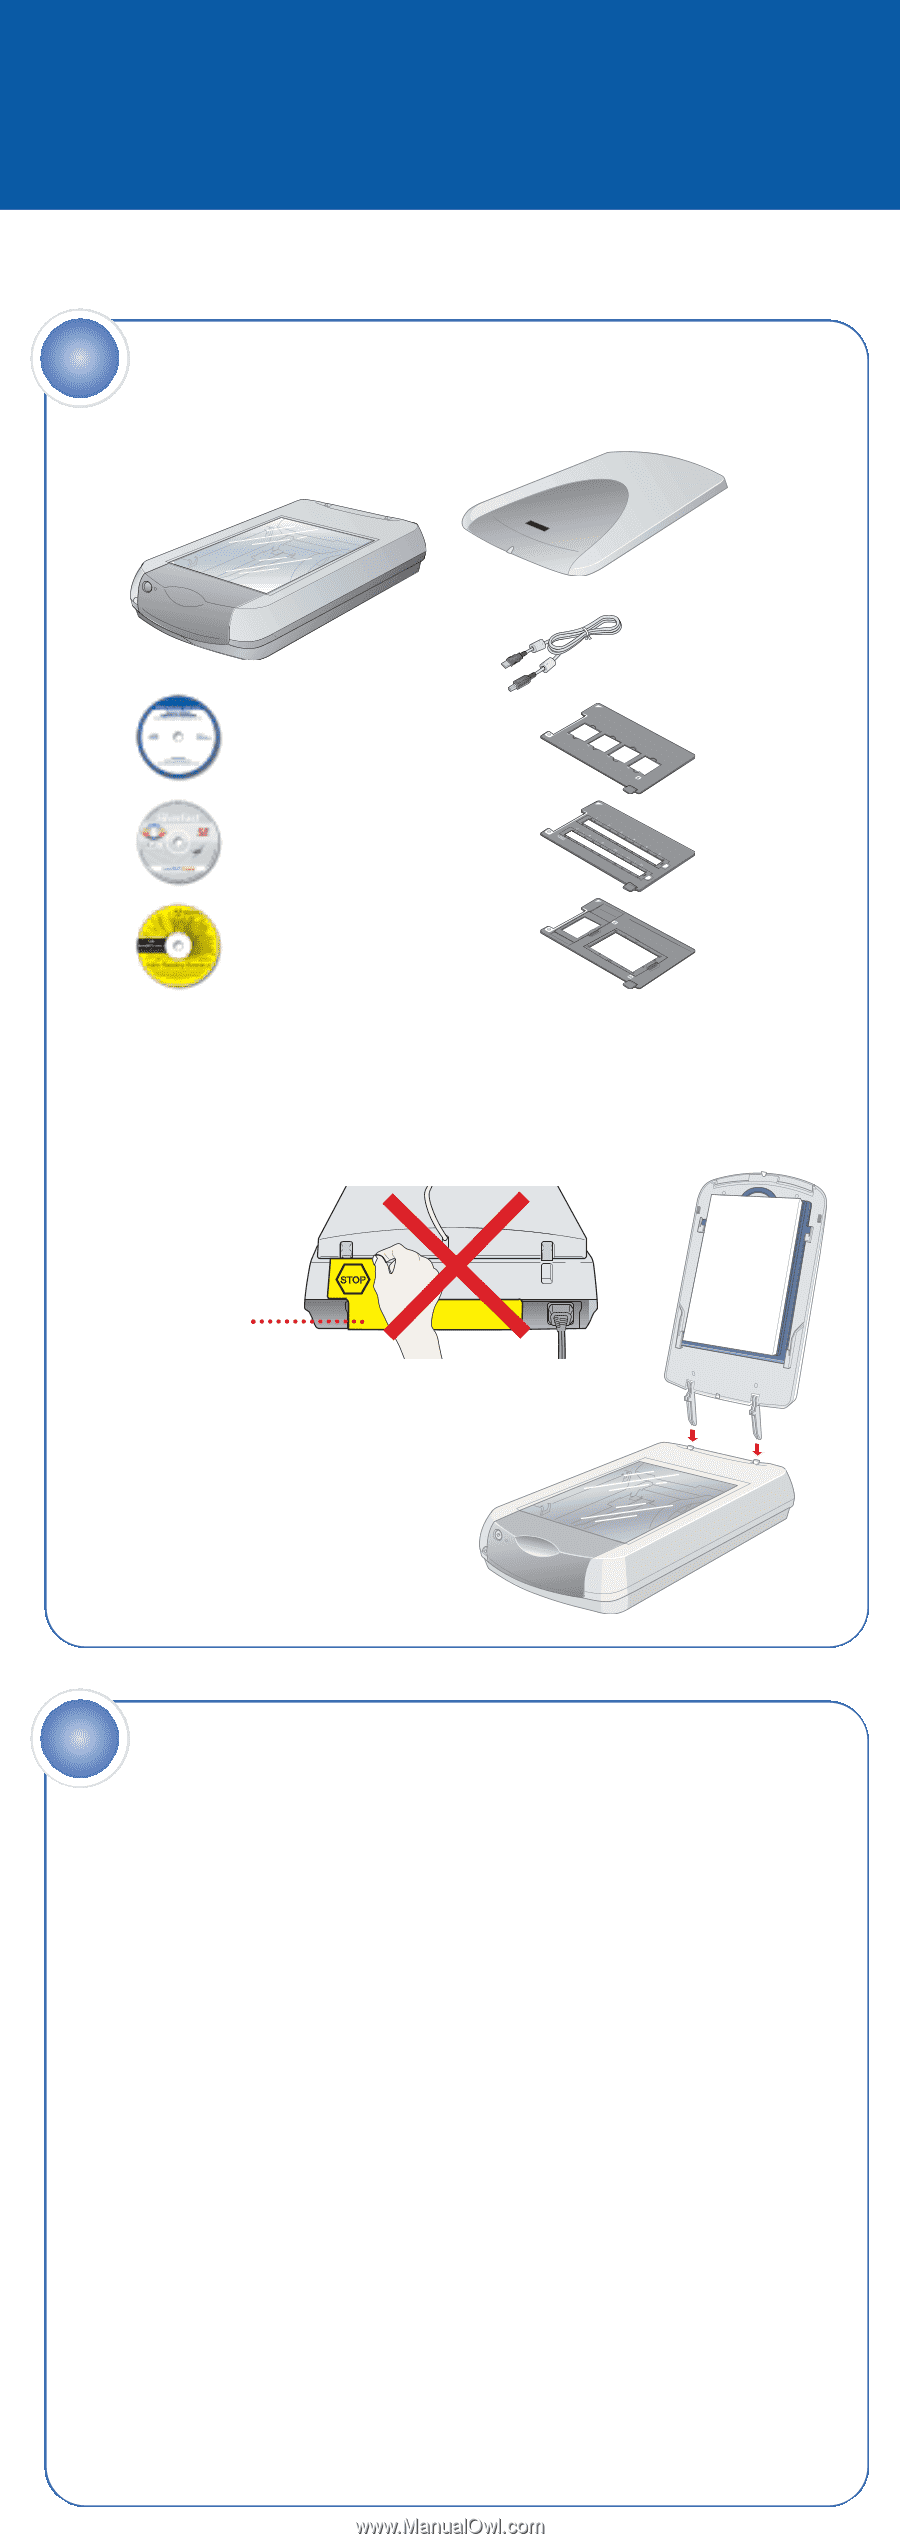
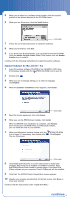
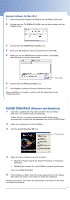
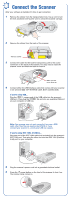
4042843-00 Printed in Singapore Start Here EPSON Perfection® 3200 Photo 1 Unpack Your Scanner 1 Make sure you have everything: Scanner CD-ROM with EPSON® Scan driver, software, and electronic manuals LaserSoft® SilverFast® SE CD-ROM Scanner cover/ transparency unit USB cable Film holders Adobe® Photoshop® Elements 2.0 CD-ROM Note: If you'll be connecting your scanner using IEEE 1394 (FireWire®, iLink™), you need to purchase an IEEE 1394 cable (not included). 2 Remove all the packing tape, but leave the large sticker in place until instructed to remove it. IMPORTANT! Leave the sticker in place until you are instructed to remove it. 3 Insert the hinges on the cover into the square holes at the back of the scanner. (Make sure the cable does not get caught under the scanner cover.) Close the cover. 2 Install the Software Wait! You must install your software before connecting the scanner to your computer. The install process may take up to 15 minutes. Be sure to close all open programs and turn off any virus protection programs. If you don't already have Adobe Photoshop or Photoshop Elements on your computer, install Photoshop Elements from the CD-ROM included with your scanner. To view the Photoshop user manuals, you'll need Adobe Acrobat® Reader®(included on your Photoshop Elements CD). Windows® First you'll install Adobe Photoshop Elements, then your scanner software. Photoshop Elements 1 Insert the Adobe Photoshop Elements CD-ROM in the CD-ROM or DVD drive. The installer starts automatically. 2 Make sure US English is selected and click Next. 3 Follow the on-screen instructions to begin installation and accept the software license conditions. continue
-
 1
1 -
 2
2 -
 3
3 -
 4
4 -
 5
5 -
 6
6 -
 7
7 -
8
 |
 |