Epson PowerLite Home 20 Quick Start - Page 5
Adjust the image
 |
View all Epson PowerLite Home 20 manuals
Add to My Manuals
Save this manual to your list of manuals |
Page 5 highlights
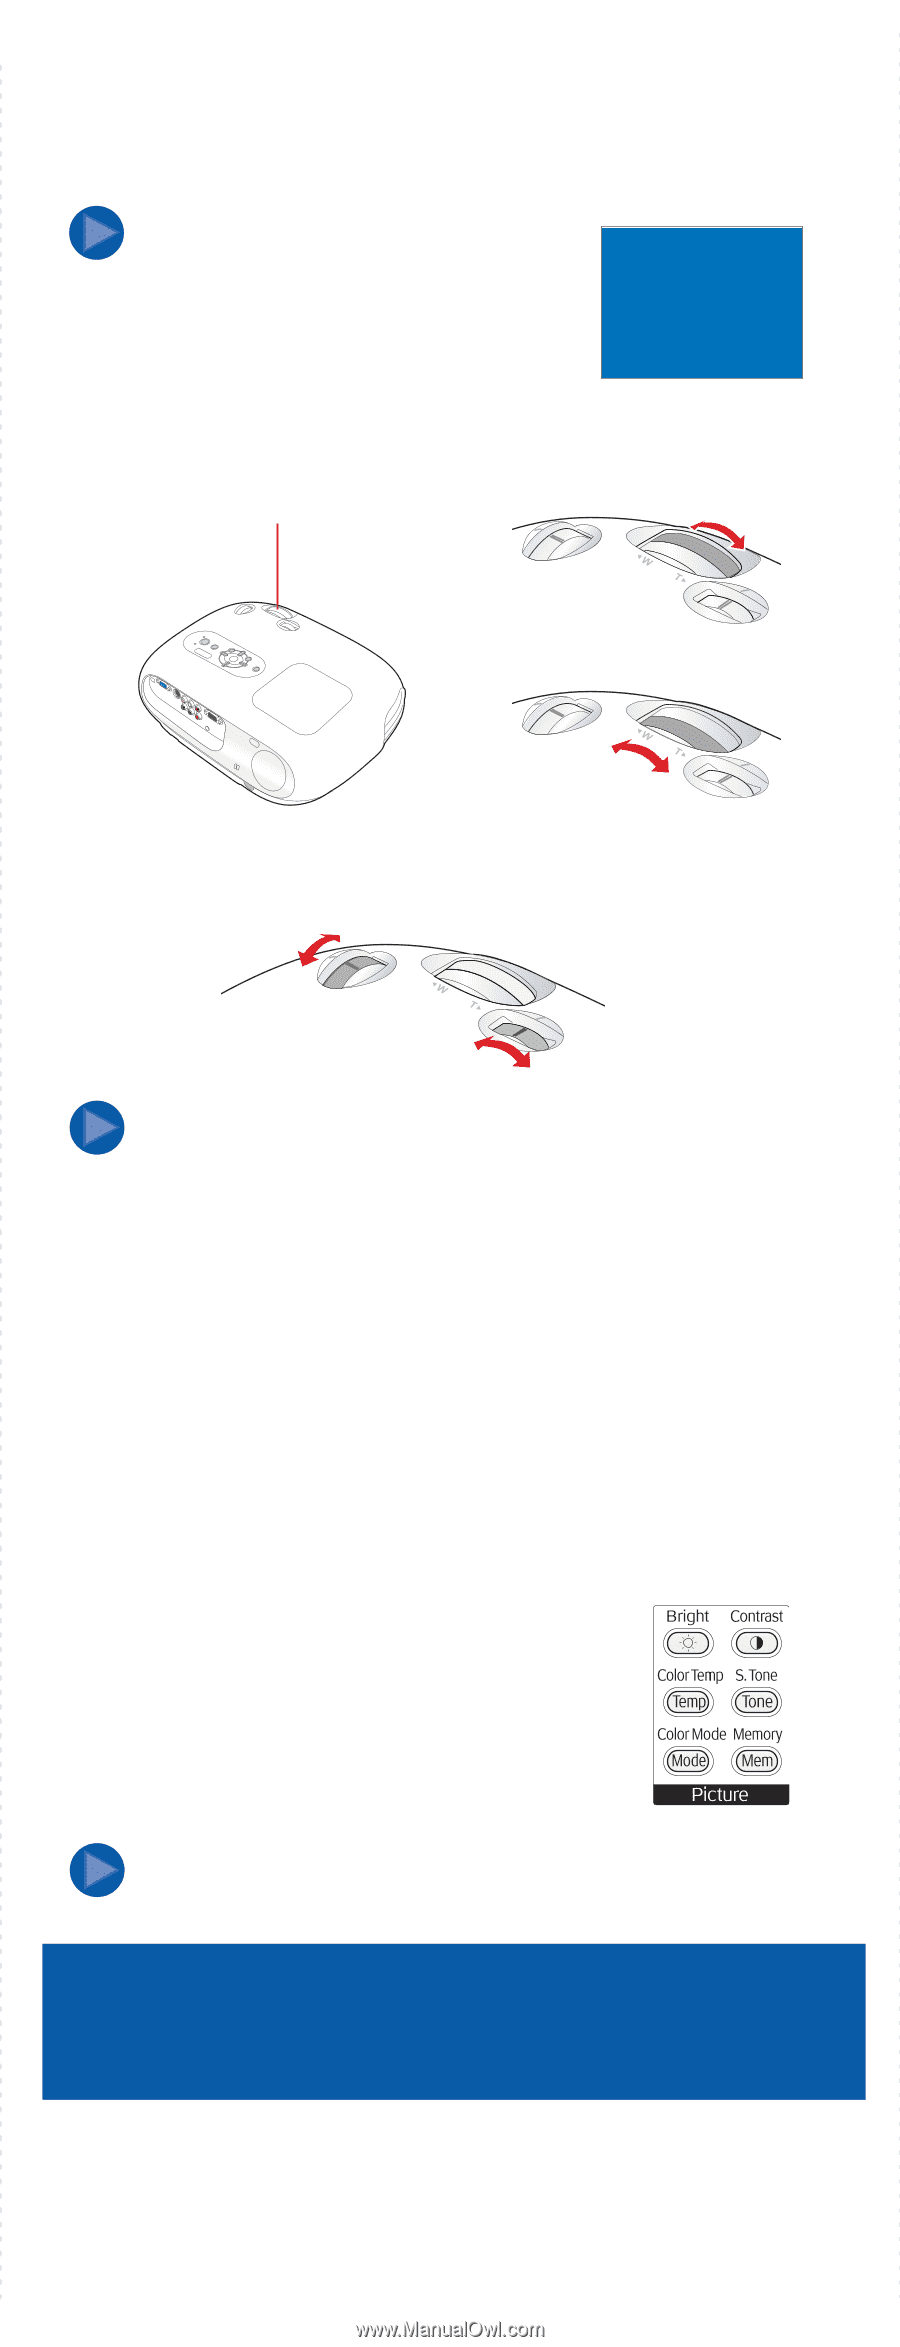
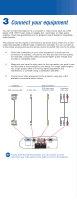
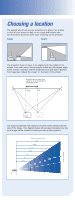
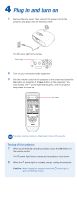
5 Adjust the image NOTE If you see a No signal message instead of your video image, make sure your video equipment is turned on. Press the Source button on the projector or remote control to select the port to which your equipment is connected. No signal 1 Rotate the focus ring to sharpen the image. Rotate the zoom ring to reduce or enlarge it. Focus and zoom rings Focus ring Zoom ring 2 If the image is not centered on the screen, use the lens shift dials to adjust its position. Up Down Left Right NOTE To make the best use of this feature, keep the projector level and do not extend its feet. Face the the projector squarely toward the screen (not angled). 3 If the image is stretched or cut off, you may need to change the aspect ratio. Press the Aspect button and select Normal for standard TV or computer images (4:3 aspect ratio), or Zoom for widescreen or letterbox format (16:9). 4 To prevent dark areas of the image from looking washed-out, change the Setup Level. Press the Menu button, and then select Settings > Screen > Setup Level. Highlight 7.5%, and then press the Enter button to select it. Exit the menu system when done (press the Menu button). 5 Use the Color Mode button on the remote control to optimize the image for your viewing environment. Then use the other Picture buttons to adjust the brightness, contrast, and color as needed. NOTE See your User's Guide for more information about adjusting the image. Register today to get product updates, special promotions, and customer-only offers. You can use the registration card included in your Start Here kit, or register online at www.epson.com/webreg.
-
 1
1 -
 2
2 -
 3
3 -
 4
4 -
 5
5 -
 6
6
 |
 |