Epson Stylus Photo R300M Start Here Card - Page 3
Install the, Ink Cartridges
 |
View all Epson Stylus Photo R300M manuals
Add to My Manuals
Save this manual to your list of manuals |
Page 3 highlights
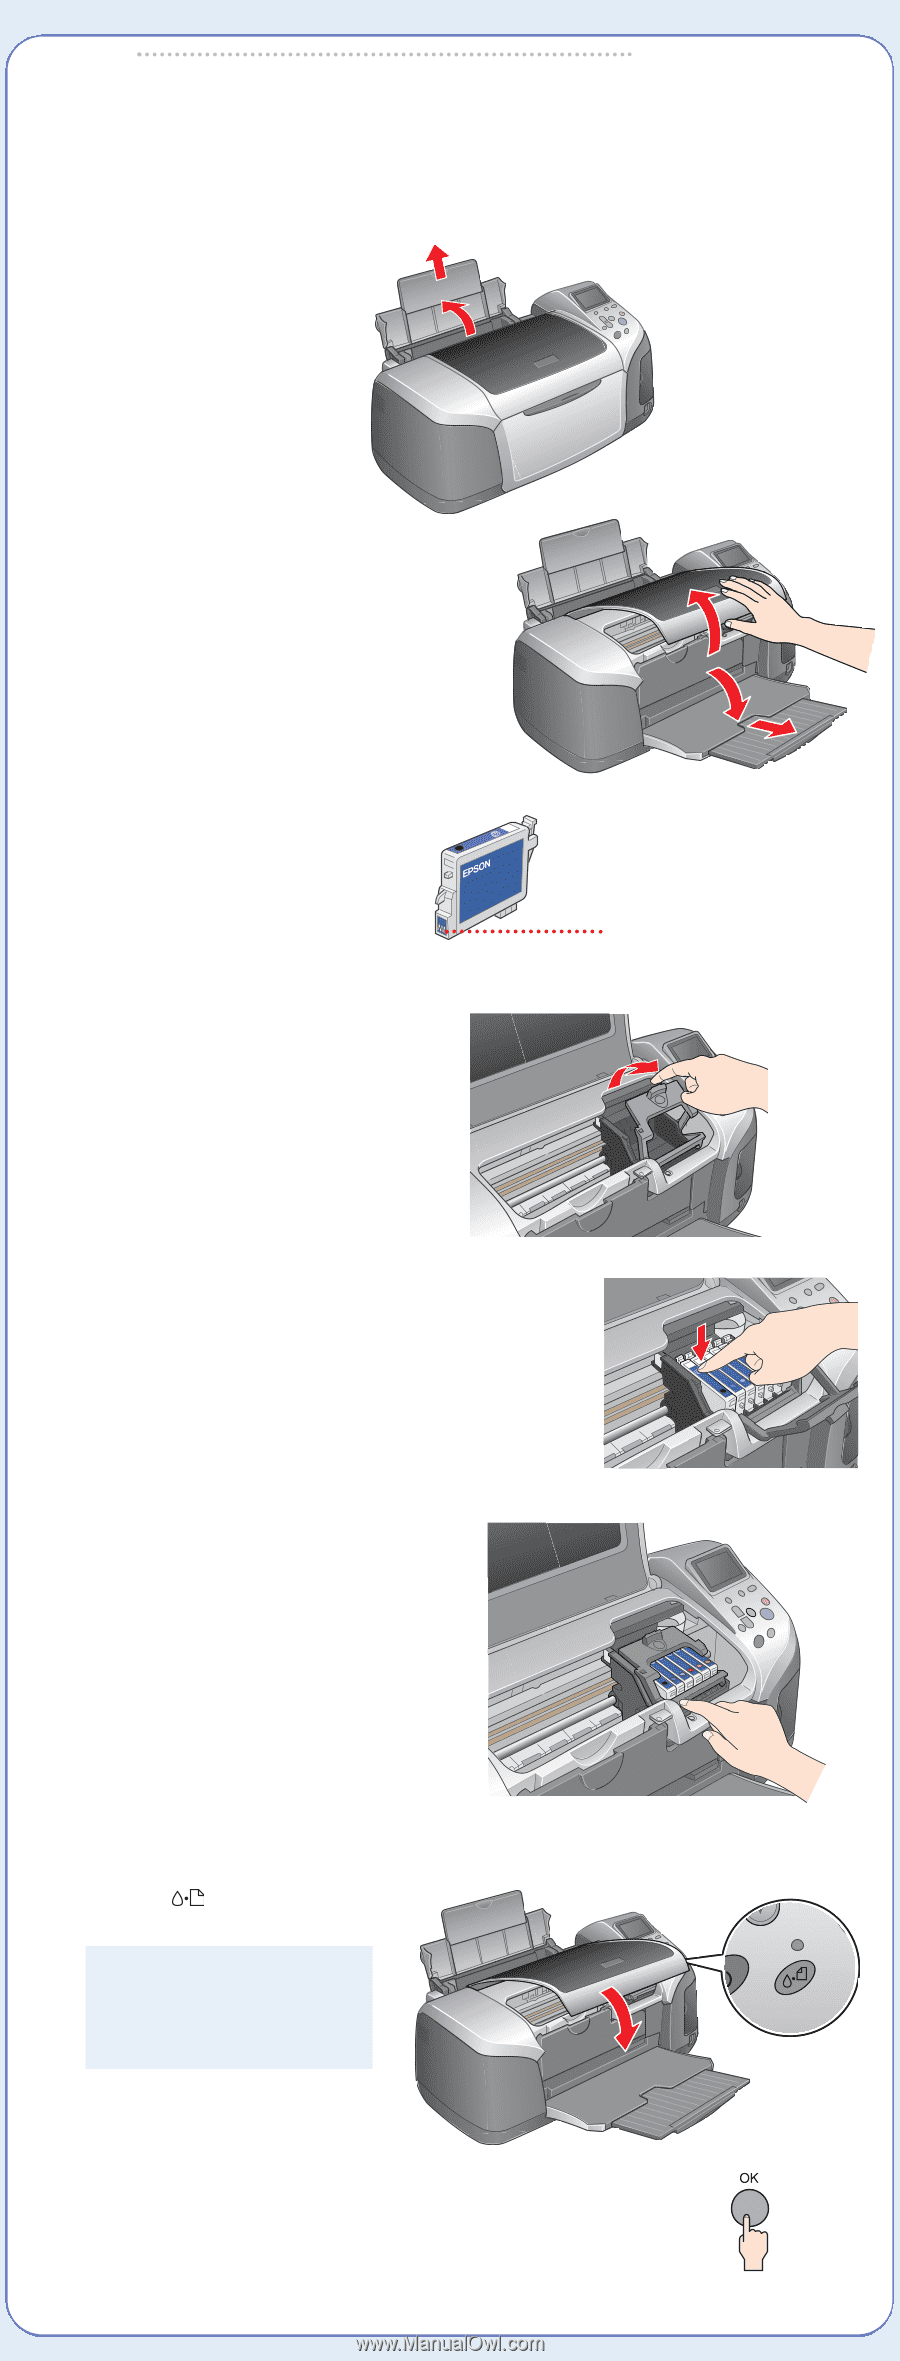
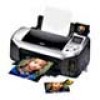
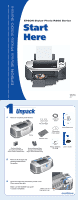
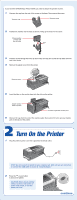
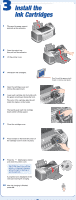
3 Install the Ink Cartridges 1 Flip open the paper support and pull up the extension. 2 Open the output tray, then pull out the extension. 3 Lift the printer cover. 4 Unwrap the ink cartridges. 5 Open the cartridge cover and remove the paper insert. 6 Lower each cartridge into its holder with the green circuit board facing the front. The color of the cartridge label should match the marker on the holder. Then gently push each ink cartridge down until it is firmly seated. 7 Close the cartridge cover. 8 Press forward on the front left corner of the cartridge cover to lock it in place. Don't touch the green circuit board or remove any labels. 9 Press the Maintenance button and close the printer cover. CAUTION: Don't turn off the printer or interrupt charging while the light is flashing or you'll waste ink. A progress bar is displayed on the LCD panel during ink charging. 10 After ink charging is finished, press OK.
-
 1
1 -
 2
2 -
 3
3 -
 4
4 -
 5
5 -
 6
6
 |
 |