Epson Stylus Pro 5000 User Manual - Page 48
Ink out light indicators for vertically aligned pattern, Pattern #4: yellow
 |
View all Epson Stylus Pro 5000 manuals
Add to My Manuals
Save this manual to your list of manuals |
Page 48 highlights
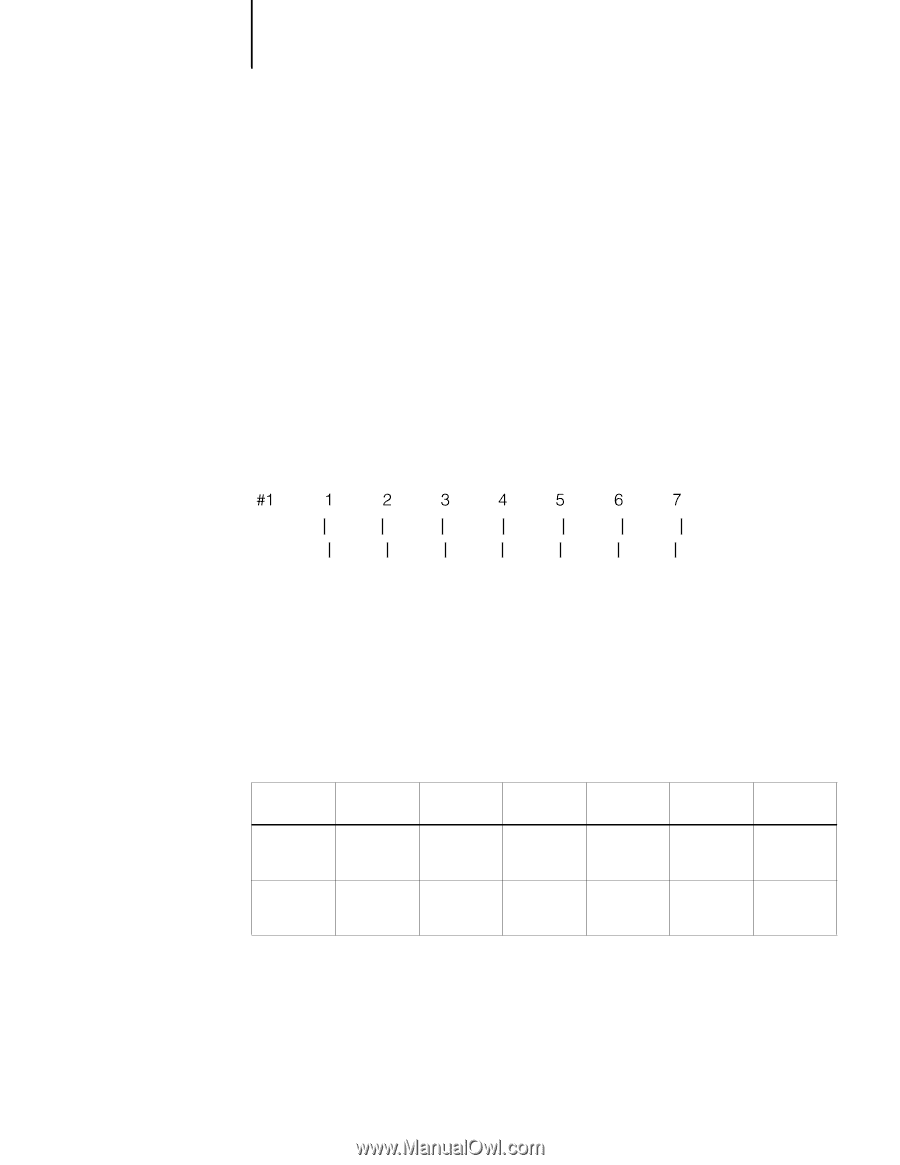
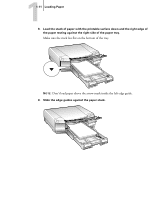
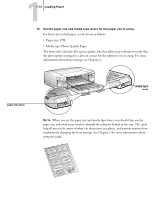
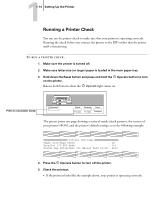
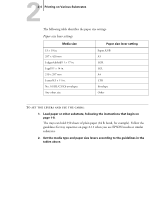
11-16 Setting Up the Printer 3. Press the Reset button repeatedly until the appropriate H ink out light comes on. The following list shows the ink out lights corresponding to each numbered pattern: • Pattern #1: black H ink out light on • Pattern #2: cyan H ink out light on • Pattern #3: magenta H ink out light on • Pattern #4: yellow H ink out light on 4. Press the Eject button to enter your selection. The printer prints seven patterns, similar to the ones below. The paper tray lights turn on and the P Operate and [ lower paper tray lights flash. 5. Determine which set of lines on the printed sheet is vertically aligned, and select the corresponding number using the Reset and Eject buttons and the table below. Press the Eject button to move the selection to the right and press the Reset button to move it to the left. Press the buttons repeatedly until the appropriate H Ink Out light(s) come on or flash to select the vertically aligned pattern. Ink out light indicators for vertically aligned pattern #1 #2 #3 #4 #5 #6 #7 black on black flashing cyan on cyan flashing magenta flashing magenta on yellow flashing yellow on For example, to select the correct alignment pattern from the sample above, press the Eject or Reset button until the cyan and magenta ink out lights start flashing.
-
 1
1 -
2
-
3
-
4
-
5
-
6
-
7
-
8
-
9
-
10
-
11
-
12
-
13
-
14
-
15
-
16
-
17
-
18
-
19
-
20
-
21
-
22
-
23
-
24
-
25
-
26
-
27
-
28
-
29
-
30
-
31
-
32
-
33
-
34
-
35
-
36
-
37
-
38
-
39
-
40
-
41
-
42
-
 43
43 -
 44
44 -
 45
45 -
 46
46 -
 47
47 -
 48
48 -
 49
49 -
 50
50 -
 51
51 -
 52
52 -
 53
53 -
54
-
55
-
56
-
57
-
58
-
59
-
60
-
61
-
62
-
63
-
64
-
65
-
66
-
67
-
68
-
69
-
70
-
71
-
72
-
73
-
74
-
75
-
76
-
77
-
78
-
79
-
80
-
81
-
82
-
83
-
84
-
85
-
86
-
87
-
88
-
89
-
90
-
91
-
92
-
93
-
94
-
95
-
96
-
97
-
98
 |
 |