Epson SureColor P800 Basics - Page 33
Checking and Aligning the Print Head
 |
View all Epson SureColor P800 manuals
Add to My Manuals
Save this manual to your list of manuals |
Page 33 highlights
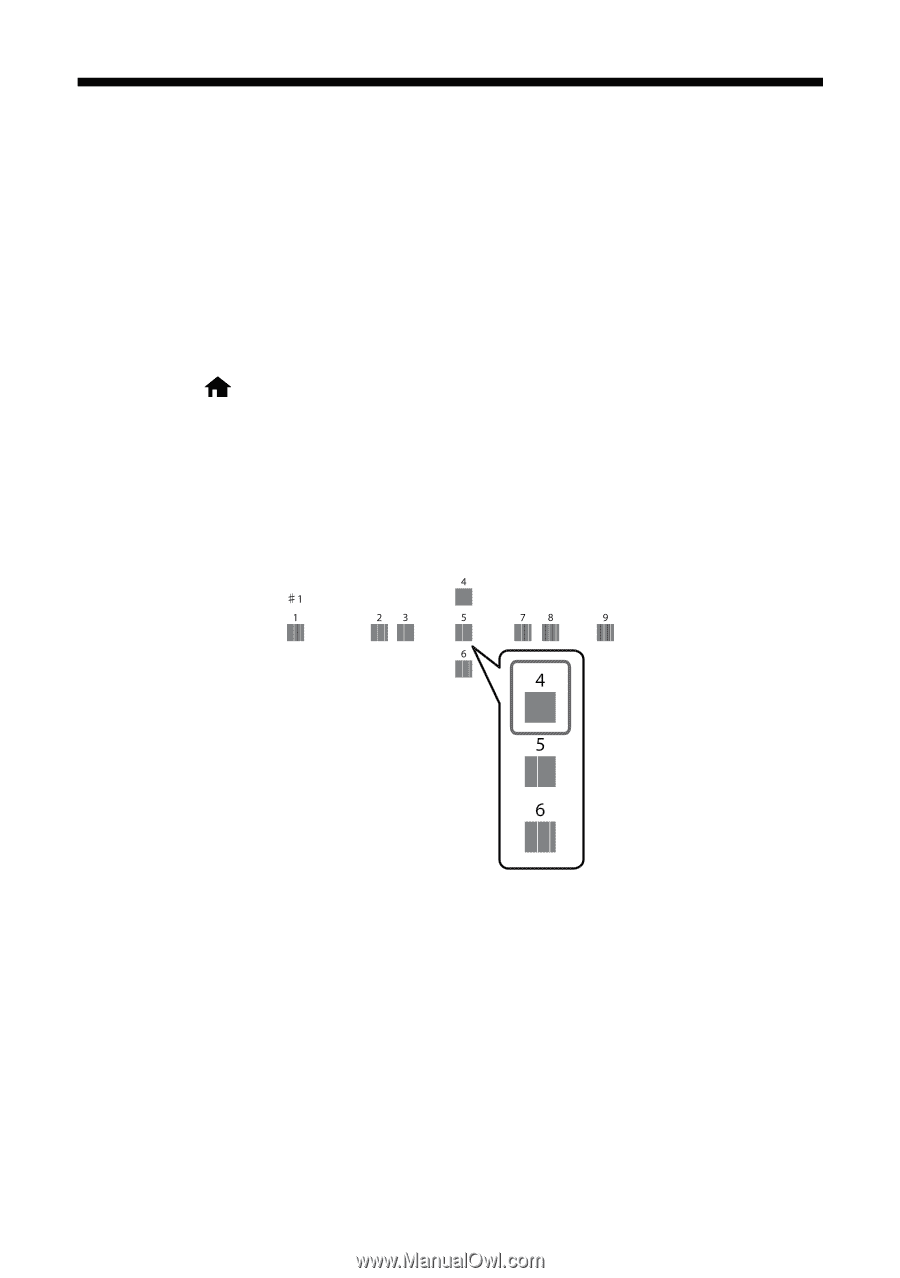
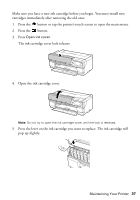
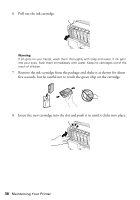
Checking and Aligning the Print Head If your printouts become grainy or blurry, or you see dark or light bands across them, you may need to align the print head. Note: Banding may also occur if your print head nozzles need cleaning (see page 31). 1. Load a few sheets of Epson Presentation Paper Matte (or the photo paper you have on hand) in the sheet feeder (see page 5). It's best to use matte or photo paper for the most accurate alignment. 2. Press the button or tap the printer's touch screen to open the main menu. 3. Press the F button, select Maintenance, then select Head Alignment. 4. Press Print to print an adjustment pattern. 5. Look at line #1 and choose the pattern with the fewest vertical lines. (In the example below, you would choose "4".) 6. Make sure #1 is displayed on the touch screen, press the up or down arrow buttons to select the number you chose in step 5, then press Proceed. 7. Repeat this process for lines #2 through #9. 8. Press Done when finished. Maintaining Your Printer 33
-
 1
1 -
2
-
3
-
4
-
5
-
6
-
7
-
8
-
9
-
10
-
11
-
12
-
13
-
14
-
15
-
16
-
17
-
18
-
19
-
20
-
21
-
22
-
23
-
24
-
25
-
26
-
27
-
 28
28 -
 29
29 -
 30
30 -
 31
31 -
 32
32 -
 33
33 -
 34
34 -
 35
35 -
 36
36 -
 37
37 -
 38
38 -
39
-
40
-
41
-
42
-
43
-
44
-
45
-
46
-
47
-
48
-
49
-
50
-
51
-
52
-
53
-
54
-
55
 |
 |