Epson WorkForce 435 Epson Connect Guide - Page 16
Creating a Destination List for the Scan to Cloud service, 4. Setting the Remote Print service - scan to email
 |
View all Epson WorkForce 435 manuals
Add to My Manuals
Save this manual to your list of manuals |
Page 16 highlights
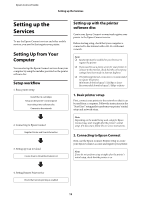
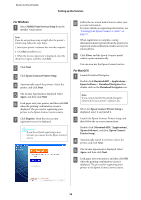
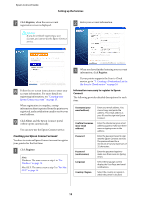
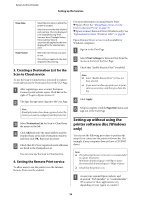
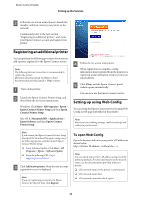
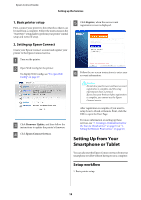
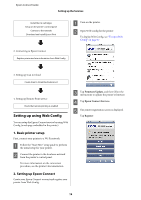
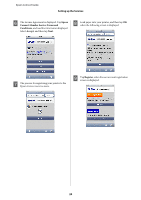
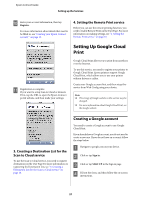
Epson Connect Guide Setting up the Services Time Zone Time Format Select the time zone in which the printer is located. Select to receive the date of print and scan logs. The time displayed is for Daylight Saving Time (summer time). Daylight Saving Time (summer time) is automatically applied to the time displayed for the selected time zone. Select the time format you want to use. This setting is applied to the date display for the print log. 3. Creating a Destination List for the Scan to Cloud service To use the Scan to Cloud service, you need to register email addresses to the Destination List on the User Page. A After registering a user account, the Epson Connect portal website opens. Click Go on the right of "Login to Epson Connect". B The Sign-In page opens. Sign in to the User Page. Note: If multiple printers have been registered, select the printer you want to configure from the printer list. C Select Destination List for Scan to Cloud from the menu on the left. D Click Add and enter the email address and the Display Name in the Edit Destination window, and then click OK. Repeat as necessary. E Check that all of your registered email addresses are listed in the Destination List. You can now use the Scan to Cloud service. 4. Setting the Remote Print service To allow users to use the printer over the Internet, Remote Print must be enabled. For more information on using Remote Print: & Epson iPrint: See "Using Epson iPrint over the Internet (Remote Print)" on page 30. & Epson Connect Remote Driver (Windows only): See "Epson Remote Driver (Windows only)" on page 31 Epson Remote Driver service is only available for Windows computers. A Sign in to the User Page. B Select Print Settings for Remote Print from the menu on the left of the User Page. C Check that "Enable Remote Print" is enabled. Note: ❏ Select "Enable Remote Print" if it has not been selected. ❏ If you want to allow specified users to print, enter an access key, and then give them the key. D Click Apply. E Setup is complete. Click the Sign Out button, and sign out of the User Page. Setting up without using the printer software disc (Windows only) You can use the following procedure to perform the setup if you cannot use the printer software disc (for example, if your computer does not have a CD/DVD drive). Note: ❏ The following Internet connection is recommended to register the printer. Minimum download speed: 512 Kbps or faster Recommended download speed: 1 Mbps or faster ❏ Check that the printer is on. A Access your regional Epson website, and download "Web Installer" or "ComboInstaller". (The names for these applications vary depending on your region or country.) 16
-
 1
1 -
2
-
3
-
4
-
5
-
6
-
7
-
8
-
9
-
10
-
 11
11 -
 12
12 -
 13
13 -
 14
14 -
 15
15 -
 16
16 -
 17
17 -
 18
18 -
 19
19 -
 20
20 -
 21
21 -
22
-
23
-
24
-
25
-
26
-
27
-
28
-
29
-
30
-
31
-
32
-
33
-
34
-
35
-
36
-
37
-
38
-
39
-
40
-
41
-
42
-
43
-
44
-
45
-
46
 |
 |