Fujitsu 5120C Getting Started Guide - Page 16
Preparation, Installing the FUJITSU ISIS, Scanner Driver - windows 7 driver
 |
View all Fujitsu 5120C manuals
Add to My Manuals
Save this manual to your list of manuals |
Page 16 highlights
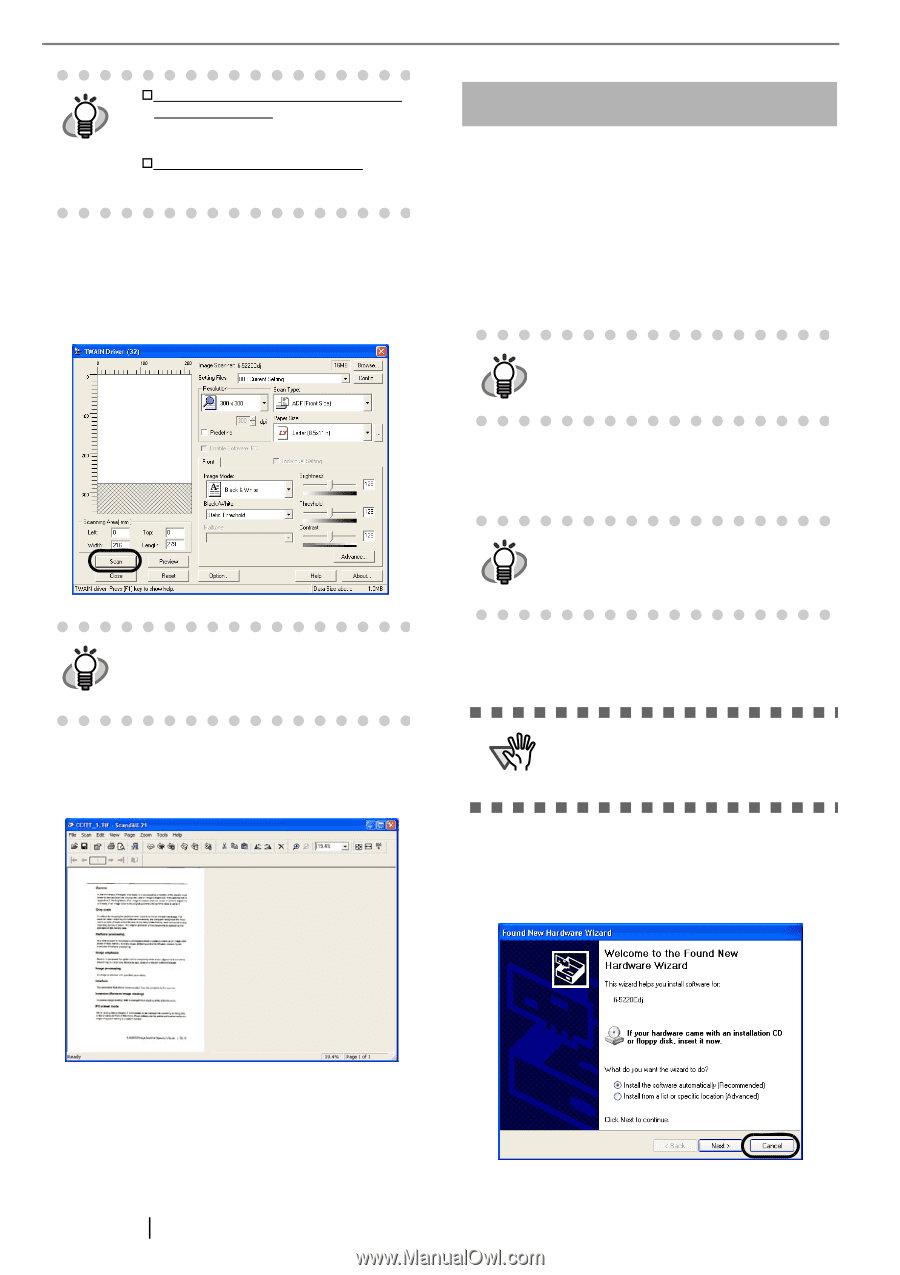
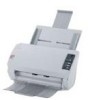
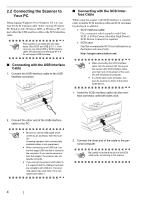
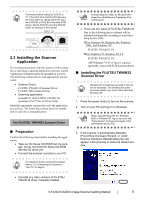
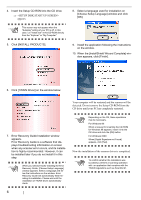
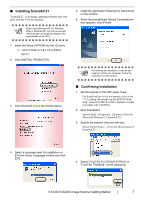
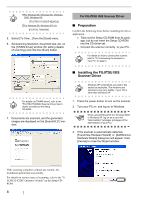
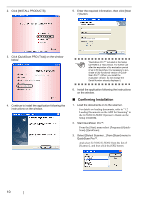
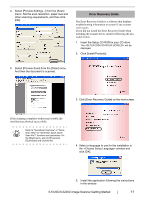
†For Windows 98, Windows Me, Windows HINT 2000, Windows XP: [FUJITSU fi-5120C/fi-5220Cdj] †For Windows 95, Windows NT 4.0: [FUJITSU TWAIN32] 5. Select [To View...] from the [Scan] menu. 6. Set scanning resolution, document size, etc. on the [TWAIN driver] window (for setting details of scanning) and click the [Scan] button. For FUJITSU ISIS Scanner Driver ■ Preparation Confirm the following items before installing the driver application. • Take out the Setup CD-ROM from its package, but do not insert the Setup CD-ROM into the CD driver yet. • Connect the scanner correctly to your PC.. For details on how to connect the scanner, HINT refer to "2.2 Connecting the Scanner to Your PC" on page 4. ■ Installing the FUJITSU ISIS Scanner Driver Windows XP screenshots are used in this HINT section as examples. The windows and operations may vary slightly, if your OS is other than Windows XP. For details on [TWAIN driver], refer to the HINT "FUJITSU TWAIN32 Scanner Driver User's Guide" provided on the Setup CD-ROM. 7. Documents are scanned, and the generated images are displayed on the [ScandAll 21] window. 1. Press the power button to turn on the scanner. 2. Turn your PC on and log on to Windows. ATTENTION When using Windows NT 4.0, Windows 2000 or Windows XP, log on as a user with "Administrator" privileges (privileges of the administrator of your PC). 3. If the scanner is automatically detected, [Found New Hardware Wizard] or [Add/Remove Hardware Wizard] dialog box will appear. Click [Cancel] to close the Wizard window. If the scanning completes without any trouble, the installation performed successfully. For details on various types of scanning, refer to the "fi5120C/fi-5220C Operator's Guide" on the Setup CDROM. 8
-
 1
1 -
2
-
3
-
4
-
5
-
6
-
7
-
8
-
9
-
10
-
 11
11 -
 12
12 -
 13
13 -
 14
14 -
 15
15 -
 16
16 -
 17
17 -
 18
18 -
 19
19 -
 20
20 -
 21
21 -
22
-
23
-
24
-
25
-
26
-
27
-
28
 |
 |