Garmin aera 560 Pilot's Guide - Page 151
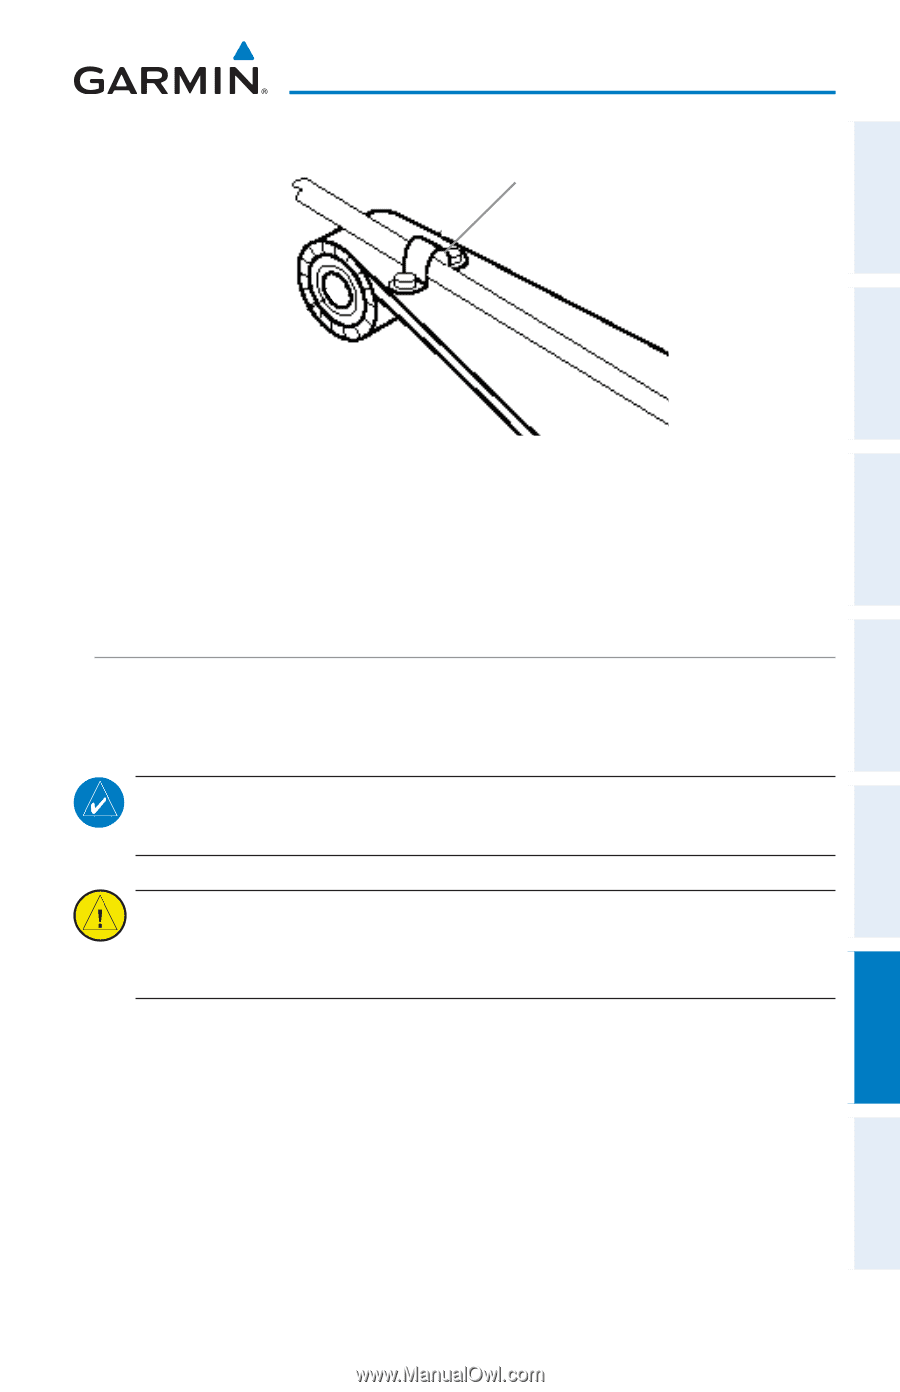
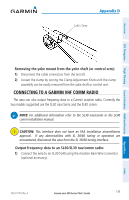
Connecting to a Garmin VHF Comm Radio, Removing the yoke mount from the yoke shaft or control arm - bare wires
 |
View all Garmin aera 560 manuals
Add to My Manuals
Save this manual to your list of manuals |
Page 151 highlights
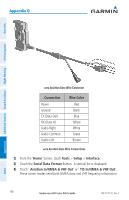
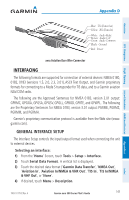
Appendix D Cable Clamp Overview GPS Navigation Flight Planning Hazard Avoidance Additional Features Removing the yoke mount from the yoke shaft (or control arm): 1) Disconnect the cable connectors from the aircraft. 2) Loosen the clamp by turning the Clamp Adjustment Knob until the clamp assembly can be easily removed from the yoke shaft or control arm. Connecting to a Garmin VHF Comm Radio The aera can also output frequency data to a Garmin aviation radio. Currently the two models supported are the SL30 nav/comm and the SL40 comm. NOTE: For additional information refer to the SL30 nav/comm or the SL40 comm installation manual. CAUTION: This interface does not have an FAA installation airworthiness approval. If any abnormalities with SL 30/40 tuning or operation are encountered, disconnect the aera from the SL 30/40 tuning interface. Output frequency data to an SL40/SL30 nav/comm radio: 1) Connect the aera to an SL30/SL40 using the Aviation Bare Wire Connector (optional accessory). 190-01117-02 Rev. A Garmin aera 500 Series Pilot's Guide 139 Appendices Index
-
 1
1 -
2
-
3
-
4
-
5
-
6
-
7
-
8
-
9
-
10
-
11
-
12
-
13
-
14
-
15
-
16
-
17
-
18
-
19
-
20
-
21
-
22
-
23
-
24
-
25
-
26
-
27
-
28
-
29
-
30
-
31
-
32
-
33
-
34
-
35
-
36
-
37
-
38
-
39
-
40
-
41
-
42
-
43
-
44
-
45
-
46
-
47
-
48
-
49
-
50
-
51
-
52
-
53
-
54
-
55
-
56
-
57
-
58
-
59
-
60
-
61
-
62
-
63
-
64
-
65
-
66
-
67
-
68
-
69
-
70
-
71
-
72
-
73
-
74
-
75
-
76
-
77
-
78
-
79
-
80
-
81
-
82
-
83
-
84
-
85
-
86
-
87
-
88
-
89
-
90
-
91
-
92
-
93
-
94
-
95
-
96
-
97
-
98
-
99
-
100
-
101
-
102
-
103
-
104
-
105
-
106
-
107
-
108
-
109
-
110
-
111
-
112
-
113
-
114
-
115
-
116
-
117
-
118
-
119
-
120
-
121
-
122
-
123
-
124
-
125
-
126
-
127
-
128
-
129
-
130
-
131
-
132
-
133
-
134
-
135
-
136
-
137
-
138
-
139
-
140
-
141
-
142
-
143
-
144
-
145
-
 146
146 -
 147
147 -
 148
148 -
 149
149 -
 150
150 -
 151
151 -
 152
152 -
 153
153 -
 154
154 -
 155
155 -
 156
156 -
157
-
158
-
159
-
160
-
161
-
162
-
163
-
164
-
165
-
166
-
167
-
168
-
169
-
170
-
171
-
172
-
173
-
174
-
175
-
176
-
177
-
178
-
179
-
180
-
181
-
182
-
183
-
184
-
185
-
186
-
187
-
188
-
189
-
190
-
191
-
192
-
193
-
194
-
195
-
196
-
197
-
198
-
199
-
200
-
201
-
202
 |
 |