GE PHP900DMBB Use and Care Manual - Page 12
Using the L Low Setting, Using the Kitchen Timer, Hot Surface Indicator Light - lowe s
 |
UPC - 084691163671
View all GE PHP900DMBB manuals
Add to My Manuals
Save this manual to your list of manuals |
Page 12 highlights
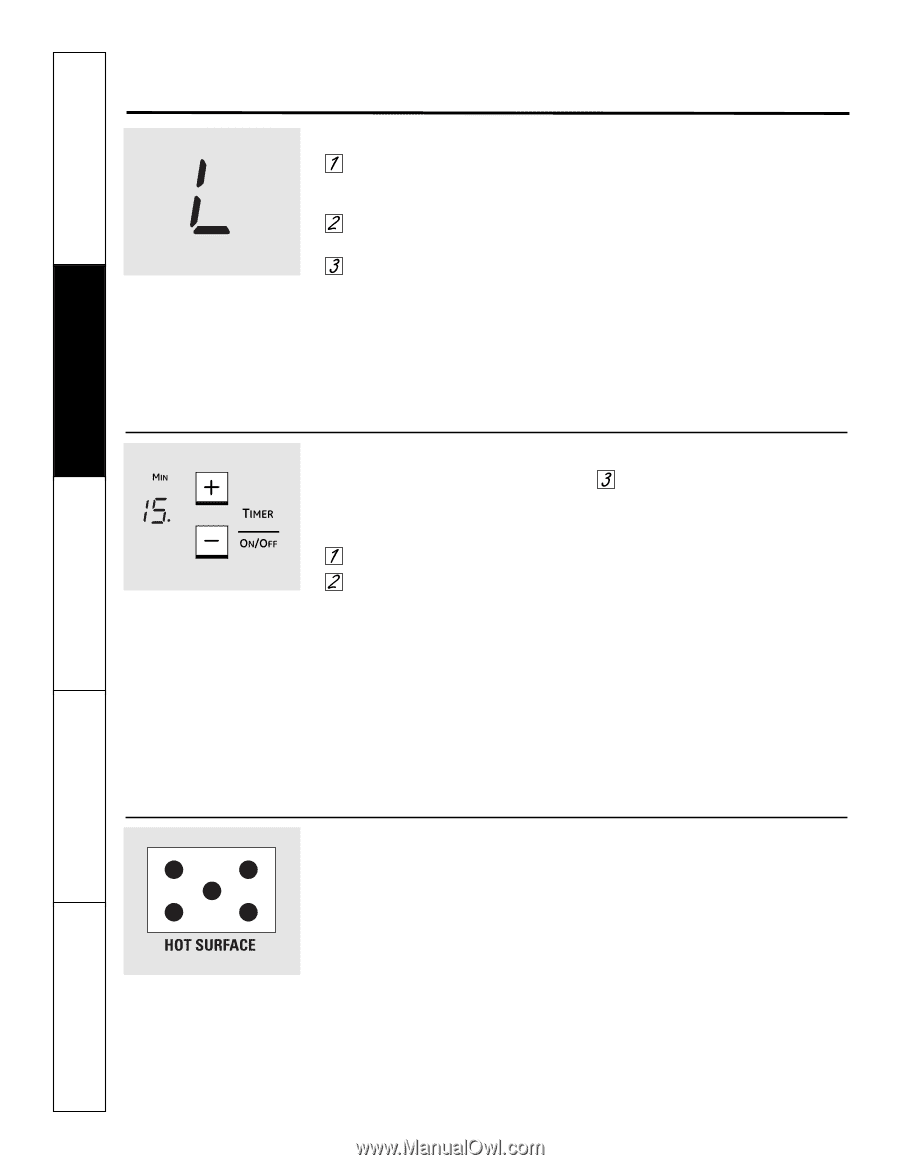
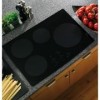
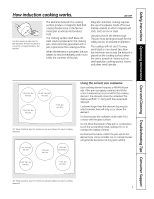
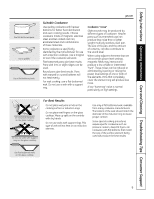
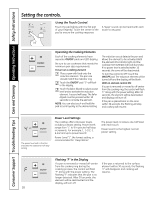
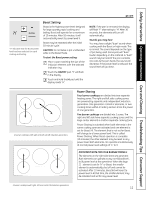
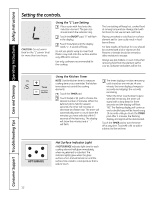
Consumer Support Troubleshooting Tips Care and Cleaning Operating Instructions Safety Instructions Setting the controls. CAUTION: Do not warm food on the "L" power level for more than two hours. Using the "L" Low Setting Place a pan with food onto the induction element. The pan size should match the indicator ring. Touch the ON/OFF pad. "5" will flash in the display. Touch the (-) pad until the display reads "L." A sound will beep. Do not use plastic wrap to cover food. Plastic may melt onto the surface and be very difficult to remove. Use only cookware recommended for this cooktop. The Low setting will keep hot, cooked food at serving temperature. Always start with hot food. Do not use to heat cold food. Placing uncooked or cold food on surface element set for Low could result in foodborne illness. For best results, all food set for Low should be covered with a lid or aluminum foil. Pastries or breads should be vented to allow moisture to escape. Always use pot holders or oven mitts when removing food from the element set for Low as cookware and plates will be hot. Using the Kitchen Timer NOTE: Use the kitchen timer to measure cooking time or as a reminder. The kitchen timer does not control the cooking elements. Touch the TIMER pad. Touch the (+) or (-) pad to choose the desired number of minutes. When the (+) or (-) pad is held for several seconds, the timer will increase or decrease at a faster rate. The timer will automatically start to count down the minutes you have selected within 5 . seconds of the last entry. The display will show the minutes and a " " will flash. The timer displays minutes remaining until it reaches one minute. At one minute, the timer display changes to seconds and displays the seconds remaining. When the timer counts down to zero time (00) remaining, the timer will signal with a long beep for three seconds and the display will flash "00". The flashing display will continue and a double beep will be heard every 10 seconds until you touch the TIMER pad. After 5 minutes, the flashing display and signal will be deactivated. Touch the TIMER pad to turn the timer off at any time. Touch (+) or (-) to add or subtract to the set time. Hot Surface Indicator Light A HOT SURFACE indicator light (one for each cooking element) will glow immediately when any element is activated. The indicator light(s) glow when the glass surface is hot, and will remain on until the surface has cooled to a temperature that is safe to touch. 12
-
 1
1 -
2
-
3
-
4
-
5
-
6
-
 7
7 -
 8
8 -
 9
9 -
 10
10 -
 11
11 -
 12
12 -
 13
13 -
 14
14 -
 15
15 -
 16
16 -
 17
17 -
18
-
19
-
20
-
21
-
22
-
23
-
24
-
25
-
26
-
27
-
28
-
29
-
30
-
31
-
32
-
33
-
34
-
35
-
36
-
37
-
38
-
39
-
40
-
41
-
42
-
43
-
44
-
45
-
46
-
47
-
48
-
49
-
50
-
51
-
52
-
53
-
54
-
55
-
56
-
57
-
58
-
59
-
60
-
61
-
62
-
63
-
64
-
65
-
66
-
67
-
68
-
69
-
70
-
71
-
72
 |
 |