HP A1210n Media Center Software Guide - Page 62
Recording the movie project to disc, Using muvee autoProducer unPlugged in Media Center
 |
View all HP A1210n manuals
Add to My Manuals
Save this manual to your list of manuals |
Page 62 highlights
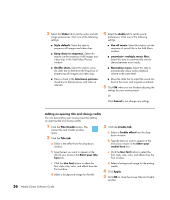
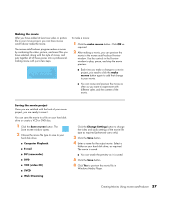
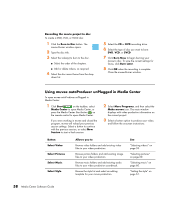
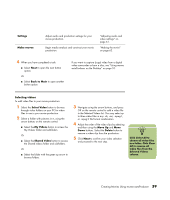
Recording the movie project to disc To create a DVD, VCD, or SVCD disc: 1 Click the Burn to Disc button. The muvee Burner window opens. 2 Type the disc title. 3 Select the video(s) to burn to the disc. ■ Select the order of the chapters. ■ Add or delete videos, as required. 4 Select the disc menu theme from the drop- down list. 5 Select the CD or DVD recording drive. 6 Select the type of disc you want to burn: DVD, VCD, or SVCD. 7 Click Burn Now to begin burning your movie to disc. To save the current settings for future, click Burn Later. 8 Click OK when the recording is complete. Close the muvee Burner window. Using muvee autoProducer unPlugged in Media Center To open muvee autoProducer unPlugged in Media Center: 1 Click Start on the taskbar, select Media Center to open Media Center, or press the Media Center Start button on the remote control to open Media Center. If you were working in muvee and closed the program, muvee will reload your previous session settings. Select a button to continue with the previous session, or select New Session to start a fresh session. 2 Select More Programs, and then select the Make muvee icon. The main window displays with video production information on the current project. 3 Select a button option to produce your video, and follow the onscreen instructions: Button Select Video Select Pictures Select Music Select Style Allows you to Browse video folders and add existing video files to your video production. Browse picture folders and add existing image files to your video production. Browse music folders and add existing audio files to your video production soundtrack. Browse the style list and select an editing template for your movie production. See "Selecting videos" on page 59. "Selecting pictures" on page 60. "Selecting music" on page 60. "Setting the style" on page 61. 58 Media Center Software Guide
-
 1
1 -
2
-
3
-
4
-
5
-
6
-
7
-
8
-
9
-
10
-
11
-
12
-
13
-
14
-
15
-
16
-
17
-
18
-
19
-
20
-
21
-
22
-
23
-
24
-
25
-
26
-
27
-
28
-
29
-
30
-
31
-
32
-
33
-
34
-
35
-
36
-
37
-
38
-
39
-
40
-
41
-
42
-
43
-
44
-
45
-
46
-
47
-
48
-
49
-
50
-
51
-
52
-
53
-
54
-
55
-
56
-
 57
57 -
 58
58 -
 59
59 -
 60
60 -
 61
61 -
 62
62 -
 63
63 -
 64
64 -
 65
65 -
 66
66 -
 67
67 -
68
-
69
-
70
 |
 |
