HP Integrity BL860c Errata: HP OpenVMS Support - HP Integrity BL860c Server Bl - Page 6
Optional Alternative
 |
View all HP Integrity BL860c manuals
Add to My Manuals
Save this manual to your list of manuals |
Page 6 highlights
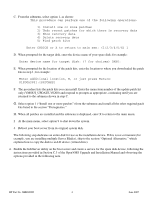
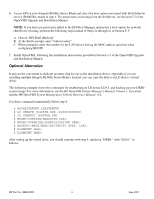
6. Access EFI on your Integrity BL860c Server Blade and select the boot option associated with the InfoServer service (I64083B) created in step 4. For instructions on booting from the InfoServer, see Section C.5 of the OpenVMS Upgrade and Installation Manual. NOTE: If you have not previously added to the EFI Boot Manager options list a boot option for network (InfoServer) booting, perform the following steps instead of Steps 2a through 2c of Section C.5: A. Choose "EFI Shell [Built-in]" B. At the Shell> prompt, enter "lanboot select" C. When prompted, enter the number for the LAN device having the MAC address specified when configuring BOOTP. 7. Install OpenVMS, following the installation instructions provided in Section 3.3 of the OpenVMS Upgrade and Installation Manual. Optional Alternative It may not be convenient to dedicate an entire disk for use as the installation device, especially if you are installing multiple Integrity BL860c Server Blades. Instead, you can copy the disk to an LD device (virtual drive). The following example shows the commands for establishing an LD device LDA1: and backing up your DKB0: system image. For more information, see the HP OpenVMS System Manager's Manual, Volume 1: Essentials and the HP OpenVMS System Management Utilities Reference Manual: A-L. Use these commands immediately before step 4: $ @SYS$STARTUP:LD$STARTUP $ LD CREATE I64083B.DSK /SIZE=6000000 $ LD CONNECT I64083B.DSK $ MOUNT/FOREIGN/NOASSIST LDA1: $ MOUNT/OVERRIDE=IDENTIFICATION DKB0: $ BACKUP/IMAGE/NOALIAS/VERIFY DKB0: LDA1: $ DISMOUNT LDA1: $ DISMOUNT DKB0: After setting up the virtual drive, you should continue with step 4, replacing "DKB0:" with "LDA1:" as follows: HP Part No. 5992-0787 6 June 2007
-
 1
1 -
 2
2 -
 3
3 -
 4
4 -
 5
5 -
 6
6 -
 7
7
 |
 |
