HP Integrity rx1600 Installation Guide, Second Edition - HP Integrity rx1600 - Page 30
Locking the Processor Assembly in Place
 |
View all HP Integrity rx1600 manuals
Add to My Manuals
Save this manual to your list of manuals |
Page 30 highlights
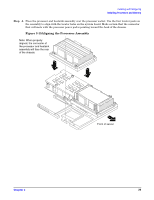
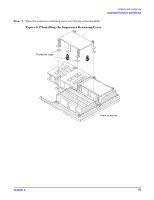
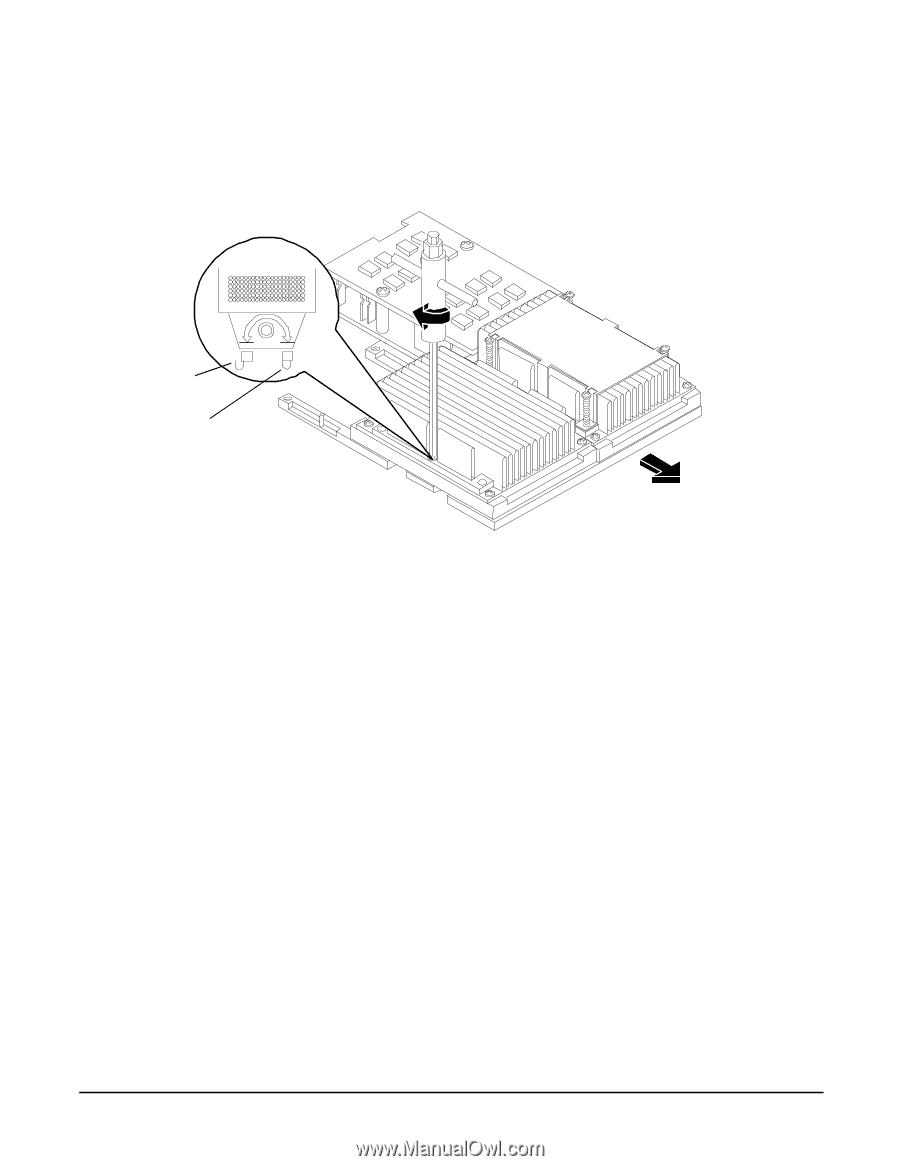
Installing and Configuring Installing Processors and Memory Step 5. Use the special processor tool (P/N 5069-5441) shipped with your replacement processor assembly to lock the processor in place on the system board. To do this, insert the special processor tool into the lock and rotate it clockwise 180 degrees. Figure 3-16Locking the Processor Assembly in Place Unlocked Locked Front of server Step 6. Remove the protective caps from the screws on the sequencer retaining cover. 30 Chapter 3
-
 1
1 -
2
-
3
-
4
-
5
-
6
-
7
-
8
-
9
-
10
-
11
-
12
-
13
-
14
-
15
-
16
-
17
-
18
-
19
-
20
-
21
-
22
-
23
-
24
-
 25
25 -
 26
26 -
 27
27 -
 28
28 -
 29
29 -
 30
30 -
 31
31 -
 32
32 -
 33
33 -
 34
34 -
 35
35 -
36
-
37
-
38
-
39
-
40
-
41
-
42
-
43
-
44
-
45
-
46
-
47
-
48
-
49
-
50
-
51
-
52
-
53
-
54
-
55
-
56
-
57
-
58
-
59
-
60
-
61
-
62
-
63
-
64
-
65
-
66
-
67
-
68
-
69
-
70
-
71
-
72
-
73
-
74
-
75
-
76
-
77
-
78
-
79
-
80
-
81
-
82
-
83
-
84
-
85
-
86
-
87
-
88
-
89
-
90
 |
 |
Chapter 3
Installing and Configuring
Installing Processors and Memory
30
Step 5.
Use the special processor tool (P/N 5069-5441) shipped with your replacement processor assembly
to lock the processor in place on the system board. To do this, insert the special processor tool into
the lock and rotate it clockwise 180 degrees.
Figure 3-16Locking the Processor Assembly in Place
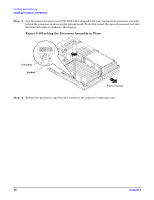
Step 6.
Remove the protective caps from the screws on the sequencer retaining cover.
Locked
Unlocked
Front of server