HP LaserJet 5200 HP LaserJet 5200 Series Printer - User Guide - Page 158
Jam locations, Jam recovery
 |
View all HP LaserJet 5200 manuals
Add to My Manuals
Save this manual to your list of manuals |
Page 158 highlights
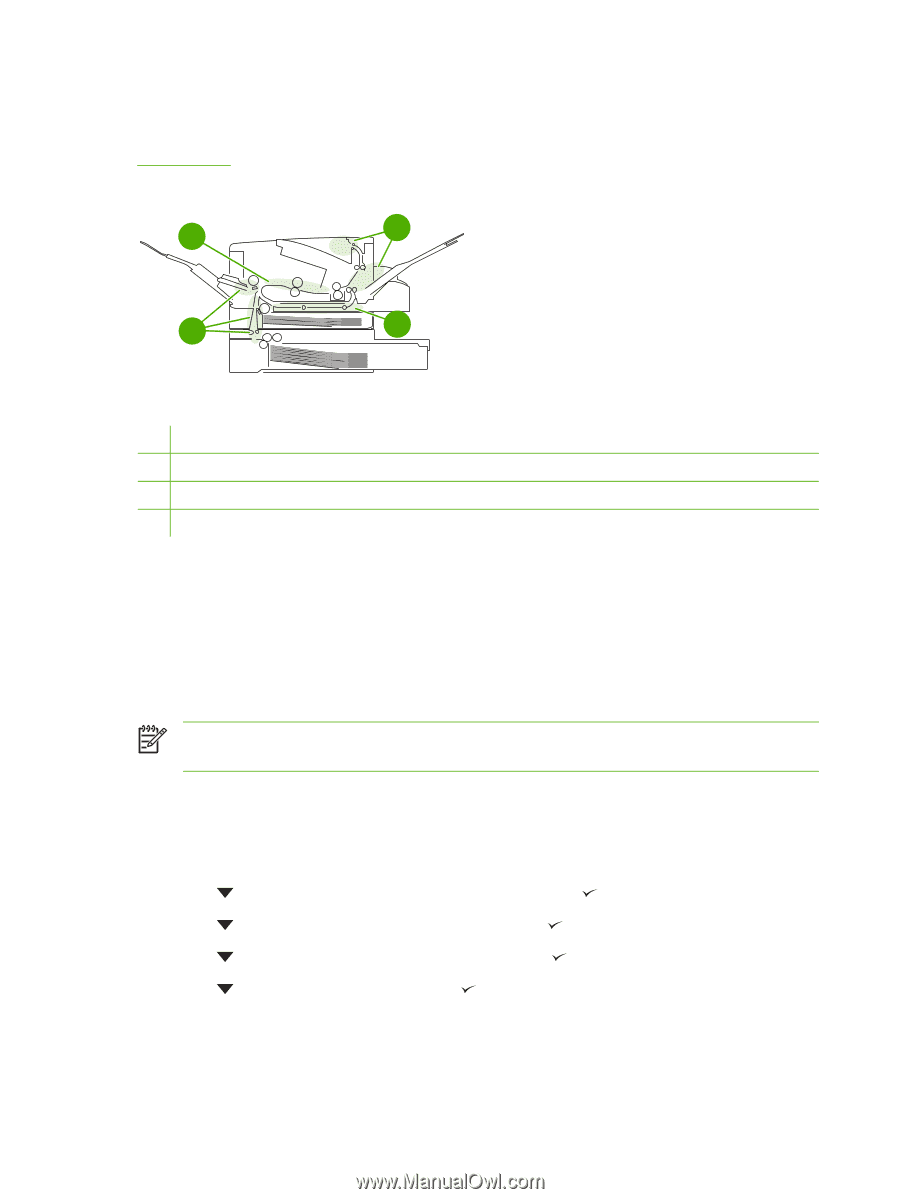
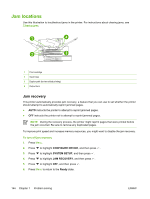
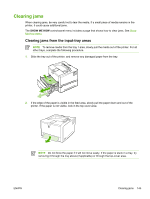
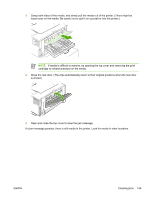
Jam locations Use this illustration to troubleshoot jams in the printer. For instructions about clearing jams, see Clearing jams. 1 4 2 3 1 Print cartridge 2 Input trays 3 Duplex path (for two-sided printing) 4 Output bins Jam recovery This printer automatically provides jam recovery, a feature that you can use to set whether the printer should attempt to automatically reprint jammed pages. ● AUTO instructs the printer to attempt to reprint jammed pages. ● OFF instructs the printer not to attempt to reprint jammed pages. NOTE During the recovery process, the printer might reprint pages that were printed before the jam occurred. Be sure to remove any duplicated pages. To improve print speed and increase memory resources, you might want to disable the jam recovery. To turn off jam recovery 1. Press Menu. 2. Press to highlight CONFIGURE DEVICE, and then press . 3. Press to highlight SYSTEM SETUP, and then press . 4. Press to highlight JAM RECOVERY, and then press . 5. Press to highlight OFF, and then press . 6. Press Menu to return to the Ready state. 144 Chapter 7 Problem solving ENWW
-
 1
1 -
2
-
3
-
4
-
5
-
6
-
7
-
8
-
9
-
10
-
11
-
12
-
13
-
14
-
15
-
16
-
17
-
18
-
19
-
20
-
21
-
22
-
23
-
24
-
25
-
26
-
27
-
28
-
29
-
30
-
31
-
32
-
33
-
34
-
35
-
36
-
37
-
38
-
39
-
40
-
41
-
42
-
43
-
44
-
45
-
46
-
47
-
48
-
49
-
50
-
51
-
52
-
53
-
54
-
55
-
56
-
57
-
58
-
59
-
60
-
61
-
62
-
63
-
64
-
65
-
66
-
67
-
68
-
69
-
70
-
71
-
72
-
73
-
74
-
75
-
76
-
77
-
78
-
79
-
80
-
81
-
82
-
83
-
84
-
85
-
86
-
87
-
88
-
89
-
90
-
91
-
92
-
93
-
94
-
95
-
96
-
97
-
98
-
99
-
100
-
101
-
102
-
103
-
104
-
105
-
106
-
107
-
108
-
109
-
110
-
111
-
112
-
113
-
114
-
115
-
116
-
117
-
118
-
119
-
120
-
121
-
122
-
123
-
124
-
125
-
126
-
127
-
128
-
129
-
130
-
131
-
132
-
133
-
134
-
135
-
136
-
137
-
138
-
139
-
140
-
141
-
142
-
143
-
144
-
145
-
146
-
147
-
148
-
149
-
150
-
151
-
152
-
 153
153 -
 154
154 -
 155
155 -
 156
156 -
 157
157 -
 158
158 -
 159
159 -
 160
160 -
 161
161 -
 162
162 -
 163
163 -
164
-
165
-
166
-
167
-
168
-
169
-
170
-
171
-
172
-
173
-
174
-
175
-
176
-
177
-
178
-
179
-
180
-
181
-
182
-
183
-
184
-
185
-
186
-
187
-
188
-
189
-
190
-
191
-
192
-
193
-
194
-
195
-
196
-
197
-
198
-
199
-
200
-
201
-
202
-
203
-
204
-
205
-
206
-
207
-
208
-
209
-
210
-
211
-
212
-
213
-
214
-
215
-
216
-
217
-
218
-
219
-
220
-
221
-
222
-
223
-
224
-
225
-
226
-
227
-
228
-
229
-
230
-
231
-
232
-
233
-
234
-
235
-
236
-
237
-
238
-
239
-
240
-
241
-
242
-
243
-
244
-
245
-
246
-
247
-
248
 |
 |