HP LaserJet 5200 HP LaserJet 5200 Series Printer - User Guide - Page 81
Loading optional tray 3 (500-sheet tray) - laserjet 5200dtn
 |
View all HP LaserJet 5200 manuals
Add to My Manuals
Save this manual to your list of manuals |
Page 81 highlights
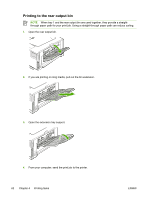
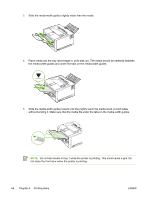
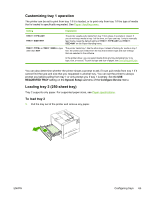
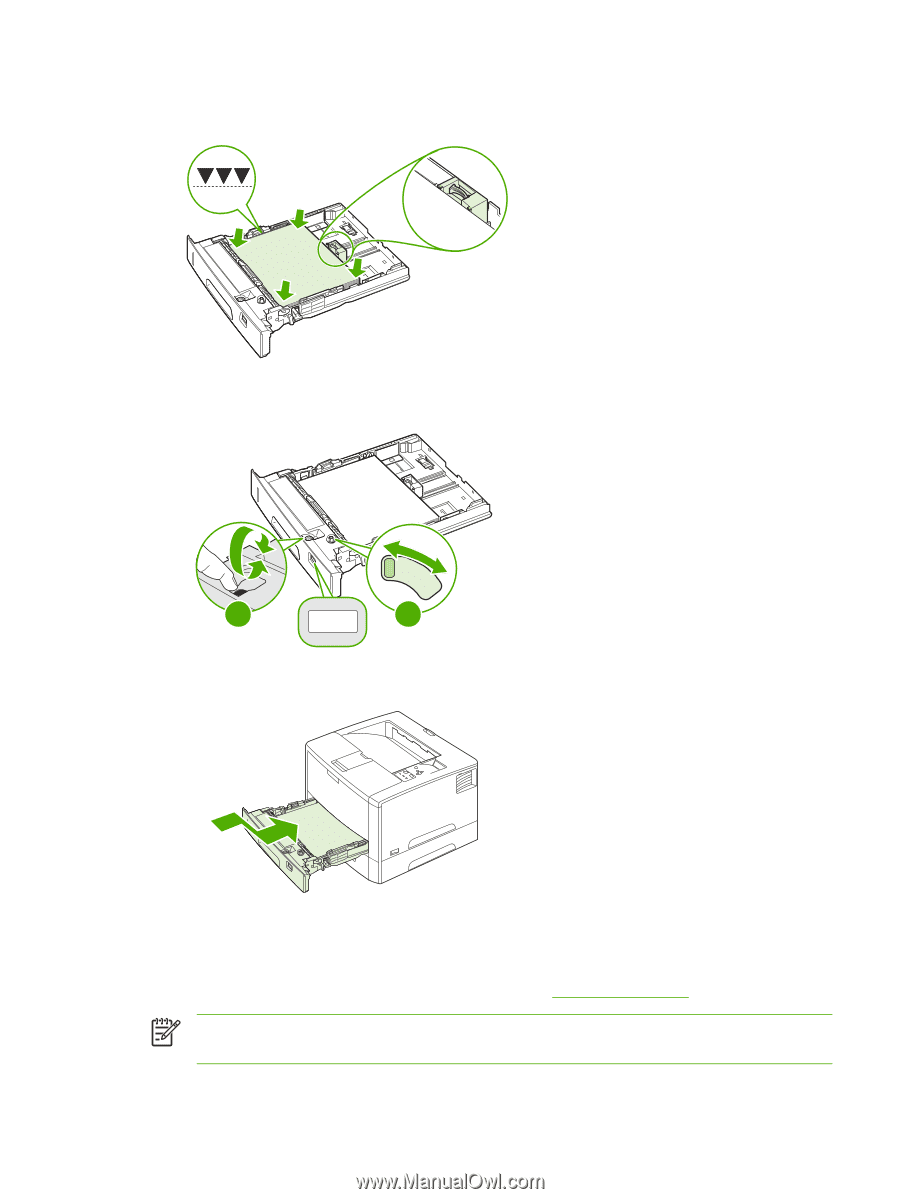
4. Place the paper in the tray and make sure that it is flat at all four corners. Keep the paper below the height tabs on the paper-length guide in the rear of the tray. Lock Lock 5. Set the paper-size switch (callout 1) and paper-size dial (callout 2) to the size of the paper that you loaded. 1 Custom 2 6. Slide the tray into the printer. Loading optional tray 3 (500-sheet tray) Tray 3 supports only paper. For supported paper sizes, see Paper specifications. NOTE The tray 3 500-sheet tray is standard with the HP LaserJet 5200tn and HP LaserJet 5200dtn printer models. ENWW Configuring trays 67
-
 1
1 -
2
-
3
-
4
-
5
-
6
-
7
-
8
-
9
-
10
-
11
-
12
-
13
-
14
-
15
-
16
-
17
-
18
-
19
-
20
-
21
-
22
-
23
-
24
-
25
-
26
-
27
-
28
-
29
-
30
-
31
-
32
-
33
-
34
-
35
-
36
-
37
-
38
-
39
-
40
-
41
-
42
-
43
-
44
-
45
-
46
-
47
-
48
-
49
-
50
-
51
-
52
-
53
-
54
-
55
-
56
-
57
-
58
-
59
-
60
-
61
-
62
-
63
-
64
-
65
-
66
-
67
-
68
-
69
-
70
-
71
-
72
-
73
-
74
-
75
-
 76
76 -
 77
77 -
 78
78 -
 79
79 -
 80
80 -
 81
81 -
 82
82 -
 83
83 -
 84
84 -
 85
85 -
 86
86 -
87
-
88
-
89
-
90
-
91
-
92
-
93
-
94
-
95
-
96
-
97
-
98
-
99
-
100
-
101
-
102
-
103
-
104
-
105
-
106
-
107
-
108
-
109
-
110
-
111
-
112
-
113
-
114
-
115
-
116
-
117
-
118
-
119
-
120
-
121
-
122
-
123
-
124
-
125
-
126
-
127
-
128
-
129
-
130
-
131
-
132
-
133
-
134
-
135
-
136
-
137
-
138
-
139
-
140
-
141
-
142
-
143
-
144
-
145
-
146
-
147
-
148
-
149
-
150
-
151
-
152
-
153
-
154
-
155
-
156
-
157
-
158
-
159
-
160
-
161
-
162
-
163
-
164
-
165
-
166
-
167
-
168
-
169
-
170
-
171
-
172
-
173
-
174
-
175
-
176
-
177
-
178
-
179
-
180
-
181
-
182
-
183
-
184
-
185
-
186
-
187
-
188
-
189
-
190
-
191
-
192
-
193
-
194
-
195
-
196
-
197
-
198
-
199
-
200
-
201
-
202
-
203
-
204
-
205
-
206
-
207
-
208
-
209
-
210
-
211
-
212
-
213
-
214
-
215
-
216
-
217
-
218
-
219
-
220
-
221
-
222
-
223
-
224
-
225
-
226
-
227
-
228
-
229
-
230
-
231
-
232
-
233
-
234
-
235
-
236
-
237
-
238
-
239
-
240
-
241
-
242
-
243
-
244
-
245
-
246
-
247
-
248
 |
 |
4.
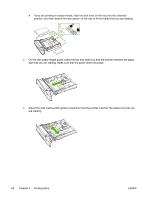
Place the paper in the tray and make sure that it is flat at all four corners. Keep the paper below
the height tabs on the paper-length guide in the rear of the tray.
Lock
5.
Set the paper-size switch (callout 1) and paper-size dial (callout 2) to the size of the paper that
you loaded.
Lock
Custom
2
1
6.
Slide the tray into the printer.
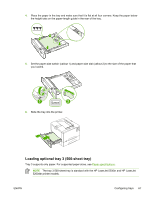
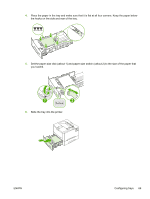
Loading optional tray 3 (500-sheet tray)
Tray 3 supports only paper. For supported paper sizes, see
Paper
specifications
.
NOTE
The tray 3 500-sheet tray is standard with the HP LaserJet 5200tn and HP LaserJet
5200dtn printer models.
ENWW
Configuring trays
67