HP LaserJet P1500 HP LaserJet P1000 and P1500 Series - Software Technical Refe - Page 131
Troubleshooting the printer setup, HP LaserJet P1500
 |
View all HP LaserJet P1500 manuals
Add to My Manuals
Save this manual to your list of manuals |
Page 131 highlights
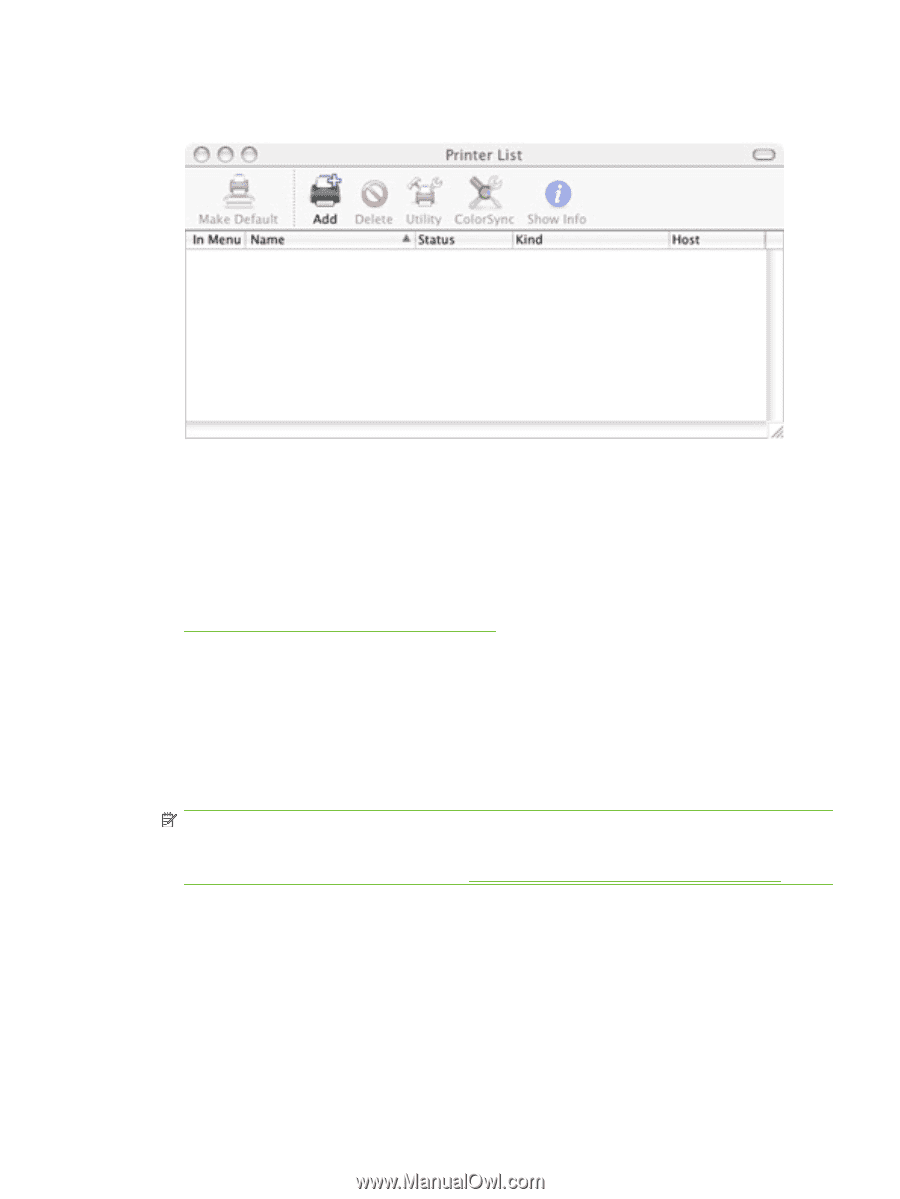
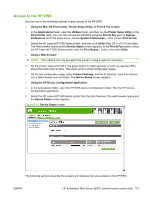
2. In the Applications folder, open the Utilities folder, and then run the Printer Setup Utility. Figure 5-11 Printer List screen You can also configure the printer using the Print & Fax pane of System Preferences (from the Apple menu, choose System Preferences..., then choose Print & Fax). 3. If you are installing the printer using a USB connection, verify that the printer appears on the printer list. (In the Print & Fax screen, click the Set Up Printers... button to see the printer list.) The Kind column in the printer list should display HP LaserJet P1000 Series or HP LaserJet P1500 Series. If this is the case, the setup is complete. If the printer does not appear, or if the correct information does not appear in the Kind column, see Troubleshooting the printer setup on page 117. If you are installing the printer using a network connection, continue with the following steps. 4. Click Add (or the Set Up Printers... button in the Print & Fax screen, and then Add) to open the add printer screen. 5. Select the Rendezvous network connection protocol in the top pull-down menu. 6. Select the HP LaserJet P1500 Series printer in the Name list. The Printer Model and Model Name are selected automatically. NOTE: If the HP LaserJet P1500 Series printer does not appear in the list, verify that the printer is powered on and connected to the network. If it still does not appear, try turning the printer off and then on again. Finally, turn the computer off and then on again, then restart the setup process. For more troubleshooting information, see Troubleshooting the printer setup on page 117. 7. Click Add. The HP LaserJet P1500 Series printer appears in the Printer List. Troubleshooting the printer setup If the printer does not appear in the printer list after an installation: ENWW Macintosh install and uninstall instructions 117
-
 1
1 -
2
-
3
-
4
-
5
-
6
-
7
-
8
-
9
-
10
-
11
-
12
-
13
-
14
-
15
-
16
-
17
-
18
-
19
-
20
-
21
-
22
-
23
-
24
-
25
-
26
-
27
-
28
-
29
-
30
-
31
-
32
-
33
-
34
-
35
-
36
-
37
-
38
-
39
-
40
-
41
-
42
-
43
-
44
-
45
-
46
-
47
-
48
-
49
-
50
-
51
-
52
-
53
-
54
-
55
-
56
-
57
-
58
-
59
-
60
-
61
-
62
-
63
-
64
-
65
-
66
-
67
-
68
-
69
-
70
-
71
-
72
-
73
-
74
-
75
-
76
-
77
-
78
-
79
-
80
-
81
-
82
-
83
-
84
-
85
-
86
-
87
-
88
-
89
-
90
-
91
-
92
-
93
-
94
-
95
-
96
-
97
-
98
-
99
-
100
-
101
-
102
-
103
-
104
-
105
-
106
-
107
-
108
-
109
-
110
-
111
-
112
-
113
-
114
-
115
-
116
-
117
-
118
-
119
-
120
-
121
-
122
-
123
-
124
-
125
-
 126
126 -
 127
127 -
 128
128 -
 129
129 -
 130
130 -
 131
131 -
 132
132 -
 133
133 -
 134
134 -
 135
135 -
 136
136 -
137
-
138
-
139
-
140
-
141
-
142
-
143
-
144
-
145
-
146
-
147
-
148
-
149
-
150
-
151
-
152
-
153
-
154
 |
 |