HP LaserJet P2050 HP LaserJet P2050 Series - Manage and Maintain - Page 12
Input trays continued, Output bins
 |
View all HP LaserJet P2050 manuals
Add to My Manuals
Save this manual to your list of manuals |
Page 12 highlights
HP LaserJet P2050 Series Printer - Clear Jams How do I? Input trays (continued) Steps to perform 3 Replace the trays. 4 If no jammed paper is visible in the tray area, open the print-cartridge door, remove the print cartridge, and pull down the upper media guide. With both hands, grasp the jammed paper and slowly pull it out of the product. 5 Replace the print-cartridge, and close the print-cartridge door. Output bins CAUTION: To avoid damaging the product, do not attempt to clear a jam in the top output bin by pulling the paper straight out. 1 At the back of the product, open the jam-release door. © 2008 Copyright Hewlett-Packard Development Company, L.P. 7 www.hp.com
-
 1
1 -
2
-
3
-
4
-
5
-
6
-
 7
7 -
 8
8 -
 9
9 -
 10
10 -
 11
11 -
 12
12 -
 13
13
 |
 |
HP LaserJet P2050 Series Printer – Clear Jams
© 2008 Copyright Hewlett-Packard
Development Company, L.P.
7
www.hp.com
How do I?
Steps to perform
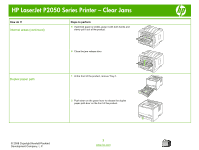
Input trays (continued)
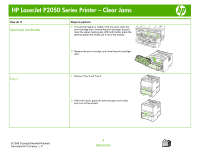
3
Replace the trays.
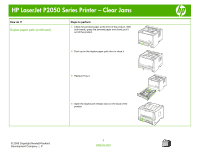
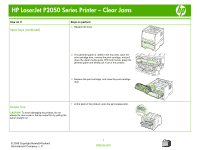
4
If no jammed paper is visible in the tray area, open the
print-cartridge door, remove the print cartridge, and pull
down the upper media guide. With both hands, grasp the
jammed paper and slowly pull it out of the product.
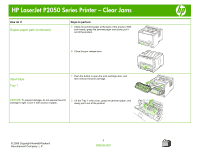
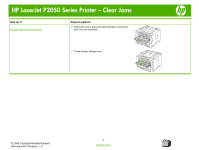
5
Replace the print-cartridge, and close the print-cartridge
door.
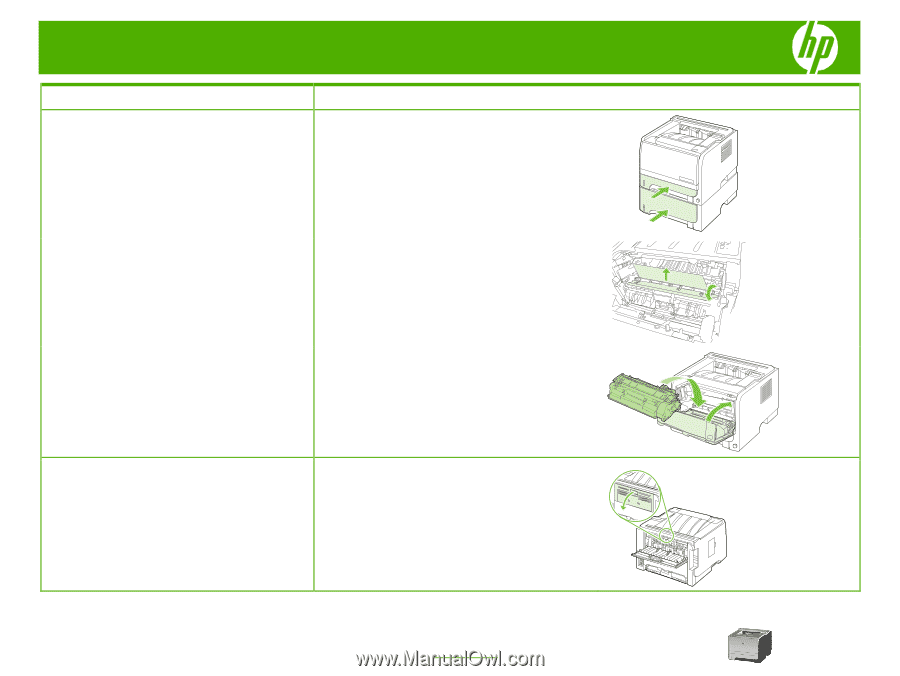
Output bins
CAUTION:
To avoid damaging the product, do not
attempt to clear a jam in the top output bin by pulling the
paper straight out.
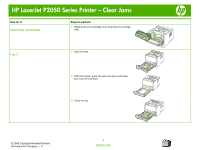
1
At the back of the product, open the jam-release door.