HP Photosmart Premium e-All-in-One Printer - C310 Reference Guide - Page 1
HP Photosmart Premium e-All-in-One Printer - C310 Manual
 |
View all HP Photosmart Premium e-All-in-One Printer - C310 manuals
Add to My Manuals
Save this manual to your list of manuals |
Page 1 highlights
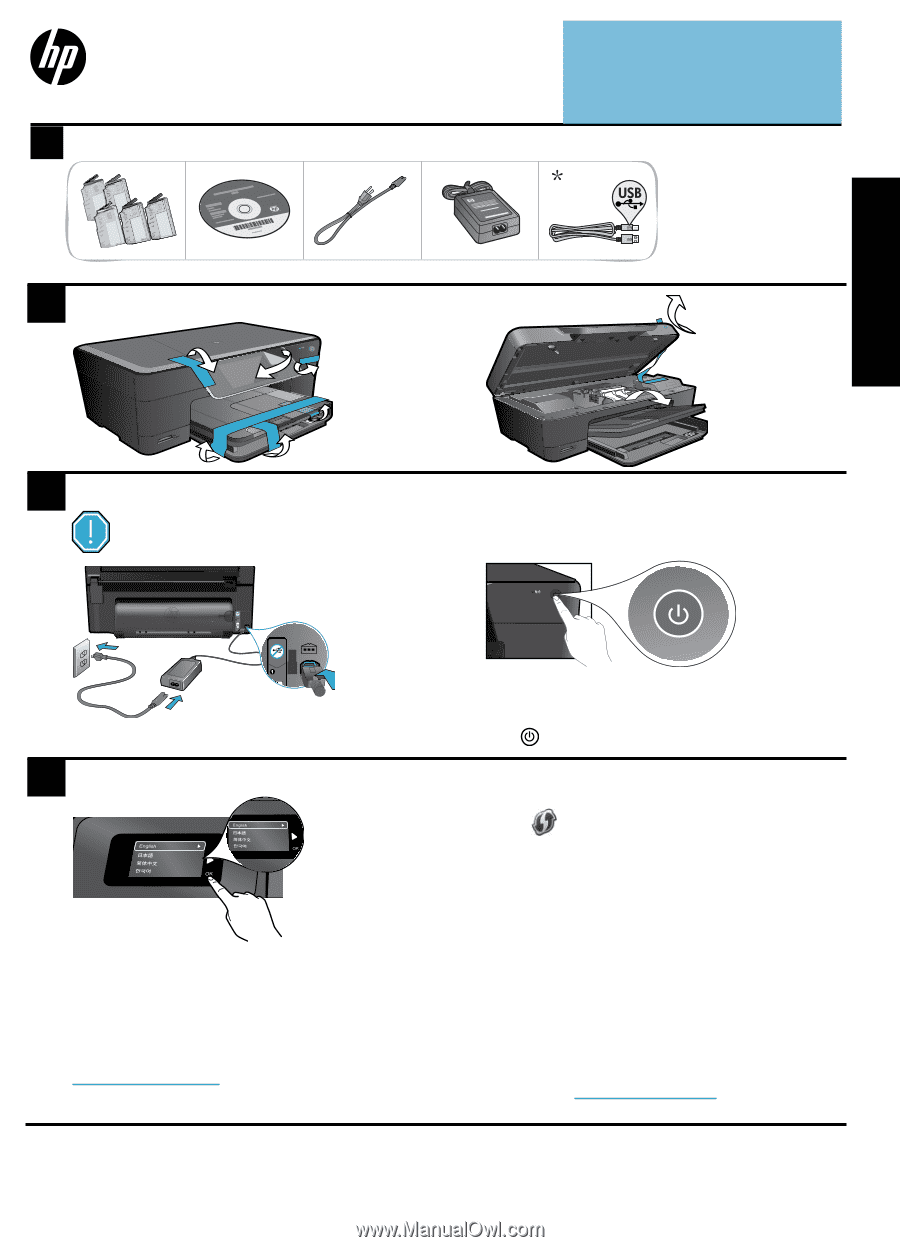
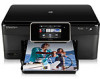
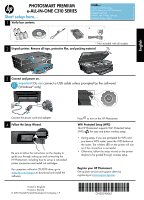
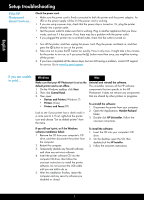
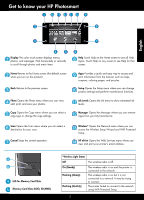
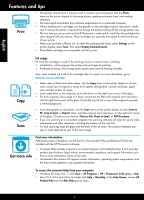
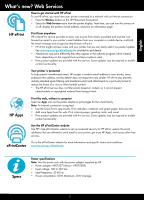
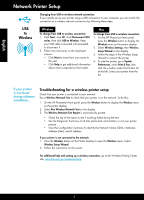
PHOTOSMART PREMIUM e-ALL-IN-ONE C310 SERIES Start setup here... 1 Verify box contents. Inside... Setup troubleshooting 2 Get to know your HP Photosmart 3 Features and tips 4 What's new? Web Services 5 Network Printer Setup 6 * Not included with all models 2 Unpack printer. Remove all tape, protective film, and packing material. English MMC 3 Connect and power on. Important! Do not connect a USB cable unless prompted by the software! (Windows® only) USB USB Connect the power cord and adapter. 4 Follow the Setup Wizard. Be sure to follow the instructions on the display to guide you through setting up and connecting the HP Photosmart, including how to set up a networked printer connection and install ink cartridges. For computers without a CD/DVD drive, go to www.hp.com/support to download and install the software. Printed in [English] Printed in [French] © 2010 Hewlett-Packard Development Company, L.P. Press to turn on the HP Photosmart. WiFi Protected Setup (WPS) This HP Photosmart supports WiFi Protected Setup (WPS) for easy one-button wireless setup. • During setup, if you are prompted for WPS and you have a WPS router, press the WPS button on the router. The wireless LED on the printer will turn on if the connection is successful. • Otherwise, follow the setup wizard on the printer display to be guided through wireless setup. Register your HP Photosmart. Get quicker service and support alerts by registering at www.register.hp.com. *CN503-90062* *CN503-90062* CN503-90062
-
 1
1 -
 2
2 -
 3
3 -
 4
4 -
 5
5 -
 6
6 -
 7
7 -
8
-
9
-
10
-
11
-
12
-
13
-
14
-
15
-
16
-
17
-
18
-
19
-
20
-
21
-
22
-
23
-
24
 |
 |