HP Q6275A User Guide - Page 7
Basic setup - windows 7
 |
UPC - 883585158706
View all HP Q6275A manuals
Add to My Manuals
Save this manual to your list of manuals |
Page 7 highlights
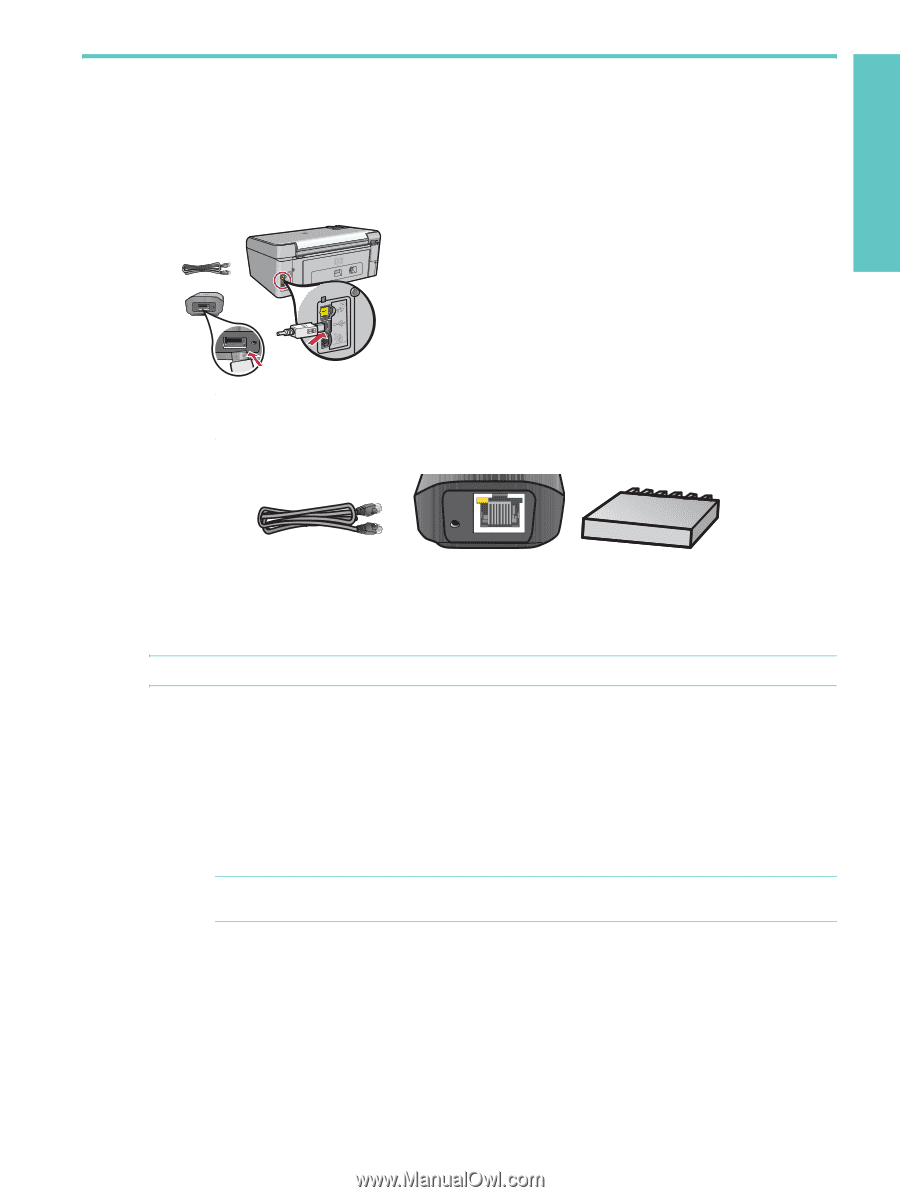
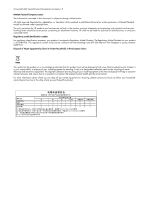
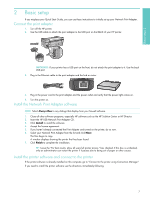
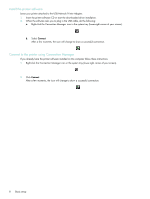
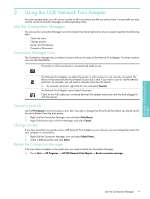
Basic setup 2 2 Basic setup If you misplace your Quick Start Guide, you can use these instructions to initially set up your Network Print Adapter. Connect the print adapter 1. Turn off the HP printer. 2. Use the USB cable to attach the print adapter to the USB port on the BACK of your HP printer. IMPORTANT: If your printer has a USB port on the front, do not attach the print adapter to it. Use the back USB port. 3. Plug in the Ethernet cable to the print adapter and the hub or router. 4. Plug in the power cord to the print adapter and the power outlet and verify that the power light comes on. 5. Turn the printer on. Install the Network Print Adapter software NOTE: Select Always Allow to any dialogs that display from your firewall software. 1. Close all other software programs, especially HP software such as the HP Solution Center or HP Director. 2. Insert the HP USB Network Print Adapter CD. 3. Click Install to install the software. 4. Accept the license agreement. 5. If you haven't already connected the Print Adapter and turned on the printer, do so now. 6. Select your Network Print Adapter from the list and click Next. The files begin to copy. A window displays showing the printer that has been found. 7. Click Finish to complete the installation. TIP: Leave the "For best results, allow all users full printer access." box checked. If this box is unchecked, only an administrator can restart the printer if it pauses due to being out of paper or other causes. Install the printer software and connect to the printer If the printer software is already installed on this computer, go to "Connect to the printer using Connection Manager". If you need to install the printer software use the directions immediately following. 7
-
 1
1 -
 2
2 -
 3
3 -
 4
4 -
 5
5 -
 6
6 -
 7
7 -
 8
8 -
 9
9 -
 10
10 -
 11
11 -
 12
12 -
13
-
14
-
15
-
16
-
17
-
18
 |
 |