HP RF863AA HP Personal Media Drive - User's Guide - Page 8
Getting Started with Your, HP Personal Media Drive - hard drive
 |
View all HP RF863AA manuals
Add to My Manuals
Save this manual to your list of manuals |
Page 8 highlights
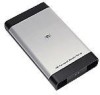
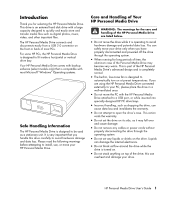
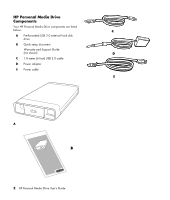
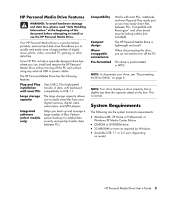
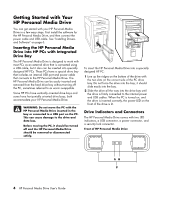
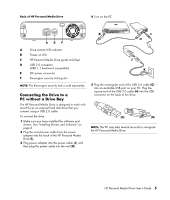
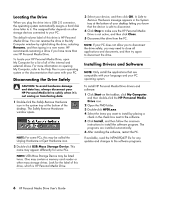
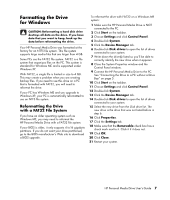
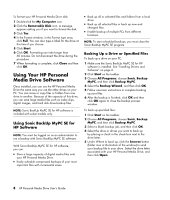
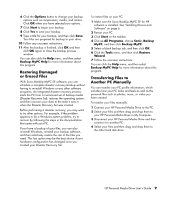
Getting Started with Your HP Personal Media Drive You can get started with your HP Personal Media Drive in a few easy steps. First install the software for the HP Personal Media Drive, and then connect the power cable and USB cable. See "Installing Drivers and Software" on page 6. Inserting the HP Personal Media Drive into HP PCs with Integrated Drive Bay The HP Personal Media Drive is designed to work with most PCs as an external drive that is connected using a USB cable, but it also can be inserted into specially designed HP PCs. These PCs have a special drive bay that includes an internal USB port and power cable that connects to the HP Personal Media Drive. The HP Personal Media Drive can be easily inserted and removed from the hard drive bay without turning off the PC, sometimes referred to as warm swappable. Some HP PCs have vertically oriented drive bays and some have horizontally oriented drive bays; both accommodate your HP Personal Media Drive. WARNING: Do not move the PC with the HP Personal Media Drive inserted in the bay or connected to a USB port on the PC. This can cause damage to the drive and data loss. Before moving the PC, it should be turned off and the HP Personal Media Drive should be removed or disconnected safely. To insert the HP Personal Media Drive into a specially designed HP PC: 1 Line up the ridges on the bottom of the drive with the two slots on the correct side of the PC drive bay. Do not force the drive into the bay; it should slide easily into the bay. 2 Slide the drive all the way into the drive bay until the drive is firmly connected to the internal power and USB cables. When the PC is turned on, and the drive is inserted correctly, the power LED on the front of the drive is lit. Drive Indicators and Connectors The HP Personal Media Drive comes with two LED indicators, a USB connector, a power connector, and a security lock connector. Front of HP Personal Media Drive 4 HP Personal Media Drive User's Guide
-
 1
1 -
2
-
 3
3 -
 4
4 -
 5
5 -
 6
6 -
 7
7 -
 8
8 -
 9
9 -
 10
10 -
 11
11 -
 12
12 -
 13
13 -
14
-
15
-
16
 |
 |
