HP Scitex FB7600 TN Replacing the Printing Table - Page 17
Complete the Installation, From the machine application
 |
View all HP Scitex FB7600 manuals
Add to My Manuals
Save this manual to your list of manuals |
Page 17 highlights
FB7x00 TN # emr_na-c04359603, Replacing the Printing Table Complete the Installation 1. Mount the covers on both sides of the machine. 2. Mount the maintenance bath cover. 3. Install the Perspex plate. 4. Install UV protection cover. 5. Start up the machine. 6. Perform the Z-axis calibration procedure. 7. From the machine application, activate the vacuum to the printing table on each zone separately. 8. Perform the TY test for both manual and automatic loading. 9. Print the reference files. 17/17
-
 1
1 -
2
-
3
-
4
-
5
-
6
-
7
-
8
-
9
-
10
-
11
-
 12
12 -
 13
13 -
 14
14 -
 15
15 -
 16
16 -
 17
17
 |
 |

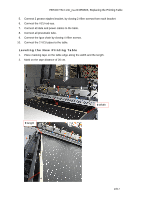
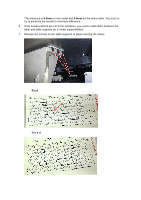
FB7x00 TN # emr_na-c04359603, Replacing the Printing Table
Complete the Installation
1.
Mount the covers on both sides of the machine.
2.
Mount the maintenance bath cover.
3.
Install the Perspex plate.
4.
Install UV protection cover.
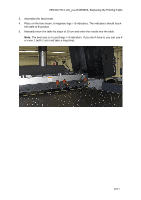
5.
Start up the machine.
6.
Perform the Z-axis calibration procedure.
7.
From the machine application, activate the vacuum to the printing table on each
zone separately.
8.
Perform the TY test for both manual and automatic loading.
9.
Print the reference files.
17/17