HP StorageWorks XP12000 HP StorageWorks XP Disk Array Configuration Guide: HP- - Page 27
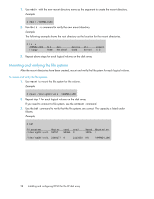
Creating the mount directories
 |
View all HP StorageWorks XP12000 manuals
Add to My Manuals
Save this manual to your list of manuals |
Page 27 highlights
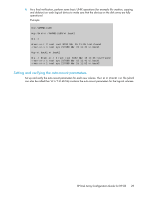
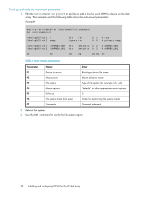
1. Verify the current I/O time-out value using the pvdisplay command: Example # pvdisplay /dev/dsk/c0t6d0 - - - Physical volumes - - - PV Name /dev/dsk/c0t6d0 VG Name /dev/vg06 PV Status available Allocatable yes VGDA 2 Cur LV 1 PE Size (Mbytes) 4 Total PE 586 Free PE 0 Allocated PE 586 [OPEN-9] Stale PE 0 IO Timeout (Seconds) default [I/O timeout value] 2. If the I/O timeout value is not 60, change the value to 60 using the pvchange -t command: Example # pvchange -t 60 /dev/dsk/c0t6d0 Physical volume "/dev/dsk/c0t6d0" has been successfully changed. Volume Group configuration for /dev/vg06 has been saved in /etc/lvmconf/vg06.conf. 3. Verify that the new I/O timeout value is 60 seconds using the pvdisplay command: Example # pvdisplay /dev/dsk/c0t6d0 --- Physical volumes --- PV Name /dev/dsk/c0t6d0 VG Name /dev/vg06 PV Status available : Stale PE 0 IO Timeout (Seconds) 60 [New I/O timeout value] 4. Repeat the above steps for each new disk connected to the system. Creating the mount directories Create a mount directory for each logical volume. Choose a unique name for each mount directory that identifies the logical volume. To create a mount directory for each logical volume: XP Disk Array Configuration Guide for HP-UX 27
-
 1
1 -
2
-
3
-
4
-
5
-
6
-
7
-
8
-
9
-
10
-
11
-
12
-
13
-
14
-
15
-
16
-
17
-
18
-
19
-
20
-
21
-
 22
22 -
 23
23 -
 24
24 -
 25
25 -
 26
26 -
 27
27 -
 28
28 -
 29
29 -
 30
30 -
 31
31 -
 32
32 -
33
-
34
-
35
-
36
-
37
-
38
-
39
-
40
-
41
-
42
-
43
-
44
-
45
-
46
-
47
-
48
-
49
-
50
-
51
-
52
-
53
-
54
-
55
-
56
 |
 |
