HP TouchSmart 300-1300 Upgrading and Servicing Guide - Page 15
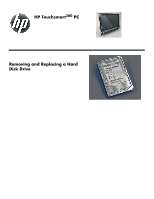
Removing the Hard Disk Drive, hard disk drive.
 |
View all HP TouchSmart 300-1300 manuals
Add to My Manuals
Save this manual to your list of manuals |
Page 15 highlights
Removing the Hard Disk Drive 6 Lift the plastic shield on the back of the computer stand. 9 Loosen the screw at the bottom of the hard disk drive cage. TIP: You do not need to remove this screw, only loosen it in order to release the hard disk drive cage. 7 Use a torx or flat-head screwdriver to remove the screw that secures the left cover. 10 Lift up on the wire handle, and pull the hard disk drive cage out. 8 Slide the left cover off. 11 Disconnect the cable connector from the back of the hard disk drive. 584963-001 - Removing and Replacing a Hard Disk Drive 13
-
 1
1 -
2
-
3
-
4
-
5
-
6
-
7
-
8
-
9
-
 10
10 -
 11
11 -
 12
12 -
 13
13 -
 14
14 -
 15
15 -
 16
16 -
 17
17 -
 18
18 -
 19
19 -
 20
20 -
21
-
22
-
23
-
24
-
25
-
26
 |
 |
584963-001
— Removing and Replacing a Hard Disk Drive
13
Removing the Hard Disk Drive
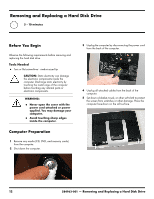
6
Lift the plastic shield on the back of the computer
stand.
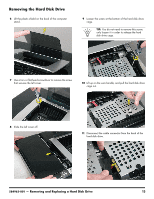
7
Use a torx or flat-head screwdriver to remove the screw
that secures the left cover.
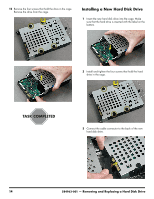
8
Slide the left cover off.
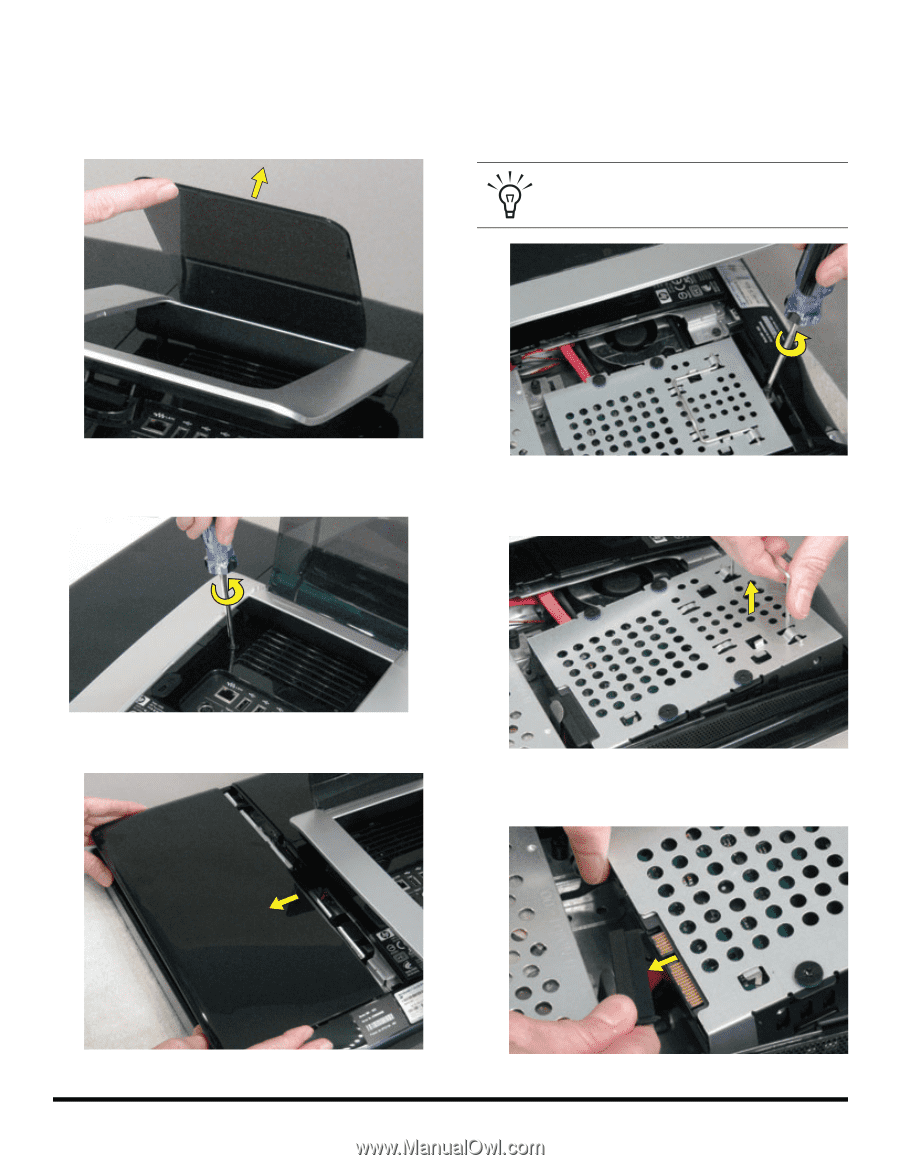
9
Loosen the screw at the bottom of the hard disk drive
cage.
10
Lift up on the wire handle, and pull the hard disk drive
cage out.
11
Disconnect the cable connector from the back of the
hard disk drive.
TIP:
You do not need to remove this screw,
only loosen it in order to release the hard
disk drive cage.