HP Vectra VE 4/xx HP Vectra VE 4/xxX PC Series - User’s Guide - Page 35
Replacing the Cover After Installing Accessories
 |
View all HP Vectra VE 4/xx manuals
Add to My Manuals
Save this manual to your list of manuals |
Page 35 highlights
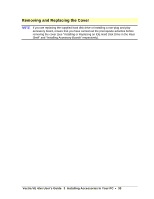
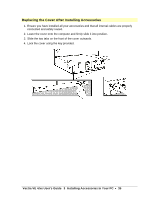
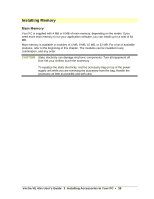
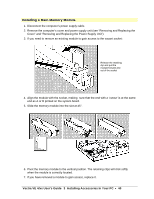
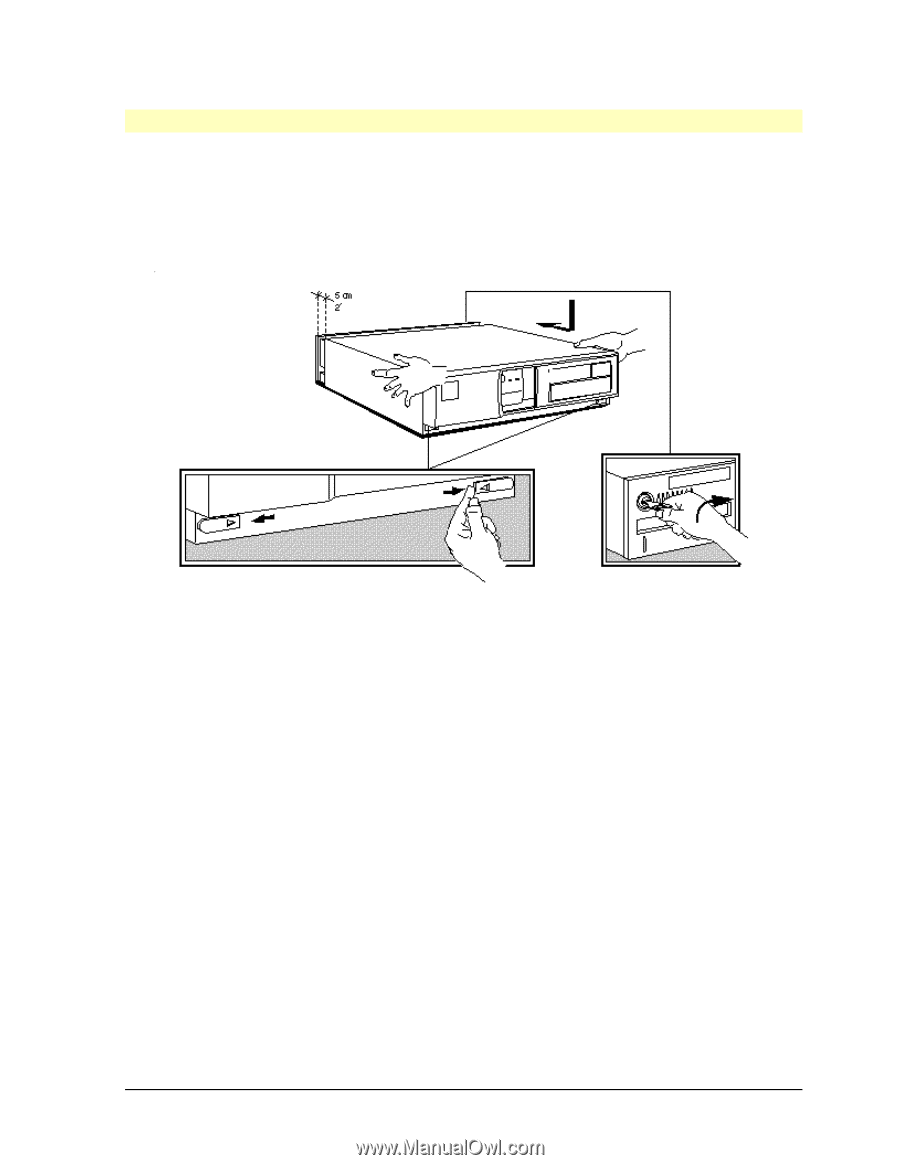
Replacing the Cover After Installing Accessories 1. Ensure you have installed all your accessories and that all internal cables are properly connected and safely routed. 2. Lower the cover onto the computer and firmly slide it into position. 3. Slide the two tabs on the front of the cover outwards. 4. Lock the cover using the key provided. Vectra VE 4/xx User's Guide 3 Installing Accessories In Your PC • 35
-
 1
1 -
2
-
3
-
4
-
5
-
6
-
7
-
8
-
9
-
10
-
11
-
12
-
13
-
14
-
15
-
16
-
17
-
18
-
19
-
20
-
21
-
22
-
23
-
24
-
25
-
26
-
27
-
28
-
29
-
 30
30 -
 31
31 -
 32
32 -
 33
33 -
 34
34 -
 35
35 -
 36
36 -
 37
37 -
 38
38 -
 39
39 -
 40
40 -
41
-
42
-
43
-
44
-
45
-
46
-
47
-
48
-
49
-
50
-
51
-
52
-
53
-
54
-
55
-
56
-
57
-
58
-
59
-
60
-
61
-
62
-
63
-
64
-
65
-
66
-
67
-
68
-
69
-
70
-
71
-
72
-
73
-
74
-
75
-
76
-
77
-
78
-
79
-
80
-
81
-
82
-
83
-
84
-
85
-
86
-
87
-
88
-
89
-
90
-
91
-
92
-
93
-
94
-
95
-
96
-
97
-
98
-
99
-
100
-
101
-
102
-
103
-
104
-
105
-
106
-
107
-
108
-
109
-
110
-
111
-
112
-
113
-
114
-
115
-
116
-
117
-
118
-
119
-
120
-
121
-
122
-
123
-
124
-
125
 |
 |
Vectra VE 4/xx User's Guide
3
Installing Accessories In Your PC
•
35
Replacing the Cover After Installing Accessories
1.
Ensure you have installed all your accessories and that all internal cables are properly
connected and safely routed.
2.
Lower the cover onto the computer and firmly slide it into position.
3.
Slide the two tabs on the front of the cover outwards.
4.
Lock the cover using the key provided.