HP Workstation xw6000 Creative Sound Blaster Audigy 2 ZS Quick Start Guide - Page 3
For xw8000, For all other workstations
 |
View all HP Workstation xw6000 manuals
Add to My Manuals
Save this manual to your list of manuals |
Page 3 highlights
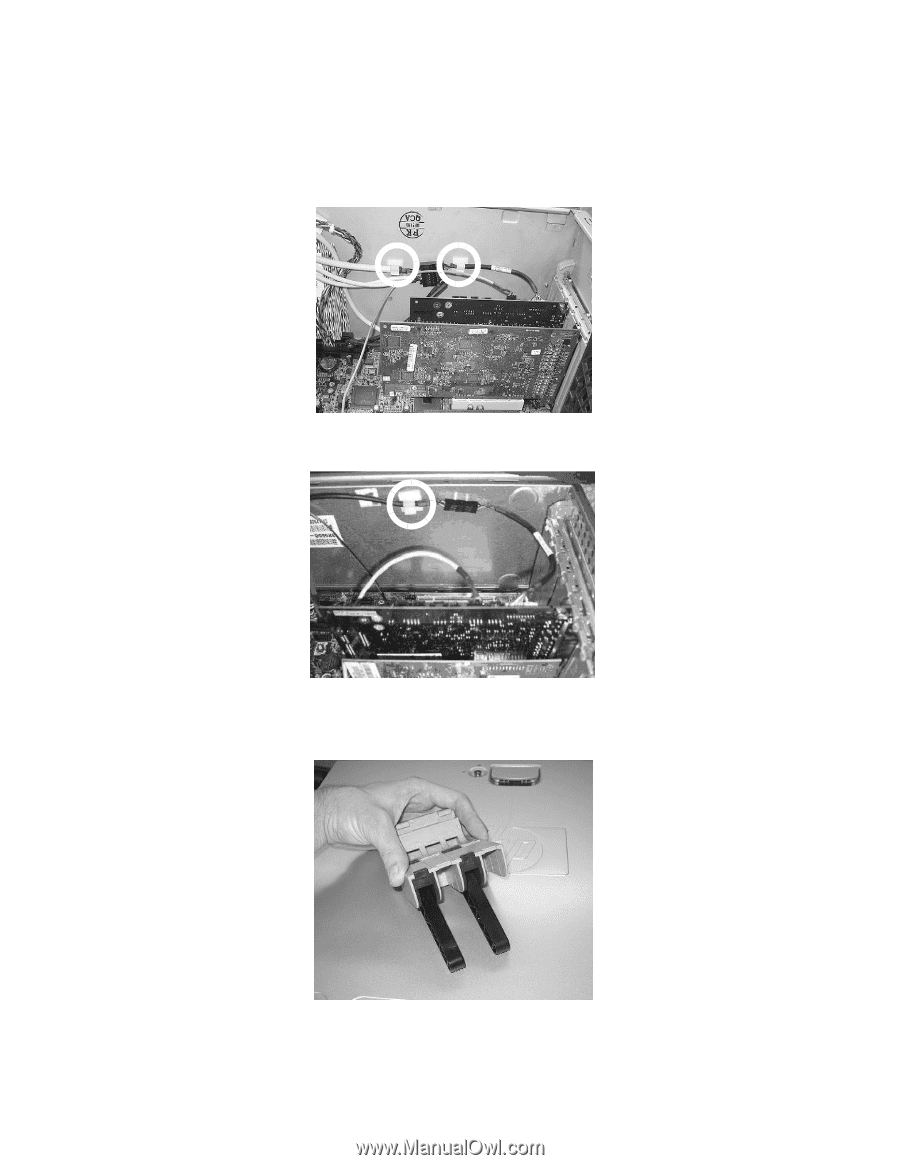
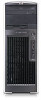
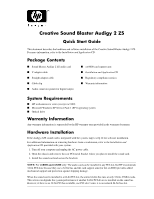
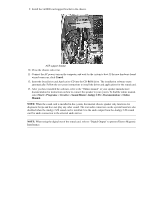
b. Connect the male side of the straight adapter cable to the front cable header. c. Connect the female side of the straight adapter cable to the white sound card header (J1). 6. Connect the CD audio cable to the CD_IN connector of the sound card. The other end should remain connected to the optical disk drive. 7. Fasten the adaptor cable and/or front I/O cables to the bottom of the chassis depending on the model as shown below. Add the new clip in the location shown and then fasten the cable(s) into the clip(s). For xw8000: Cable routing for xw8000 For all other workstations: Cable routing for all other workstations 8. Attach the black xw8000 card support arm to the green card support bracket in the slot that aligns with the card position (PCI slot 1 or 2). Audigy retainer clip
-
 1
1 -
 2
2 -
 3
3 -
 4
4 -
 5
5 -
 6
6 -
 7
7 -
 8
8 -
 9
9 -
10
-
11
-
12
 |
 |