HP Xw460c NVIDIA Quadro FX 560M installation - Page 10
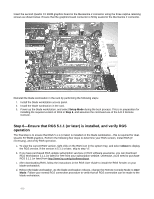
Step 6-Ensure that RGS 5.1.1 or later is installed, and verify RGS, operation
 |
View all HP Xw460c manuals
Add to My Manuals
Save this manual to your list of manuals |
Page 10 highlights
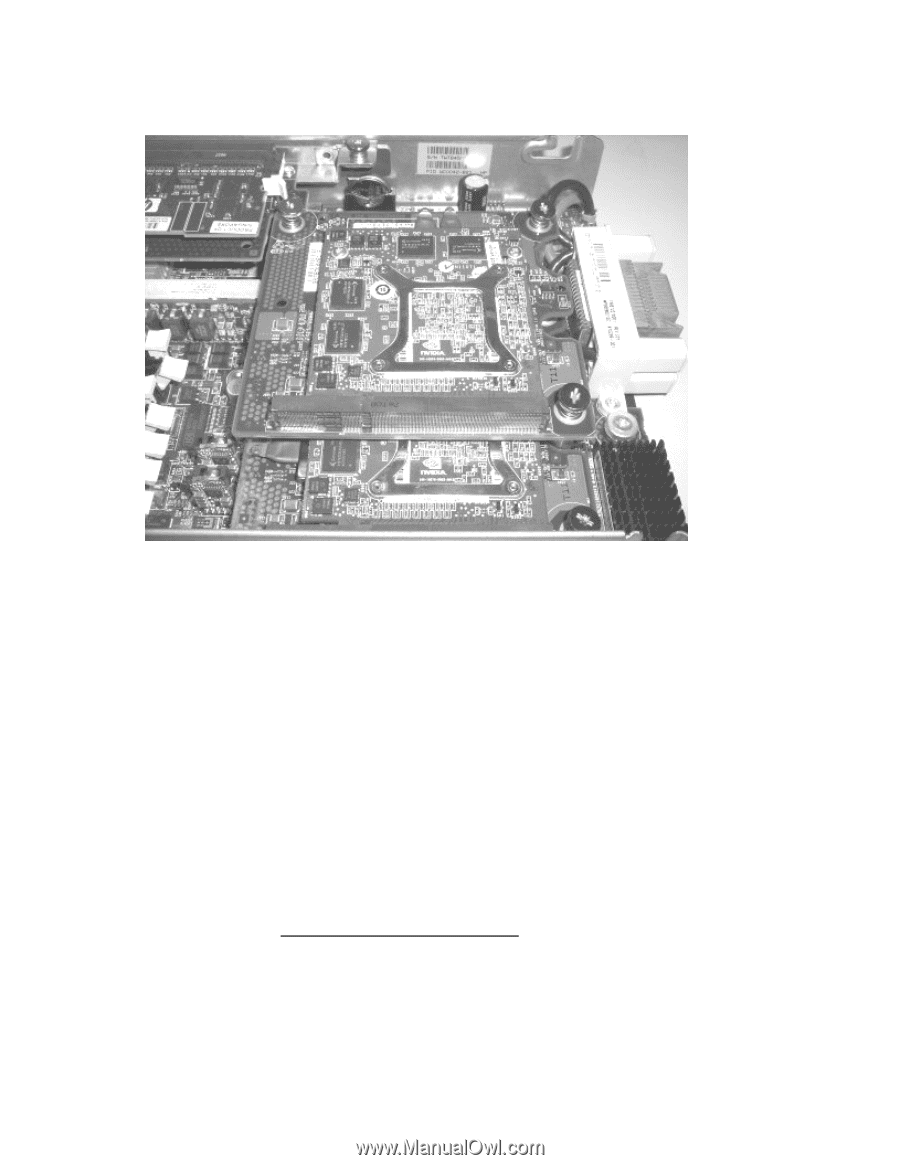
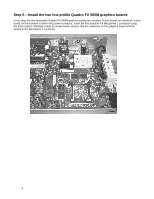
Insert the second Quadro FX 560M graphics board in the Mezzanine 2 connector using the three captive retaining screws as shown below. Ensure that the graphics board connector is firmly seated in the Mezzanine 2 connector. Reinstall the blade workstation in the rack by performing the following steps: 1. Install the blade workstation access panel. 2. Install the blade workstation in the rack. 3. Power up the blade workstation, and select Setup Mode during the boot process. This is in preparation for installing the required version of RGS in Step 6, and assumes the continued use of the iLO 2 Remote Console. Step 6-Ensure that RGS 5.1.1 (or later) is installed, and verify RGS operation The final step is to ensure that RGS 5.1.1 (or later) is installed on the blade workstation-this is required for dualQuadro FX 560M graphics. Perform the following four steps to determine your RGS version, install RGS (if necessary), and verify RGS operation. a. To view the current RGS version, right-click on the RGS icon in the system tray, and select About to display the RGS version. If the version is 5.1.1 or later, skip to step "d". b. If you have purchased RGS update subscription services or RGS software assurance, you can download RGS Workstation 5.1.1 (or later) for free from your subscription website. Otherwise, you'll need to purchase RGS 5.1.1 (or later) from http://www.hp.com/go/softwaredepot. c. After downloading RGS, follow the instructions in the RGS User Guide to install the RGS Sender on your blade workstation. d. Reboot the blade workstation. As the blade workstation reboots, change the Remote Console Mode to User Mode. Follow your normal RGS connection procedure to verify that an RGS connection can be made to the blade workstation. - 10 -
-
 1
1 -
2
-
3
-
4
-
 5
5 -
 6
6 -
 7
7 -
 8
8 -
 9
9 -
 10
10
 |
 |