HP Z200 HP SATA/SAS Hard Drive and Solid State Drive Installation - Page 3
Step 1—Preparing for component installation, Accessing the internal components of the computer - manual
 |
View all HP Z200 manuals
Add to My Manuals
Save this manual to your list of manuals |
Page 3 highlights
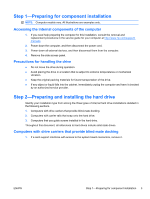
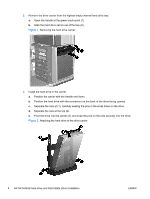
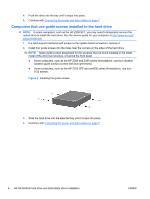
Step 1-Preparing for component installation NOTE: Computer models vary. All illustrations are examples only. Accessing the internal components of the computer 1. If you need help preparing the computer for this installation, consult the removal and replacement procedures in the service guide for your computer at http://www.hp.com/support/ manuals. 2. Power down the computer, and then disconnect the power cord. 3. Power down all external devices, and then disconnect them from the computer. 4. Remove the side access panel. Precautions for handling the drive ● Do not move the drive during operation. ● Avoid placing the drive in a location that is subject to extreme temperatures or mechanical vibration. ● Keep the original packing materials for future transportation of the drive. ● If any object or liquid falls into the cabinet, immediately unplug the computer and have it checked by an authorized service provider. Step 2-Preparing and installing the hard drive Identify your installation type from among the three types of internal hard drive installations detailed in the following sections. 1. Computers with drive carriers that provide blind-mate docking. 2. Computers with carrier rails that snap onto the hard drive. 3. Computers that use guide screws installed in the hard drive. Throughout this document, all references to hard drives include solid state drives. Computers with drive carriers that provide blind-mate docking 1. If a card support interferes with access to the system board connectors, remove it. ENWW Step 1-Preparing for component installation 3
-
 1
1 -
 2
2 -
 3
3 -
 4
4 -
 5
5 -
 6
6 -
 7
7 -
 8
8
 |
 |