Hitachi CP-X440 User Manual - Page 32
SETUP Menu
 |
View all Hitachi CP-X440 manuals
Add to My Manuals
Save this manual to your list of manuals |
Page 32 highlights
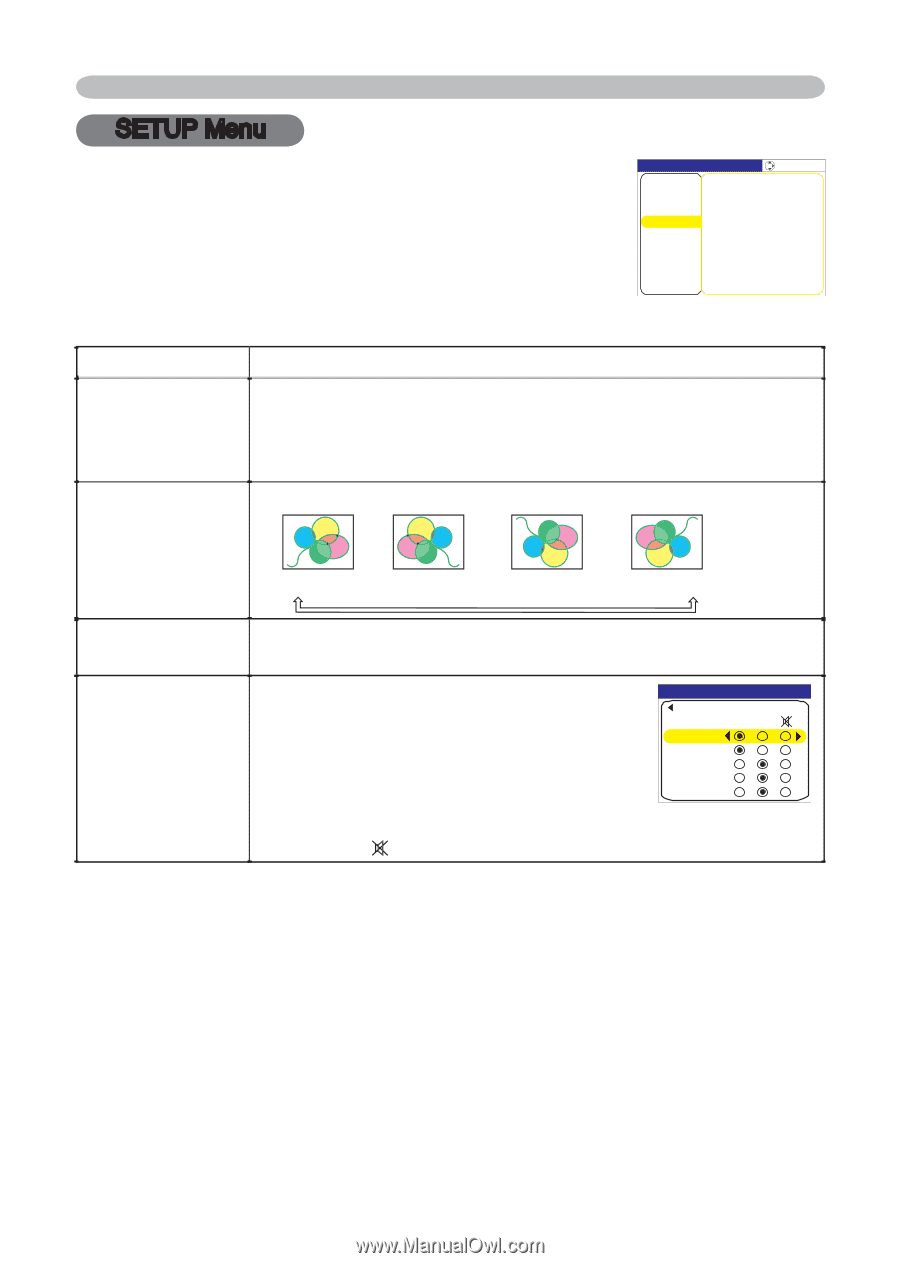
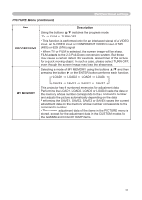
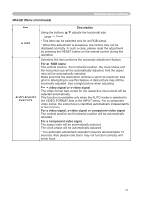
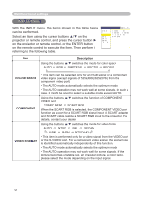
Multifunctional settings SETUP Menu With the SETUP menu, the items shown in the table below can be performed. Select an item using the cursor buttons ▲/▼ on the projector or remote control, and press the cursor button ► on the projector or remote control, or the ENTER button on the remote control to execute the item. Then perform it referring to the following table. MENU [RGB] :SELECT PICTURE IMAGE INPUT SETUP SCREEN OPTION EASY MENU WHISPER NORMAL MIRROR NORMAL VOLUME 16 AUDIO Item WHISPER Description Using the buttons ▲/▼ turns off/on the whisper mode. NORMAL WHISPER • When the WHISPER is selected, acoustic noise and screen brightness are reduced. Using the buttons ▲/▼ switches the mode for mirror status. MIRROR NORMAL H:INVERT V:INVERT H&V:INVERT VOLUME AUDIO Using the buttons ▲/▼ adjusts the volume. High Low Choose an input port using the buttons ▲/▼ AUDIO (1), then select the audio port to be interlocked with the input port using the buttons ◄/► (2). QUIT RGB1 1 2 When off is selected, both of two audio ports do not work for the input port. RGB2 COMPONENT S‑VIDEO VIDEO (1) RGB1 RGB2 COMPONENT S-VIDEO VIDEO (2) 1 2 32
-
 1
1 -
2
-
3
-
4
-
5
-
6
-
7
-
8
-
9
-
10
-
11
-
12
-
13
-
14
-
15
-
16
-
17
-
18
-
19
-
20
-
21
-
22
-
23
-
24
-
25
-
26
-
 27
27 -
 28
28 -
 29
29 -
 30
30 -
 31
31 -
 32
32 -
 33
33 -
 34
34 -
 35
35 -
 36
36 -
 37
37 -
38
-
39
-
40
-
41
-
42
-
43
-
44
-
45
-
46
-
47
-
48
-
49
 |
 |