Hitachi DZ-MV270A Owners Guide - Page 42
Recording Movie
 |
View all Hitachi DZ-MV270A manuals
Add to My Manuals
Save this manual to your list of manuals |
Page 42 highlights
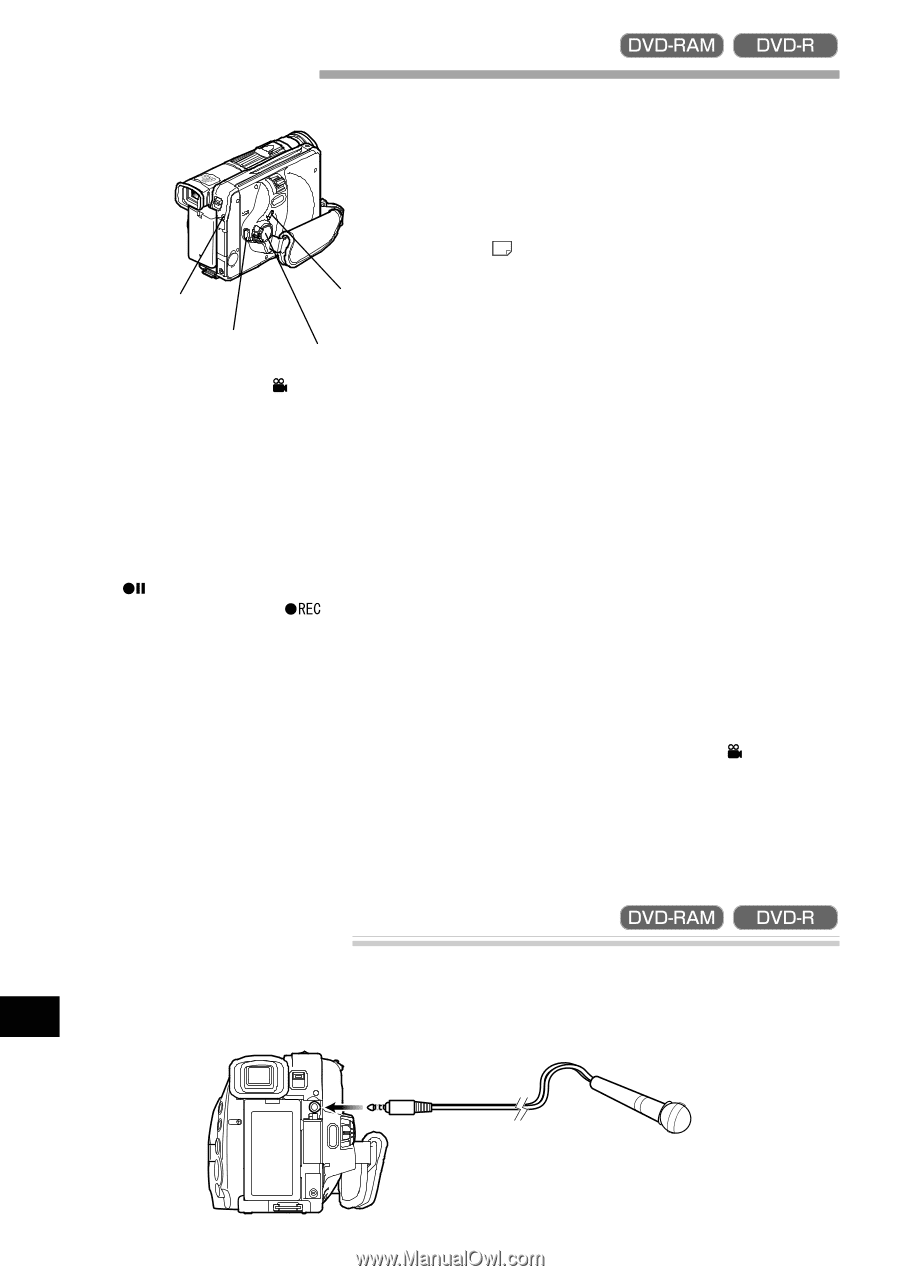
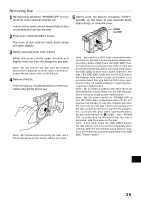
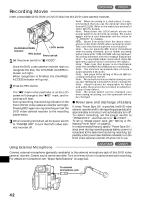
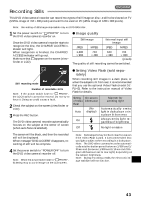
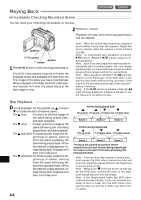
Recording Movie Insert a recordable DVD-RAM or DVD-R disc into this DVD video camera/recorder. CHARGE/ACCESS LOCK switch indicator REC button Power switch 1 Set the power switch to " VIDEO". Once the DVD video camera/recorder starts to recognize the disc, the CHARGE/ACCESS indicator will light. When recognition is finished, the CHARGE/ ACCESS indicator will go out. 2 Press the REC button. The " " mark in the viewfinder or on the LCD screen will change to the " " mark, and recording will start. During recording, the recording indicator on the front of DVD video camera/recorder will light. Pressing REC again during recording will set the DVD video camera/recorder to the recording pause status. 3 When recording is finished, set the power switch to "POWER OFF" to turn the DVD video camera/recorder off. Note: When recording in a dark place, it is recommended that you use the optional video light (model DZ-LD9). Refer to the instruction manual of video light for details. Note: Press down the LOCK switch above the power switch to lock movie recording: The power switch will lock and thereafter will not move to " PHOTO" by mistake. Note: Sound is recorded from the stereo microphone on the front of DVD video camera/recorder: Take care that this microphone is not blocked. Note: You can press the REC button immediately after recording is finished, but no further recording will be made while "DISC ACCESS" is being displayed. Recording will restart after the message disappears. Note: If a very bright subject is recorded, stripe-like lights may appear above and below the subject. Note: Take care that power is not interrupted while the CHARGE/ACCESS indicator is blinking. Note: The minimum recordable time of movie is approximately 3 seconds. Note: See page 64 for setting of Record LED (recording indicator) On/Off. Note: For various functions available during recording, see "Setting Up Camera Functions" on page 54. Note: Hitachi cannot be responsible for video and audio that cannot be recorded or edited because of any defect. Note: The power switch can be changed over even during recording, but the operation will not be changed. G Power save and discharge of battery If, when "Power Save: On" is specified, the DVD video camera/recorder is left in the recording pause status for approximately 5 minutes, it will automatically turn off. To restart recording, set the power switch to "POWER OFF", and then set it to " VIDEO". To set or release power save, see "Setting or Releasing Power Save" on page 63. It is recommended that you specify "Power Save: On", since even during recording pause battery power is consumed at the same level as during recording. Especially when power save has been released, turn the DVD video camera/recorder off when not in use. Using External Microphone Connect external microphone (generally available) to the external microphone jack of this DVD video camera/recorder. Clearer sound can be recorded. Turn on the switch on microphone and start recording. English For details on microphone, see "Major Specifications" on page 110. To external microphone jack 42
-
 1
1 -
2
-
3
-
4
-
5
-
6
-
7
-
8
-
9
-
10
-
11
-
12
-
13
-
14
-
15
-
16
-
17
-
18
-
19
-
20
-
21
-
22
-
23
-
24
-
25
-
26
-
27
-
28
-
29
-
30
-
31
-
32
-
33
-
34
-
35
-
36
-
 37
37 -
 38
38 -
 39
39 -
 40
40 -
 41
41 -
 42
42 -
 43
43 -
 44
44 -
 45
45 -
 46
46 -
 47
47 -
48
-
49
-
50
-
51
-
52
-
53
-
54
-
55
-
56
-
57
-
58
-
59
-
60
-
61
-
62
-
63
-
64
-
65
-
66
-
67
-
68
-
69
-
70
-
71
-
72
-
73
-
74
-
75
-
76
-
77
-
78
-
79
-
80
-
81
-
82
-
83
-
84
-
85
-
86
-
87
-
88
-
89
-
90
-
91
-
92
-
93
-
94
-
95
-
96
-
97
-
98
-
99
-
100
-
101
-
102
-
103
-
104
-
105
-
106
-
107
-
108
-
109
-
110
-
111
-
112
-
113
-
114
 |
 |