Honeywell CT3355A1003 Owner's Manual - Page 28
Step 10: Check Thermostat Operation after Programming and Installing
 |
View all Honeywell CT3355A1003 manuals
Add to My Manuals
Save this manual to your list of manuals |
Page 28 highlights
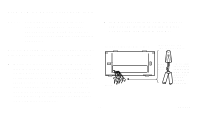
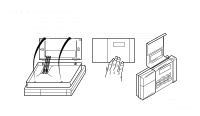
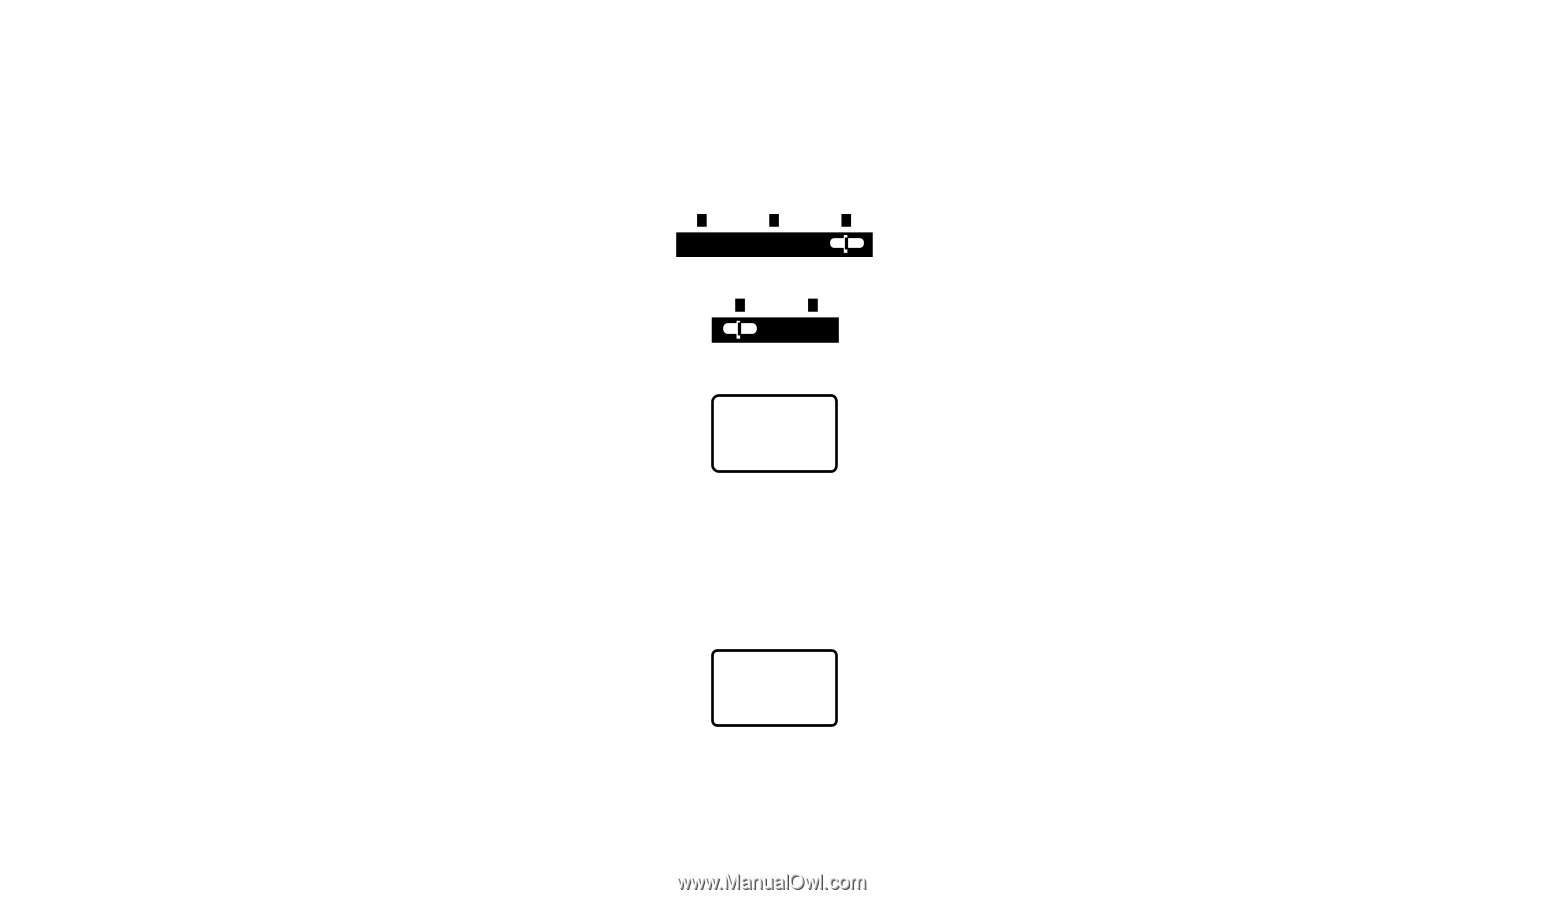
Step 10: Check Thermostat Operation after Programming and Installing Heating Do not check heating system operation by jumpering thermostat terminals at the primary control such as the gas valve, zone valve, or oil burner control. This damages the thermostat, instead, jumper R and W wires at the thermostat. Cool Off Heat Auto On Move the system switch to HEAT and the fan switch to AUTO. Warmer Press key until the setting is about 10°F (6°C) above room temperature. Heating should start and the fan should run after a short delay (immediately if fan operation switch is set in E position). Cooler Press key until setting is about 10°F (6°C) below room temperature. The heating equipment should shut off. 28 69-1012
-
 1
1 -
2
-
3
-
4
-
5
-
6
-
7
-
8
-
9
-
10
-
11
-
12
-
13
-
14
-
15
-
16
-
17
-
18
-
19
-
20
-
21
-
22
-
 23
23 -
 24
24 -
 25
25 -
 26
26 -
 27
27 -
 28
28 -
 29
29 -
 30
30 -
 31
31 -
 32
32 -
 33
33 -
34
-
35
-
36
-
37
-
38
-
39
-
40
 |
 |
28
69-1012
Step 10: Check Thermostat Operation after Programming and Installing
Heating
Do
not
check heating system
operation by jumpering thermostat
terminals at the primary control
such as the gas valve, zone valve,
or oil burner control. This damages
the thermostat, instead, jumper R
and W wires at the thermostat.
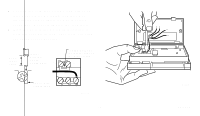
Move the system switch to HEAT
and the fan switch to AUTO.
Press key until the setting is about
10
°
F (6
°
C) above room tempera-
ture. Heating should start and the
fan should run after a short delay
(immediately if fan operation switch
is set in E position).
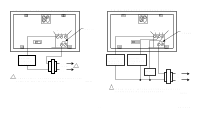
Press key until setting is about 10
°
F
(6
°
C) below room temperature. The
heating equipment should shut off.
Heat
Cool
Off
Auto
On
Warmer
Cooler