Honeywell HY-047B User Guide - Page 4
Battery Installation/replacement Instructions - part
 |
UPC - 092926345501
View all Honeywell HY-047B manuals
Add to My Manuals
Save this manual to your list of manuals |
Page 4 highlights
BATTERY INSTALLATION/REPLACEMENT INSTRUCTIONS A. Separate the front and rear housing by inserting a small coin into the two recessed slots located on the bottom of the remote (Fig 14). Twist the coin until the housings separate. Pull the remote open, separating the halves (Fig. 15). This will automatically force the lens cover to dislodge. B. Insert 2 AAA batteries into the remote following the directional guides in the recessed slots (Fig. 16). C. Snap the remote together by lining up the front and back and firmly pressing together. Fig. 14 Coin Fig. 15 Fig. 16 Fig. 17 + + NOTE: DO NOT MIX OLD AND NEW BATTERIES. DO NOT MIX ALKALINE, STANDARD (CARBON-ZINC) OR RECHARGEABLE (NICKEL-CADMIUM) BATTERIES.
-
 1
1 -
 2
2 -
 3
3 -
 4
4 -
 5
5 -
 6
6 -
 7
7 -
 8
8 -
 9
9 -
 10
10 -
11
-
12
-
13
-
14
-
15
-
16
-
17
-
18
-
19
-
20
-
21
-
22
-
23
-
24
-
25
-
26
-
27
-
28
-
29
-
30
-
31
-
32
-
33
-
34
-
35
-
36
 |
 |
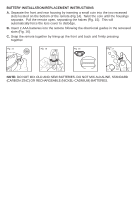
BATTERY INSTALLATION/REPLACEMENT INSTRUCTIONS
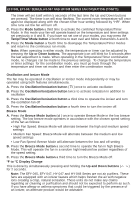
A.
Separate the front and rear housing by inserting a small coin into the two recessed
slots located on the bottom of the remote (Fig 14).
Twist the coin until the housings
separate.
Pull the remote open, separating the halves (Fig. 15).
This will
automatically force the lens cover to dislodge.
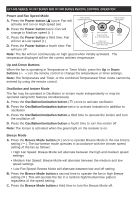
B.
Insert 2 AAA batteries into the remote following the directional guides in the recessed
slots (Fig. 16).
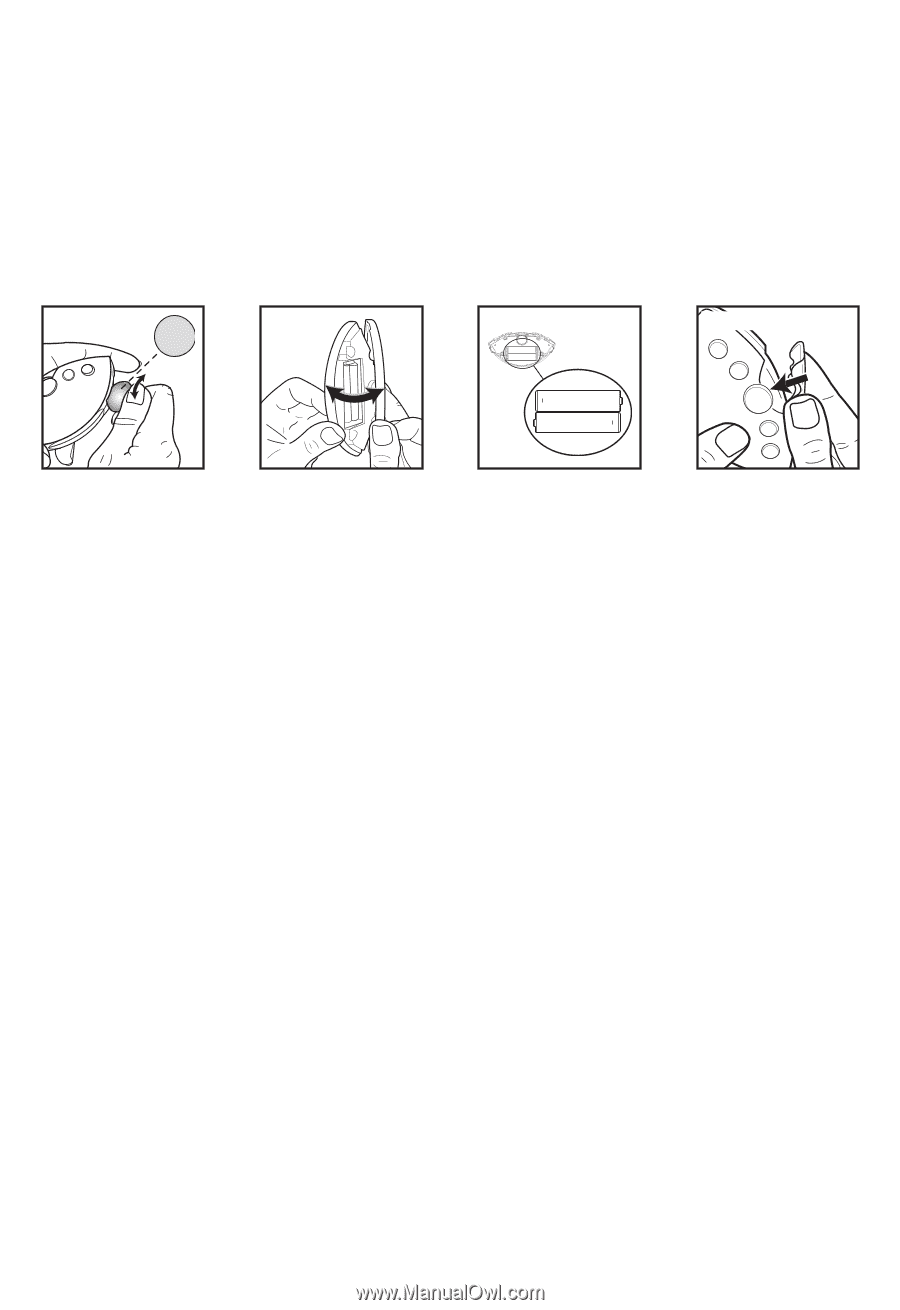
C.
Snap the remote together by lining up the front and back and firmly pressing
together.
NOTE:
DO NOT MIX OLD AND NEW BATTERIES. DO NOT MIX ALKALINE, STANDARD
(CARBON-ZINC) OR RECHARGEABLE (NICKEL-CADMIUM) BATTERIES.
Coin
Fig. 14
Fig. 15
Fig. 17
+
+
Fig. 16